OK finally getting time to get to this.
I am not the best writer in the world so I am hoping this makes sense to most.
Headspace or the lack of can be one of the biggest reasons that a primer from the battery cup is forced up into the hammer hole in the face of the bolt.
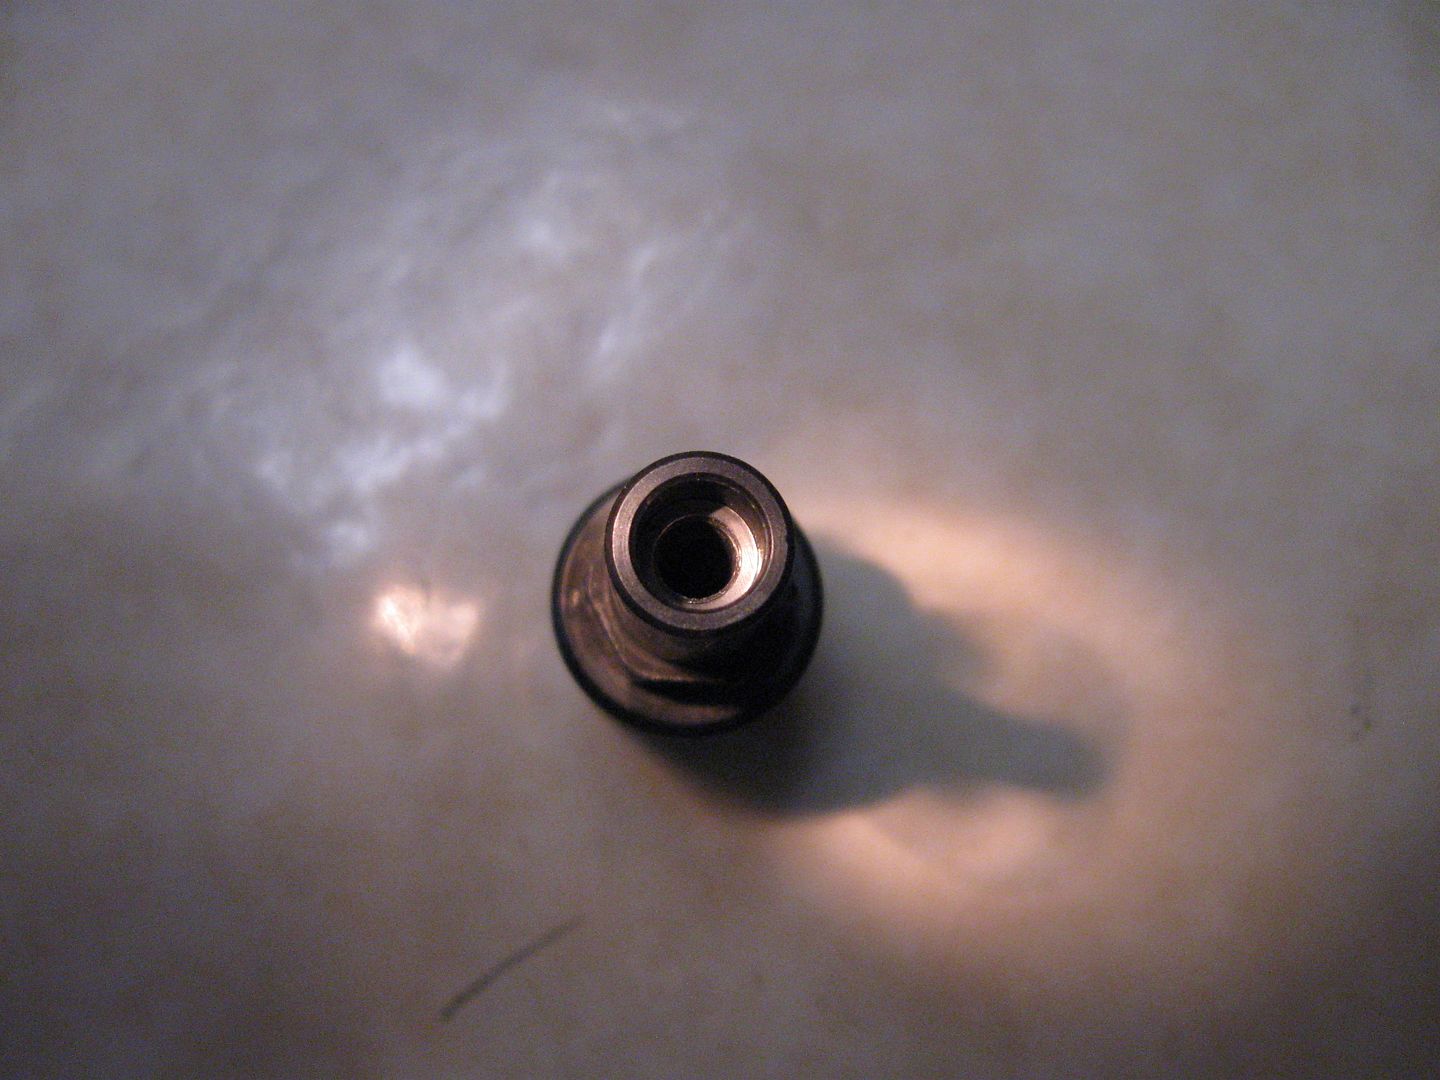
If you look carefully at this picture of a Knight NFPJ Breech Plug you can see the SS shim installed in the bottom of the primer pocket to achieve a 'primer crush' and 0 headspace with a given primer. And in my case it is modified to accept W209 primers.
Most new rifles in the Mountaineer series and possibly the new Extreme series have a much tighter 'tolerance' on the depth of the breech plug pocket in the barrel. On the other hand older rifles like the Original DISC the tolerance level was much lower. In those days no-one thought about a clean breech. I have two Original DISC's that the breech plug need to be shimmed to 0.025" to achieve 0 headspace. Even older DISC Extremes/Elites can vary by as much as 10-15 thou.
It seems to me the new Mountaineer series can vary but 0.005" and some will require shimming. Not all of this is dependent on the depth of the BP hole. If the bolt length is off just a little it will greatly effect the head space. Even the rear of the bolt and how it closes can effect headspace. So it really does not have to be one thing.
It really helps if you determine the measurement of what shims you might need to fix your problem before you start shimming. The shims for this process come in 3 thicknesses and 2 OD sizes that you can use.
OD sizes.... there are a group of shims with an OD of 0.241" that will drop right into the primer pocket. With these shims you can just keep adding shims until you feel the primer crush. Then add up the number of shims you have installed and you will know what you might need. The 0.241" will then fall out or can be easily pulled out to empty the primer pocket.
The second OD size shim is a 0.248" shim and will/can pressed into the primer pocket. This shim will stick and stay in the primer pocket - you will not be able to remove it. So before installing these shims make sure you know the size you need to use.
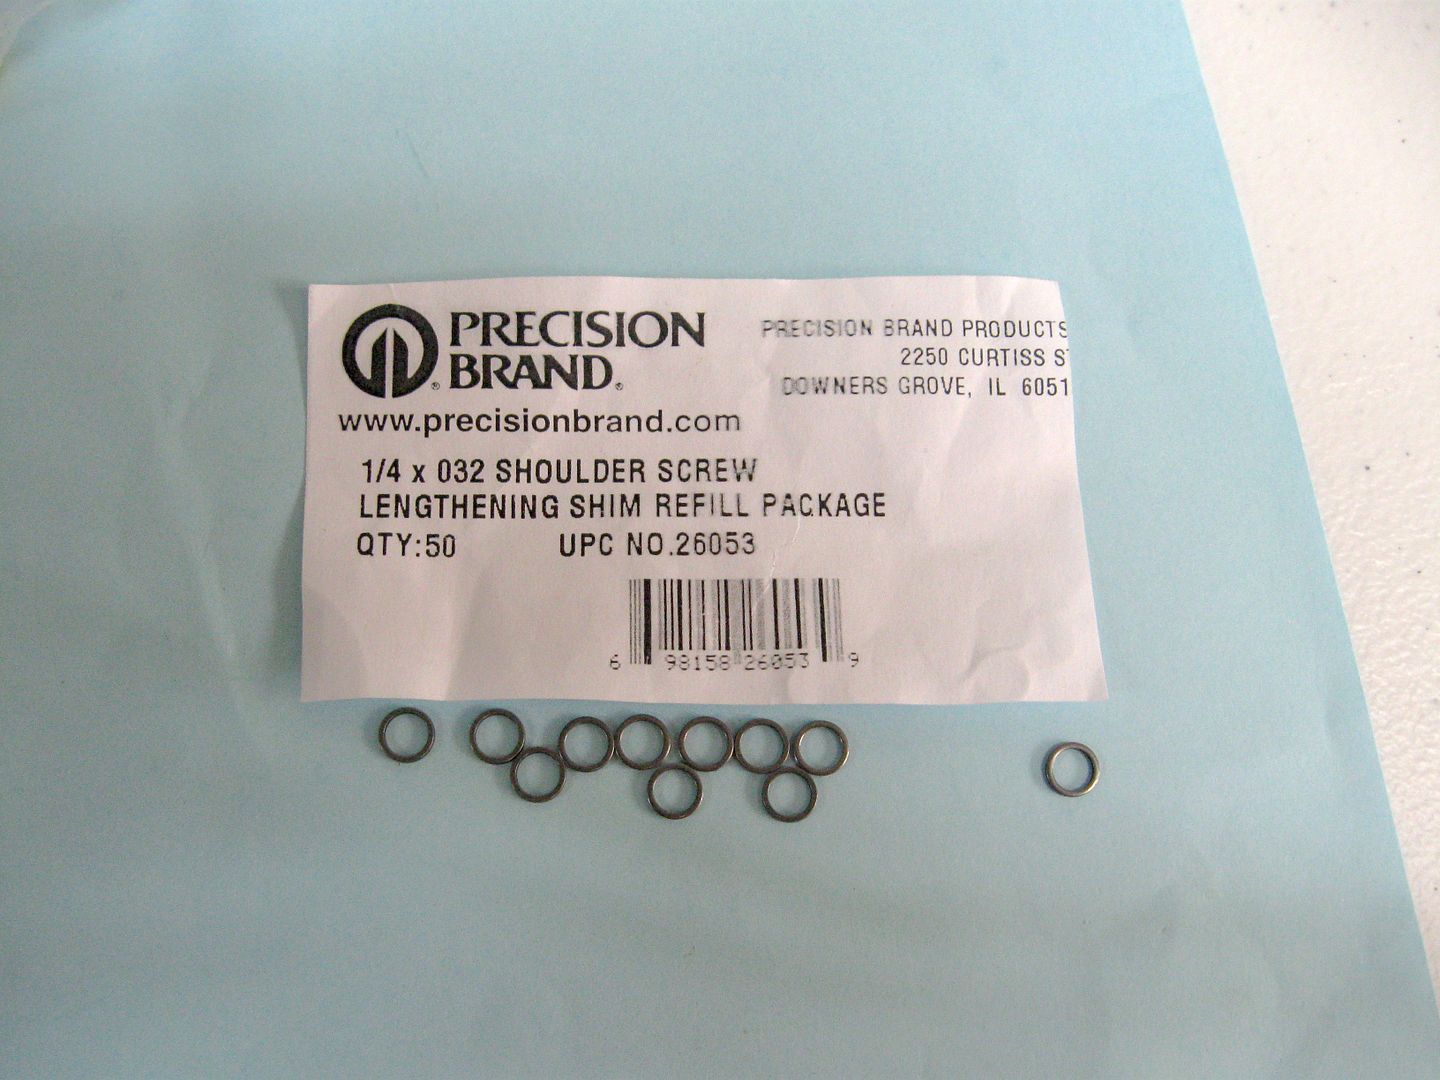
This is a package of 0.0248" x 0.032" shims -probably a size you will never need but they are available.
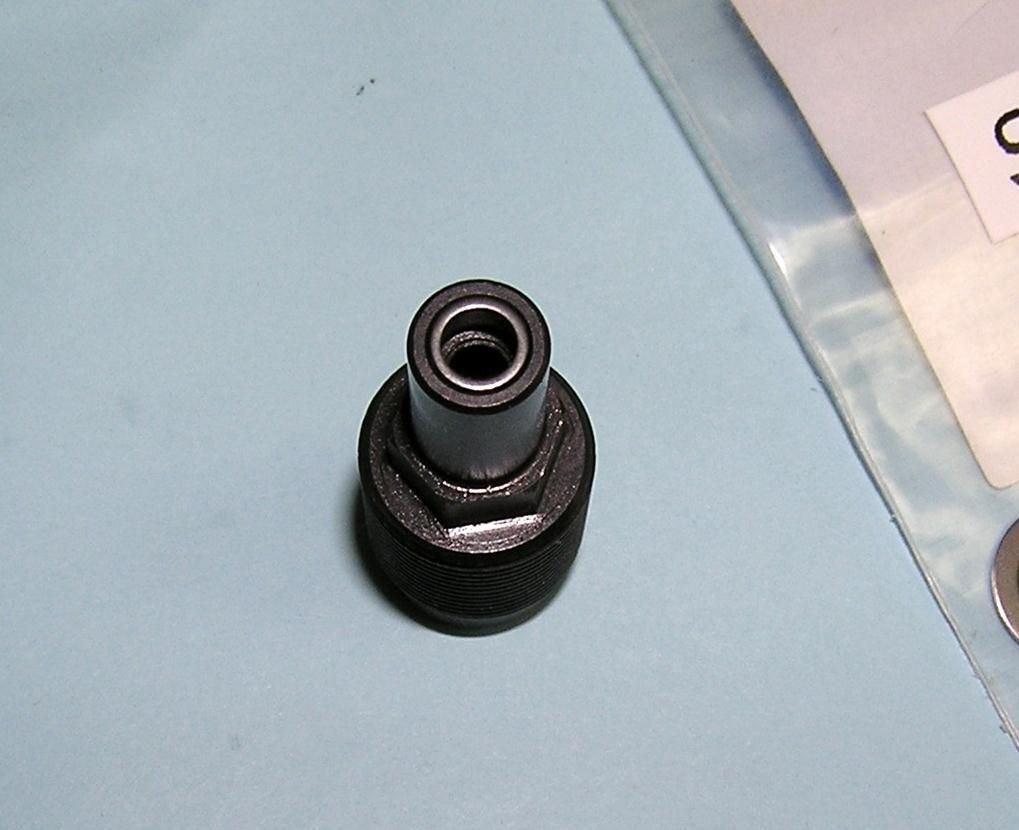
This picture shows a 0.0248" x 0.005" shim inserted in the top of a BP ready to be driven down with a spent 209 primer and a plastic mallet.
This link should carry you to the McMaster-Carr catalog page for the correct shims
http://www.mcmaster.com/#catalog/118/3249/=10geukw
This is a second link to the press fit shims…
http://www.amazon.com/gp/product/B0036R ... 1_1&sr=8-1
For the 0.241 OD shim look in the group of shims labeled -> 18-8 Stainless Steel. Three sizes 5 - 16 - 30 thou thickness. I see no reason to get any 0.030 shims, followed only a few would ever need 0.016 shims. The 0.005 is probably the best all around for testing to achieve the correct fit.
For the 0.248" OD shim look in the -> Spring Steel section -> for shim thicknesses of 5 - 15 - 32 thou. These shims can be pressed in for a permanent fit.
An easy way out of all of this is to use high pressure rubber "0" rings... they normally last about 50 shots.
Achieving 0 to near 0 headspace is a real desirable in my mind.
Shimming Continued
This is the method that I use to get to correct amount of shimming in place.
With the breech plug installed snuggly in the rifle
1. Remove the bolt assembly from the rifle.
2. Remove the hammer/firing pin assembly from the bolt
3. Reinstall the bolt housing in the rifle.
a. When you push the bolt forward and release the handle it should just fall down into the closed position – ne resistance at all.
b. Next install a primer in the nose of the bolt and repeat the test.
i. If the bolt handle falls to the bottom again then you need to into install shims in the primer pocket to get the correct headspace.
ii. If the handle does not fall to the bottom and you encounter some resistance the head space is probably near correct. It should take some effort to push the bolt handle down.
If the handle falls to the bottom with no resistance with a primer installed you will now need to find out how many shims you are going to need to install. For this operation I use the .214 x .005 OD shims. Also during this process the breech plug should be very clean and DRY, so the .241 shims can be easily removed.
1. Remove the breech plug and drop 1 of the shims into the primer pocket. Use a spent primer to make sure the shim is pushed all the way down and sitting on the primer shelf.
2. Install the breech plug in the rifle and repeat the steps above. Make sure the .241 shim does not fall out of the BP while doing all of this.
3. If you still do not get any ‘primer crush’ install a second shim and repeat the process.
4. When you do get ‘primer crush’ them pick out 4 new primers and repeat the test on each primer to see if all 4 feel as they are ‘crushing’.
5. Remove the breech plug and get all of the .241 shims out of the primer pocket. Count the shims to make sure you have them all out.
With this information you now know how many .248x.005 shims you need to install to achieve ‘primer crush’ and 0 head space.
When installing the .248 shims – place the breech plug on a smooth flat surface.
1. Place a .248 shim in the top of the BP primer pocket.
2. With a pair of needle nose pliers grip a spent primer place it on top of the .248 shim and with a small mallet tap the primer and shim down into the primer pocket.
3. Make sure it bottoms out and is sitting on the primer shelf.
4. Install the BP and bolt housing and test for ‘primer crush’
5. Repeat this process until you have achieved 0 head space.
If you do not want to purchase the extra .241 shims you can use the .248 process one shim at a time to shim your BP. Just remember once they are installed – they are not in most cases ever coming back out.
So be careful and go one shim at a time.