Building an Alexander Henry Target Rifle from a Rod England Kit

Modern Muzzleloading Forum

Help Support Modern Muzzleloading Forum:

This site may earn a commission from merchant affiliate links, including eBay, Amazon, and others.
LOTS of Patience, and attention to Detail here!! I admire this kind of Work :lewis: It’s DEFINITELY NOT for everyone! I have often thought of Buying a Cheap Kit Rifle just so i could tinker around and put it together, But i know me, I would have it SLAPPED Together that Same Day, and be Shooting it the Next :D
 
Retirement is going well, I see.!
Looking good.
Share that 36” sight radius and dovetail location with Rod.
 
Yes, retirement is good!! I'll definitely try to remember and share that with Rod, if he could at least add it to his notes that come with the kits it may save someone a lot of trouble!

Curtis
 
Well, it's been a while since I mad a posting... Spent six weeks in Florida and have been working on other projects since I returned home. I made a little progress on the rifle and will post things as they happen.

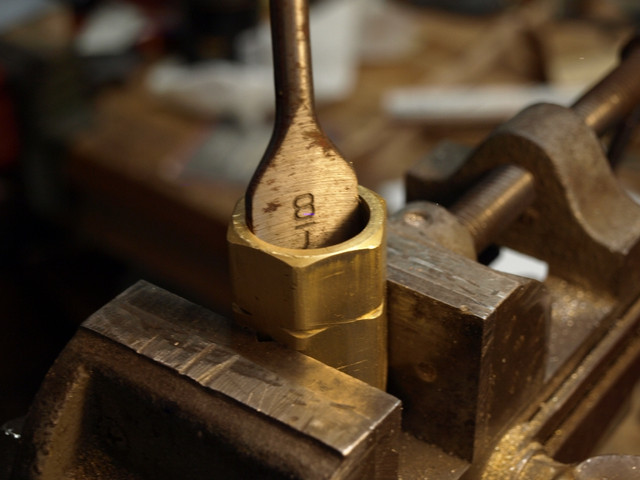
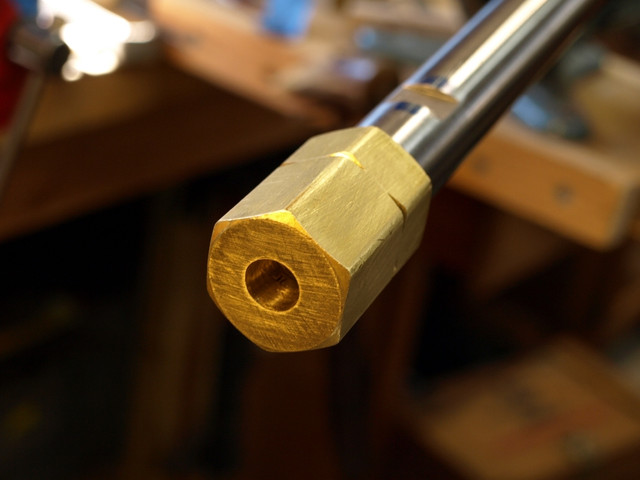
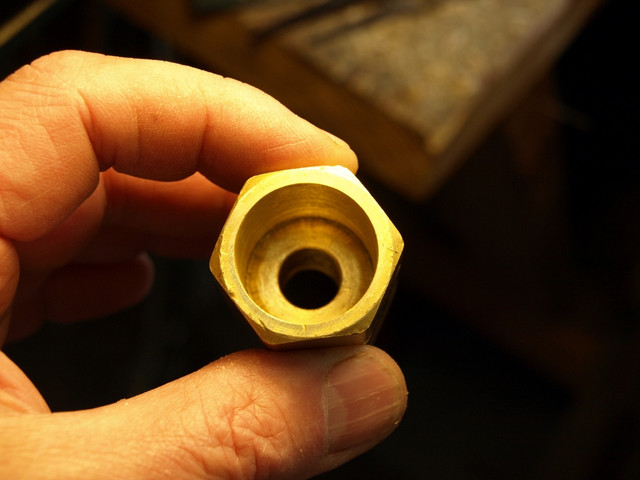
Here are some photos of a temporary muzzle protector I made from a brass fitting. I will be replacing it with a nicer one as soon as I can get someone to make me a proper protector!

I used an old wood paddle bit chucked in my drill press to ream out the threads in the fitting and deepen the hole a bit. Then I drilled a bore sized hole in the end and sanded the inside of the device to smooth it up some and adjust the fit.


Curtis
 
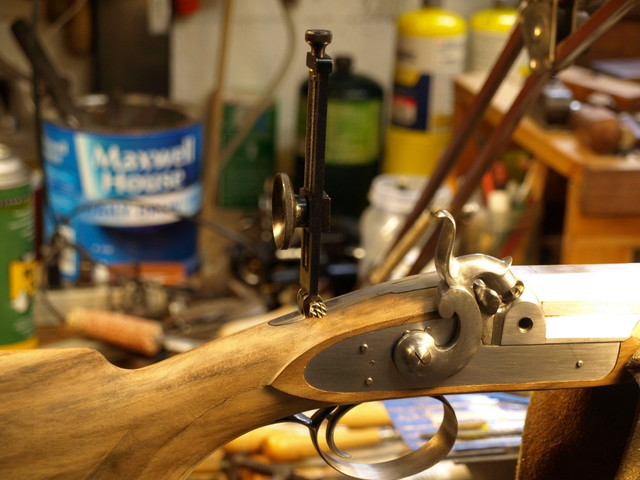
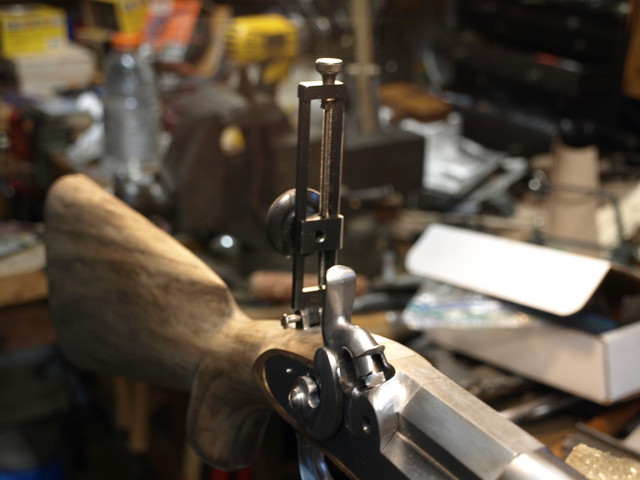
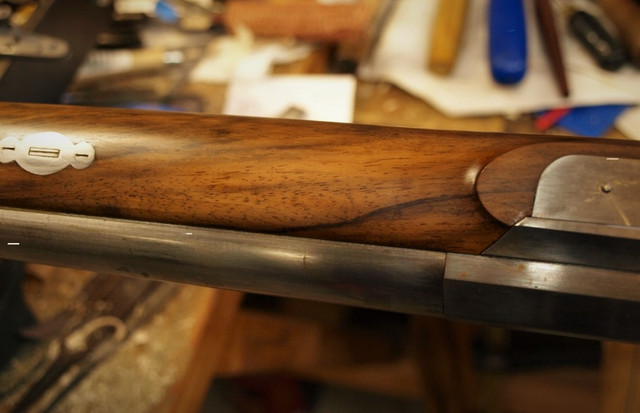
I made a spring for the rear sight, and filed a notch in the bottom of the sight to hold it perpendicular to the bore. I will add photos of the spring next time I have the tang out of the rifle. I have a tap on order for installation of the sight screw, I used a cut off nail as a temporary pin. The spring fits under the tang.


Curtis
 
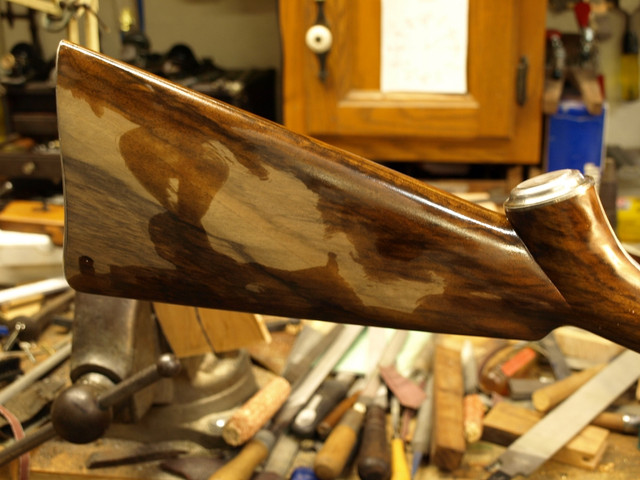
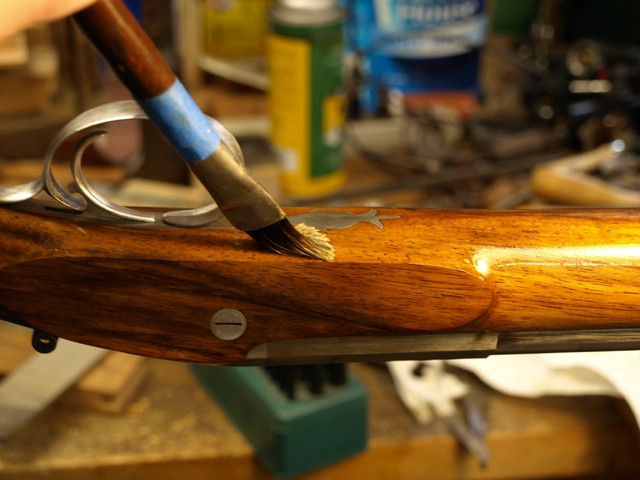
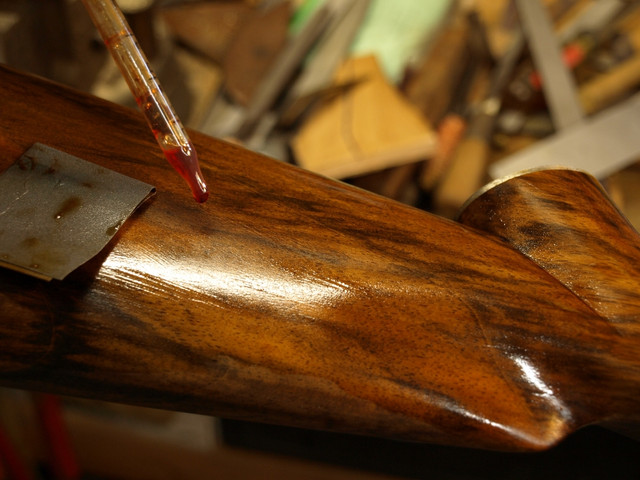
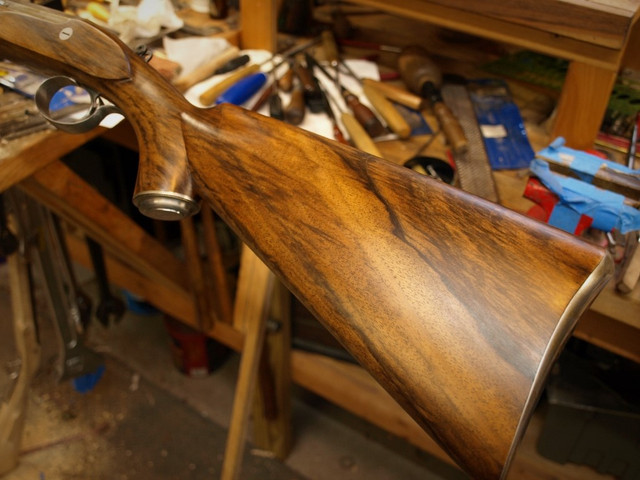
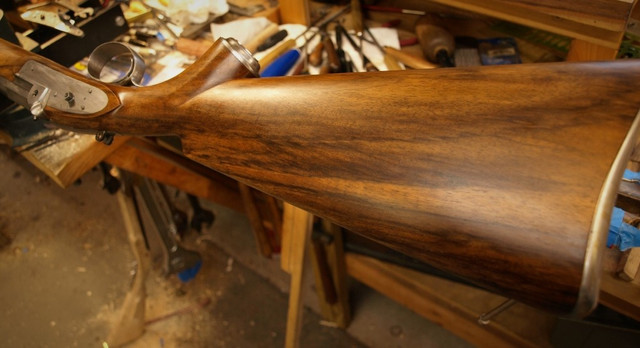
I did the final scraping and sanding of the stock, then began applying finish. The wood is a little soft so I used Permalyn Sealer, ad it soaks deep into the wood and leave it hard and impervious to moisture. For a nice traditional reddish tone I added a few drops of LMF Maple stain and a few drops of LMF cherry stain to the sealer. (Back in the day many English gunsmiths used oil infused with Alkanet root) I slop it on with a brush and keep adding it as it soaks in. After about 10-15 minutes I wipe it off with a lint free cloth. The next day I applied a second coat using the same technique.


Twenty four hours later I applied more finish plus stain to a quadrant of the stock, and wet sanded using 320 grit wet and dry paper to fill the grain and sand away any scratches missed in the final sanding. The next day I repeated the process, and the following day I repeated the process using 600 grit paper.


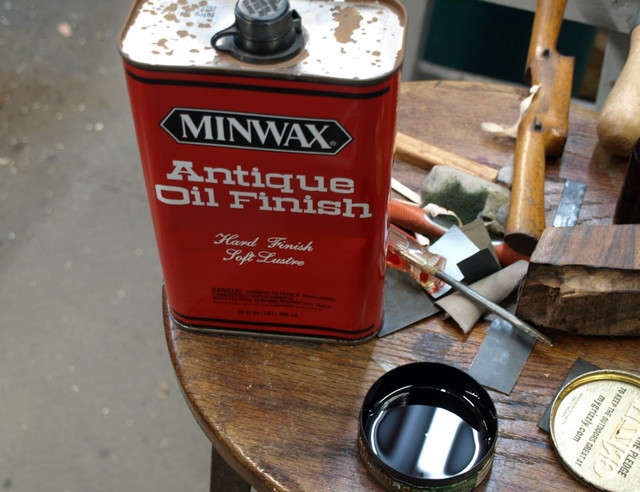
I have used Permalyn Sealer for the final coats of finish in the past, but it can make for a shinier finish than I prefer. It can be rubbed back with rottenstone to dull it a bit, or I have also went over the top of it with a hand rubbed coat of flat tung oil finish. For this rifle I am trying something new. I purchased some Antique Oil Finish, poured some in a dish, added a few drops of stain and applied it liberally to the gun.


I think it will work out nicely, I will post some pics after it dries.

Curtis
 
Thanks Jim!

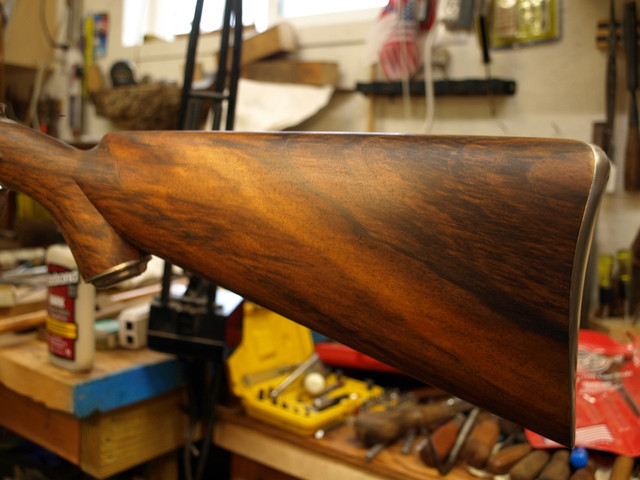
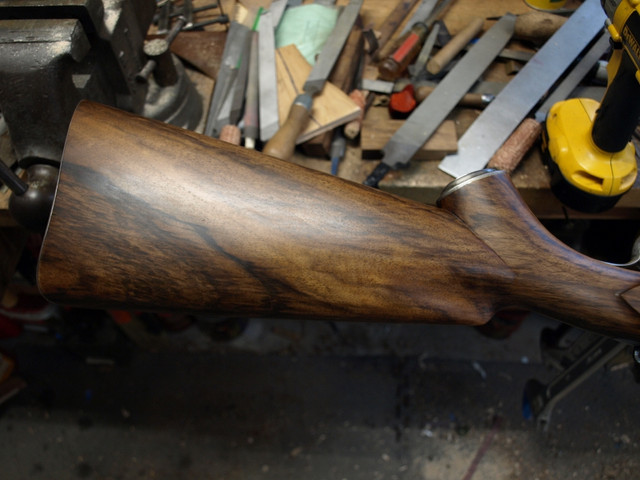
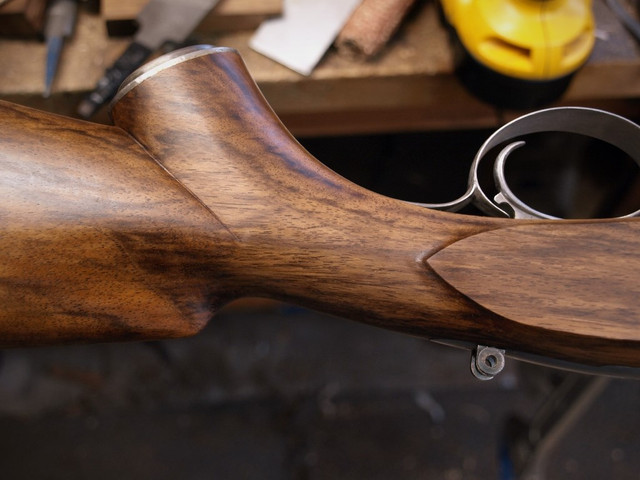
This is what I ended up with after applying a coat of Antique Oil finish with the stain added to it:


I think I will like it! Still deciding if I want to add another coat or not.

I forgot to mention I applied the finish whit all the furniture, lock etc. in place because in the past I have had finish build up enough in the mortices and inlets that I had to scrape the edges for several hours to get the parts to fit back in their respective places. I will apply a thing coat of sealer inside the mortices later to help protect against moisture absorption.

Curtis
 
Wildcat2, the wood came from Rod - I thought it was English walnut but it could be Turkish or domestic stuff from the west coast as well. When I purchased the kit from Rod at Friendship he had two stocks with him to choose from, this one and an American walnut stock. If you shoot Rod an email or give him a call he could tell you what wood species he has available.

I spoke with him a week or so agoa and he said his new generation of stocks will be CNC machined.

Curtis
 
Yes ,he showed me a couple for my new build, he has his cnc running well now, he really helped me along with my custom alexander build, and now with my new build. I made him and me a wooden carrying case in appreciated schooling he gave me. Thanks for all you have shared on this great rifle.
 
Are you planning on checkering this stock? If so please show us that, going to do my stock,witch will be my first and could appreciate that show and tell also.
 
Are you planning on checkering this stock?...

Yep, I plan on checkering the stock. This will only be my second attempt at checkering so obviously I am no expert at it! Though I certainly intend to endeavor to persevere. ;) I will post some photos along the way and try to highlight any issues I have along the way. I definitely recall an extremely high pucker factor from the last job, which was old time English flat topped checkering.

Recently ordered some 18 lpi checkering tools from Brownells, recieved them yesterday. I hope to start on the checkering next week.

Here is a pic of the previous checkering job:


P4181180.JPG

Curtis
 
Last edited:
Looking great..
FYI - much of our English walnut does indeed come from the west coast -northern CA is one area I know. They grafted millions of walnut trees in the late 1800’s.
Lol forward to seeing your rifle.
 
Thanks 52Bore! And good info there. I'll be bringing the rifle to Friendship this spring, it may not be finished but will be shootable by then!

Curtis
 
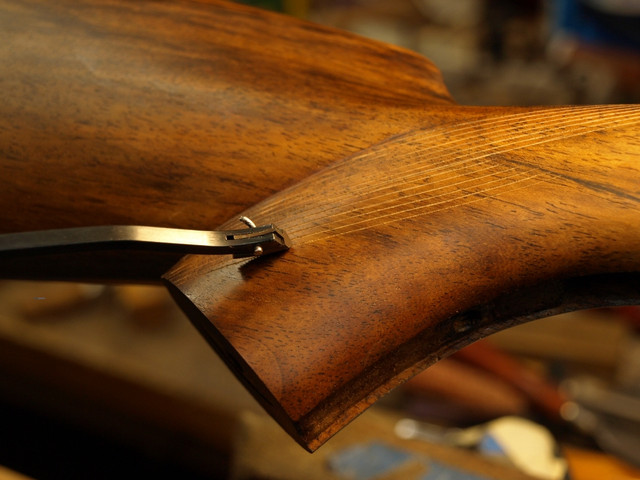
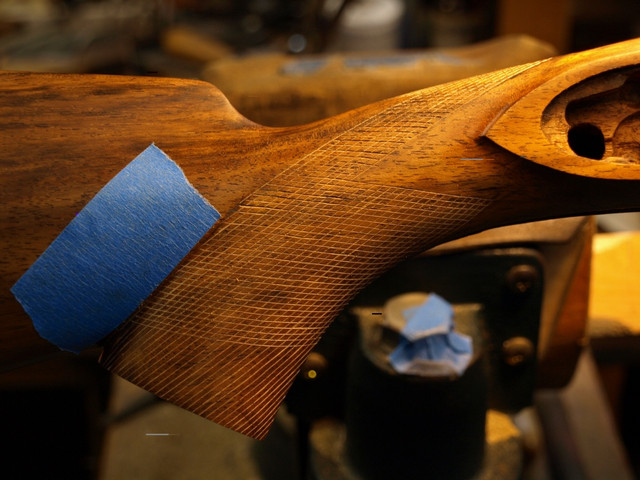
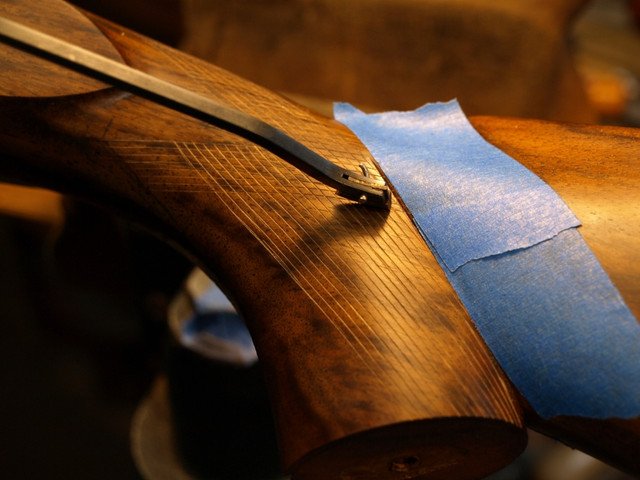
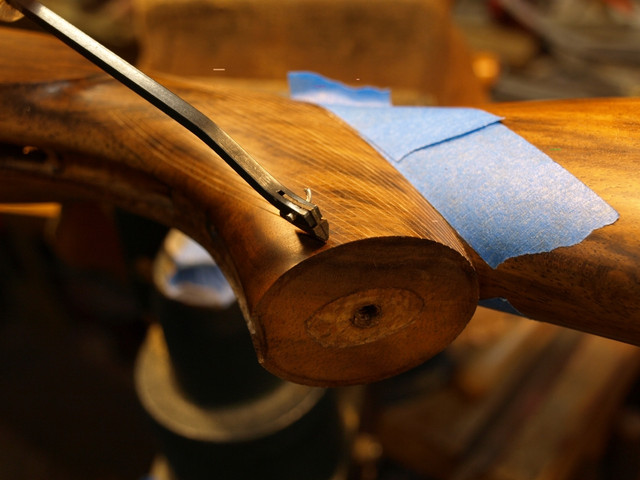
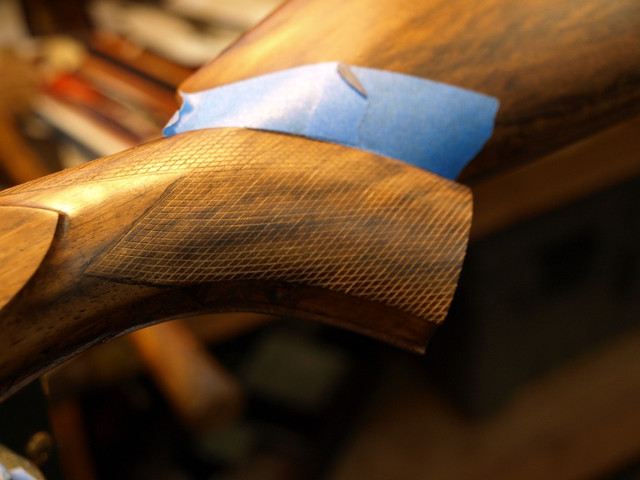
I went through a few designs for the wrist checkering layout, decided on what I liked, drew the outlines on the stock and looked at it a couple of days before I started cutting.

I do not have any training in checkering other than a little reading an watching some videos, so this should not be considered as a tutorial. This will be my second checking job - scary stuff form me! That being said, here are some photos.


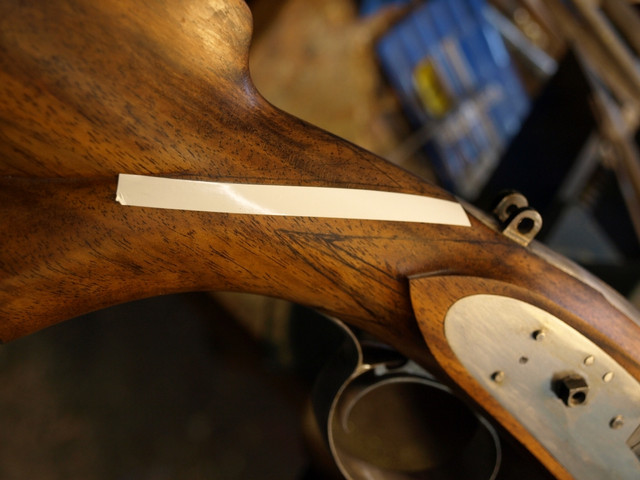
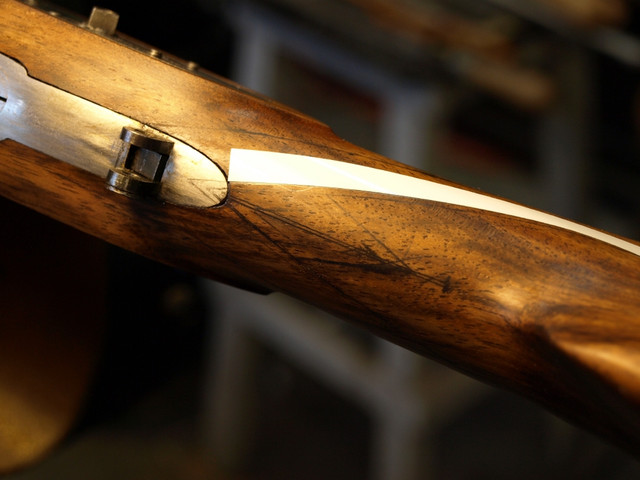
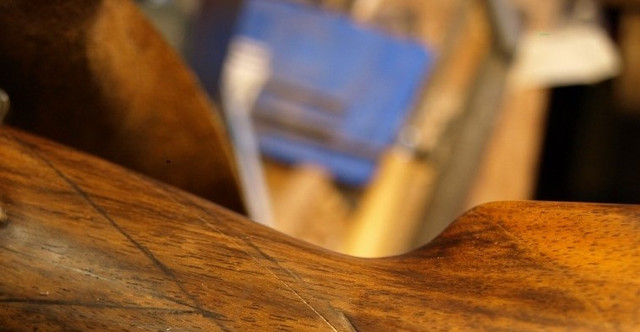
I used some pinstripe tape to help start my primary lines, a tip I got from Dave Kanger. I positioned the tape and then used a scribe to mark the lines, then cut them with a 60 deg cutter.


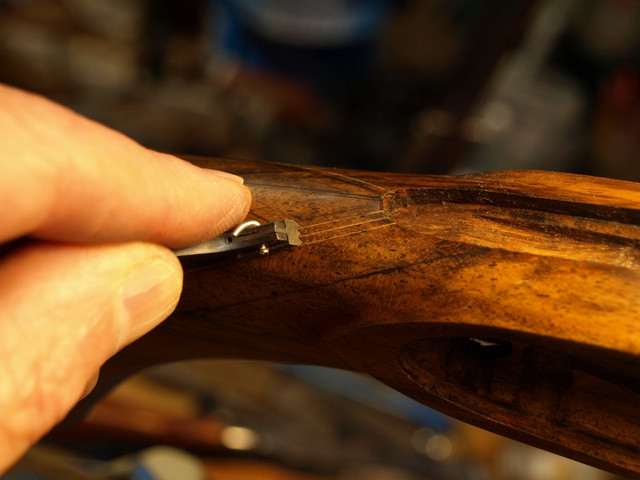
After getting a couple of starter lines cut, I used double and triple line spacer tools to layout the lines, depending on how they fit the curvature of the stock.


After each line was marked, I chased it with a 60 deg cutter to deepen and correct minor imperfections.


More in a few days,

Curtis
 
Last edited:
So far so good.
Also, are you going to give it Henry's Flat Top checkering?
 
So far so good.
Also, are you going to give it Henry's Flat Top checkering?

Thanks 52Bore! Gonna try and make it be Henry's Flat Top checkering. Had an email chat with Jim W. , I am in the process of making a special checkering tool or two to help with that. Hope it works!

Curtis
 
Last edited:
Back
Top