- Joined
- Jun 18, 2019
- Messages
- 173
- Reaction score
- 279
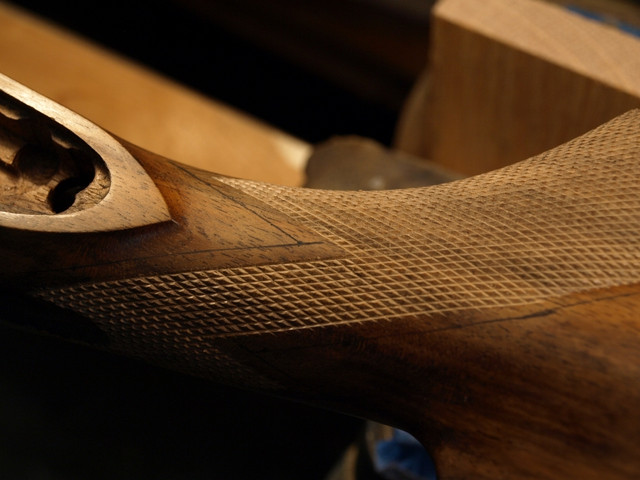
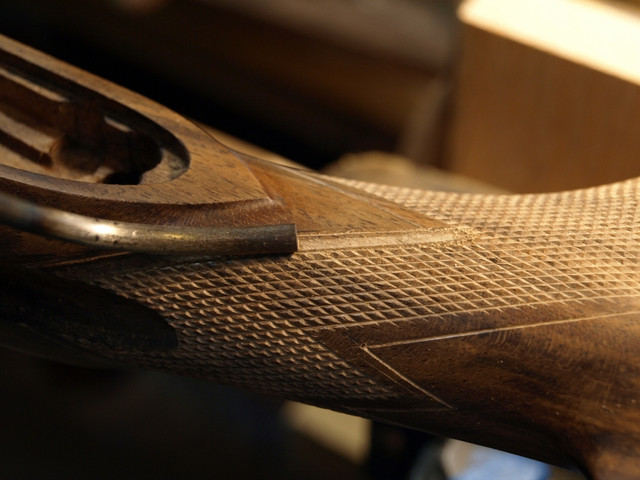
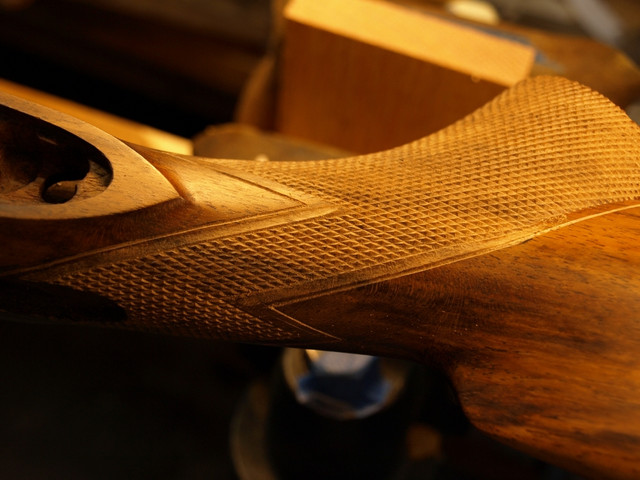
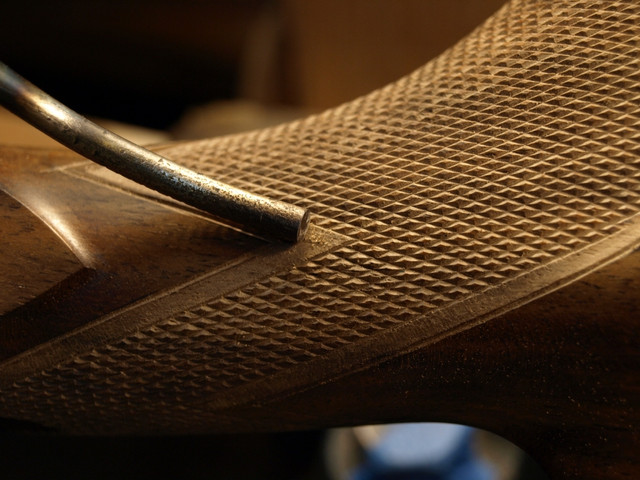
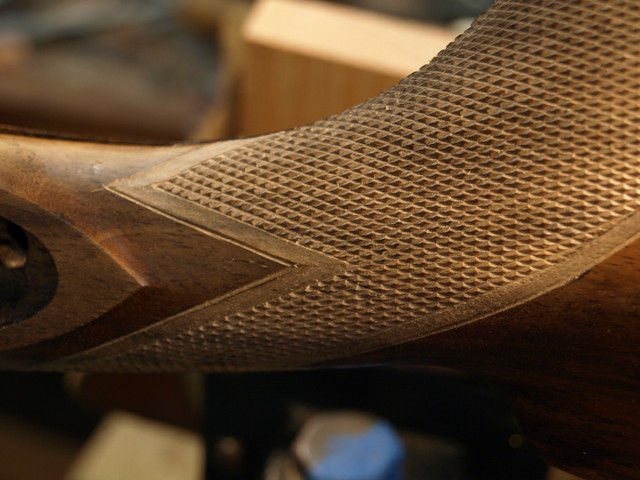
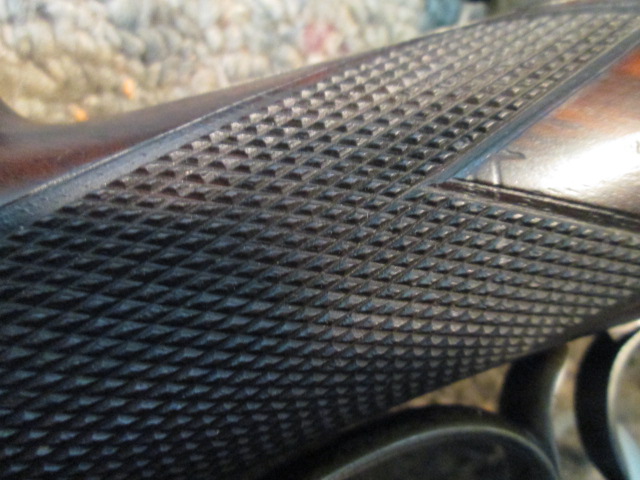
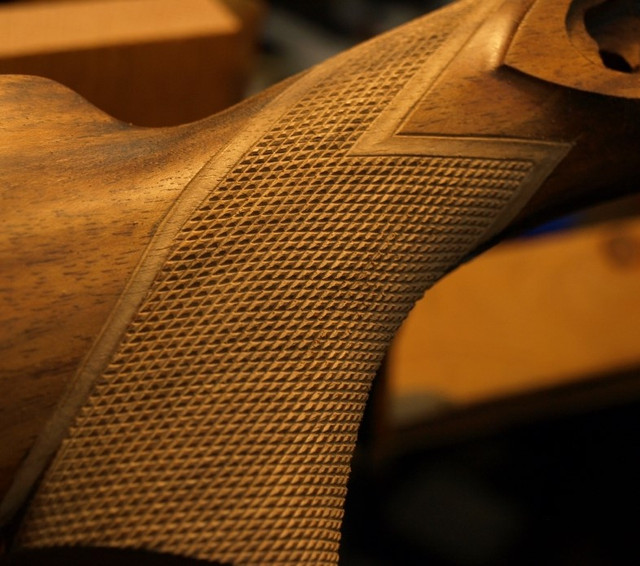
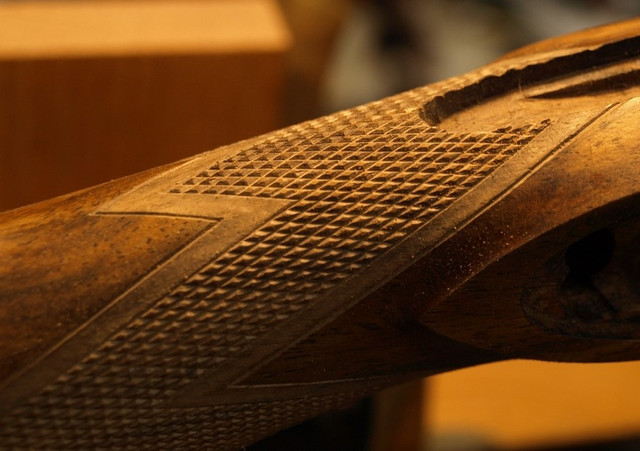
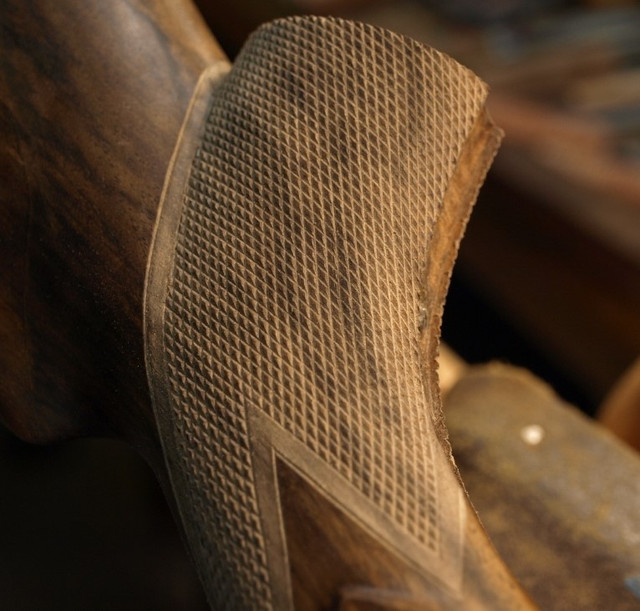
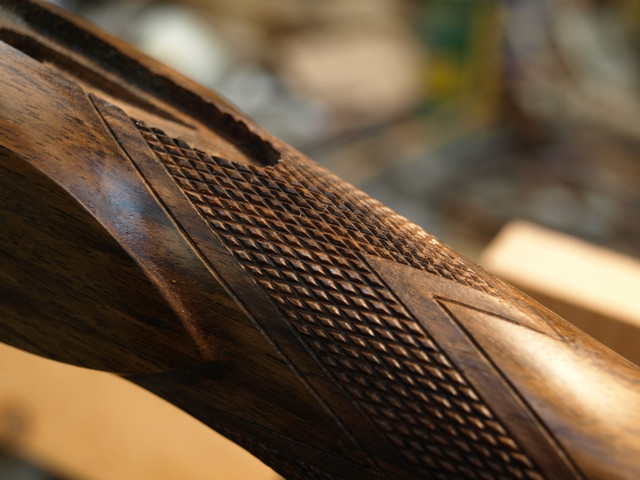
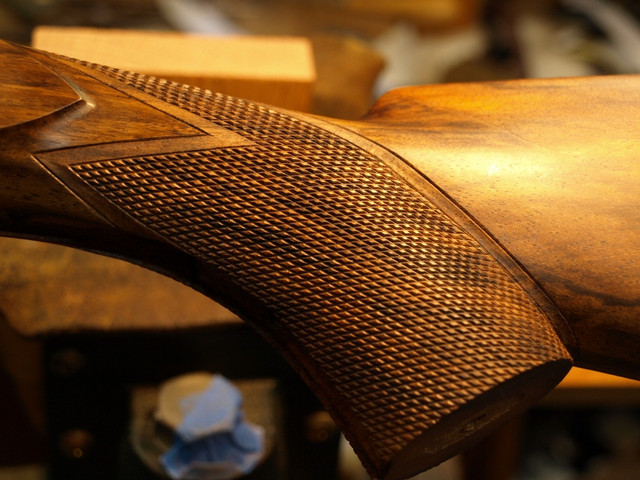
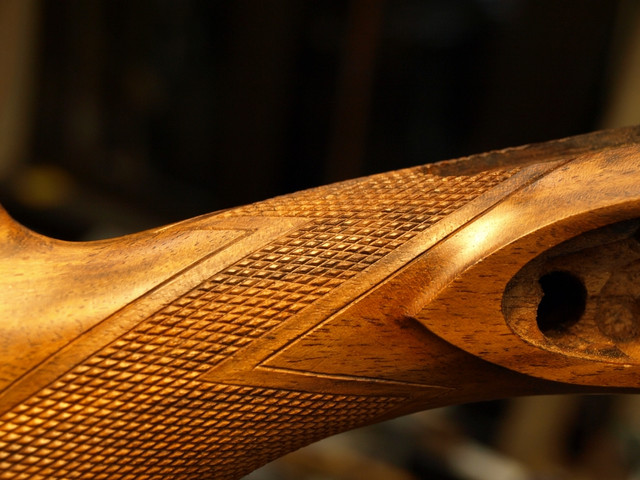
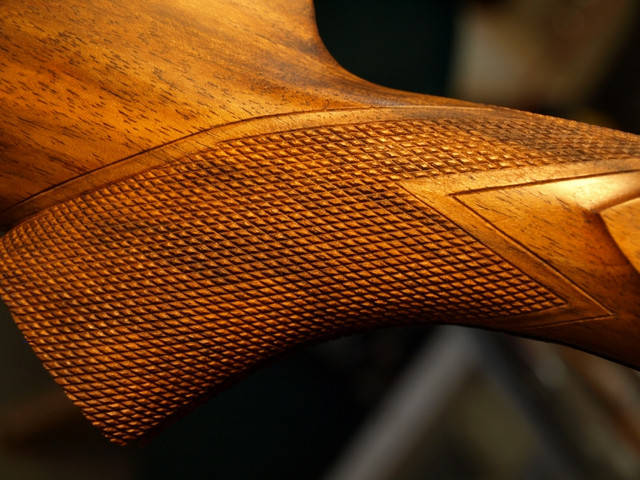
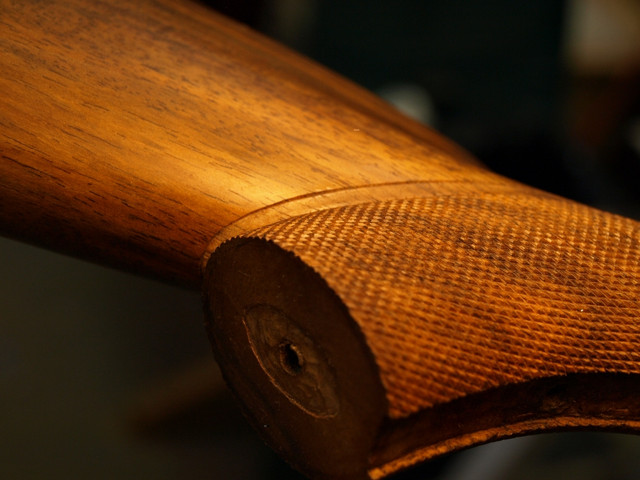
After some off-post conversation with Westbj2 I decided to make a few checkering tools to help with achieving a period look of the checkering.
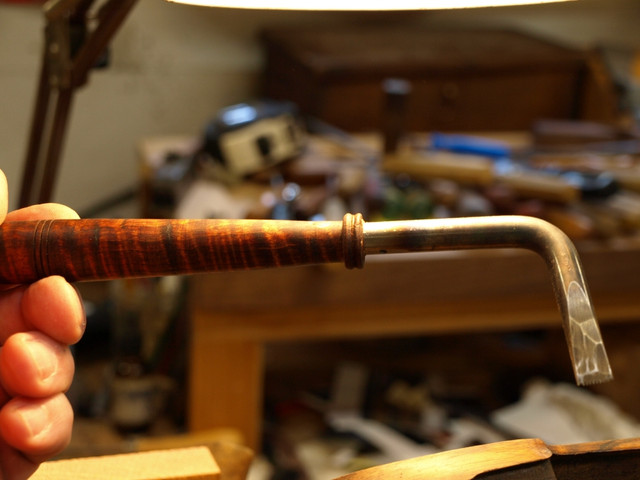
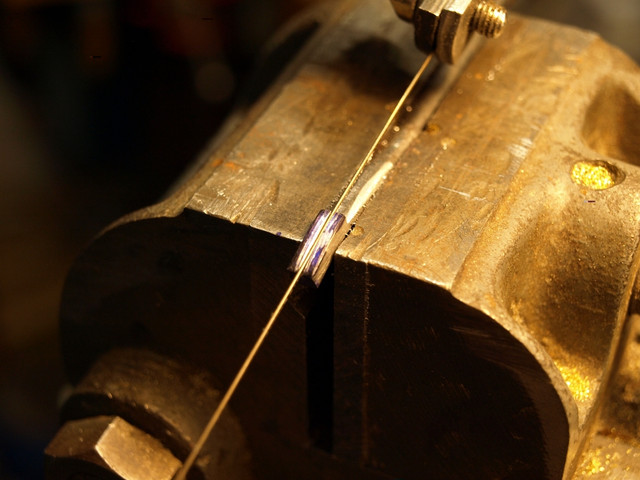
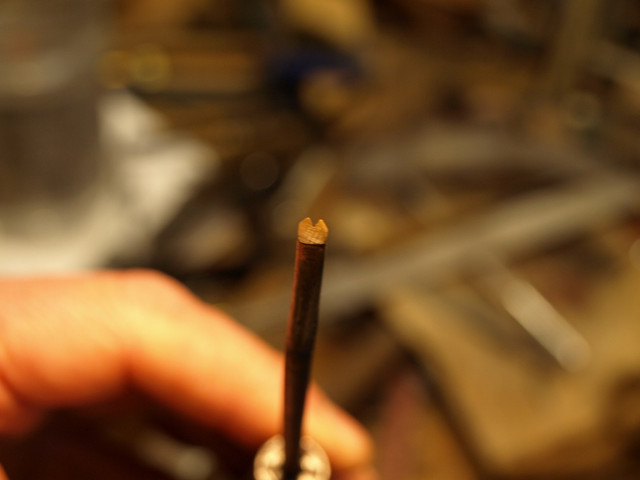
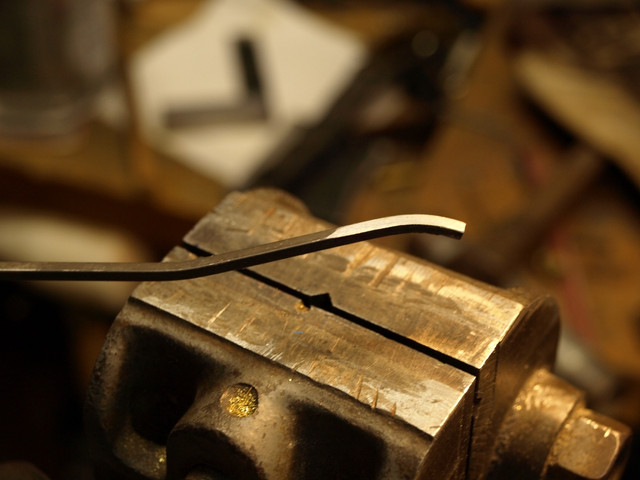
The first tool is an 80 degree double cut. I started out with a spring steel wire form a source you will never guess... times up! About 10 years ago I burned an early 20th century spring mattress on a brush-pile, and harvested several feet up different size pieces of spring wire, high carbon stuff. After the fire the wire was all nicely annealed. I forged one end to a square-ish head and bent it in a vise:
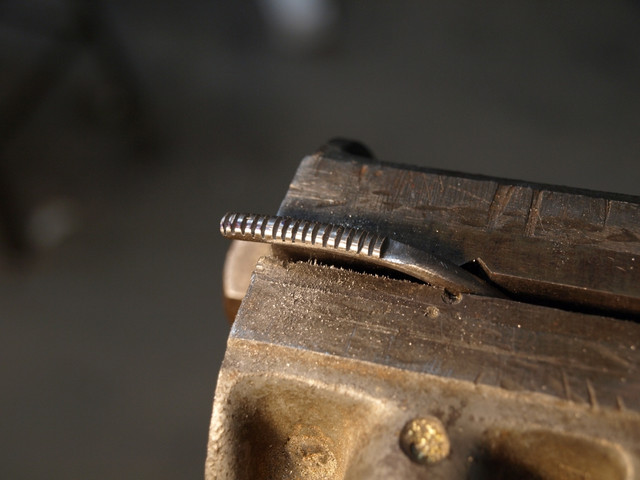
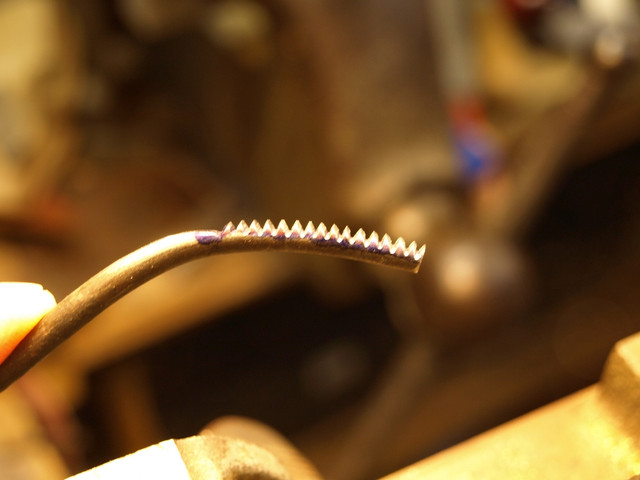
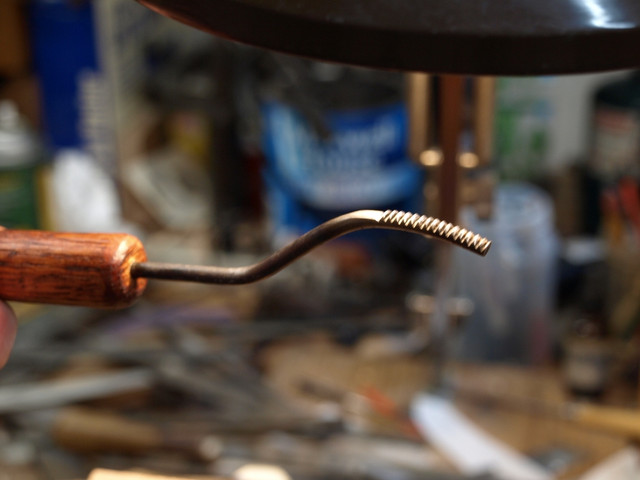
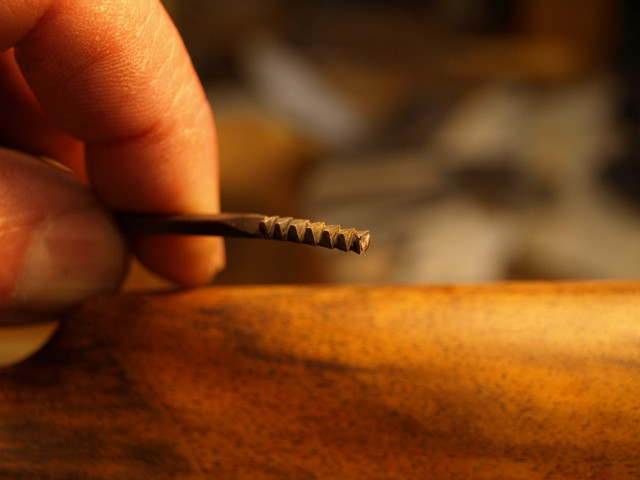
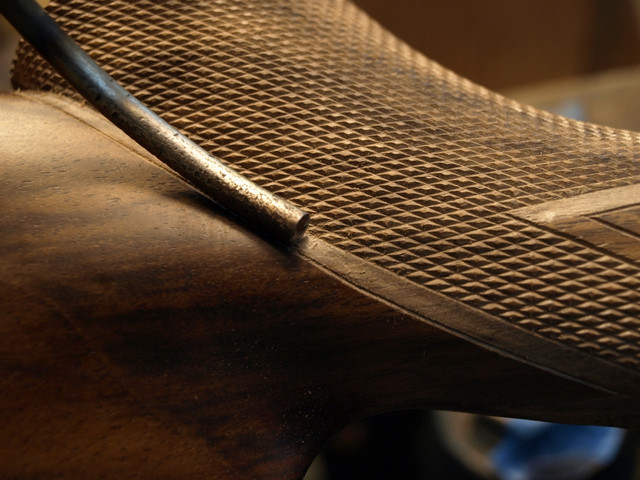
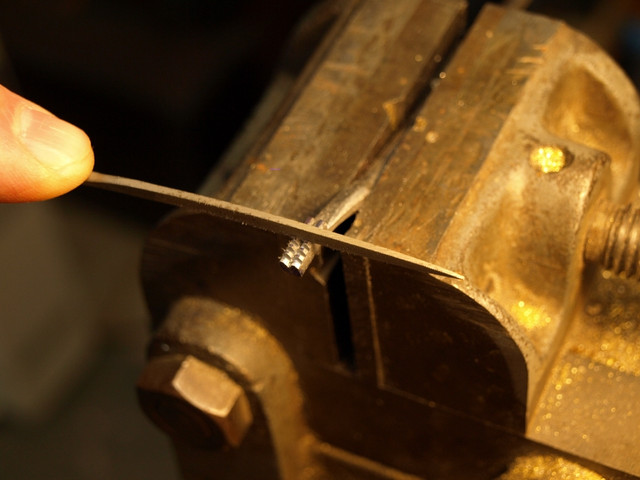
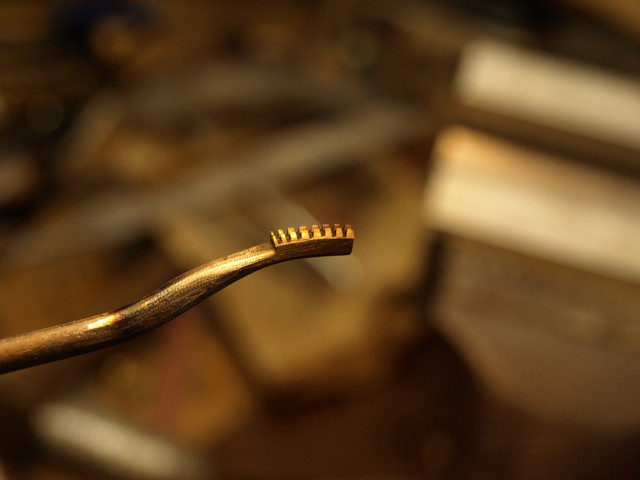
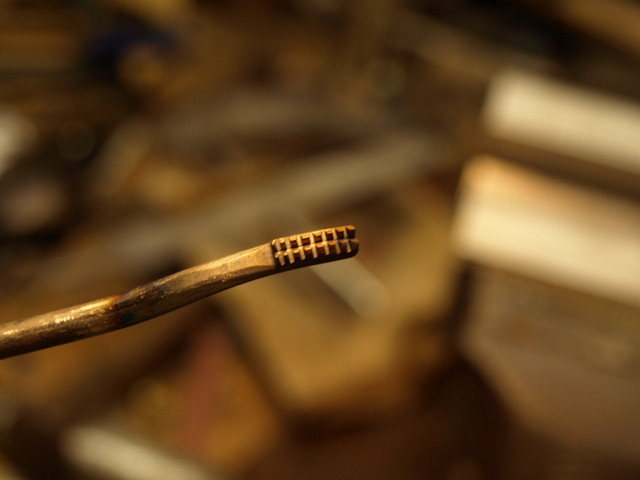
Next I shaped the head by filing, then cut a slot down the center, then cut teeth with a knife edge file:
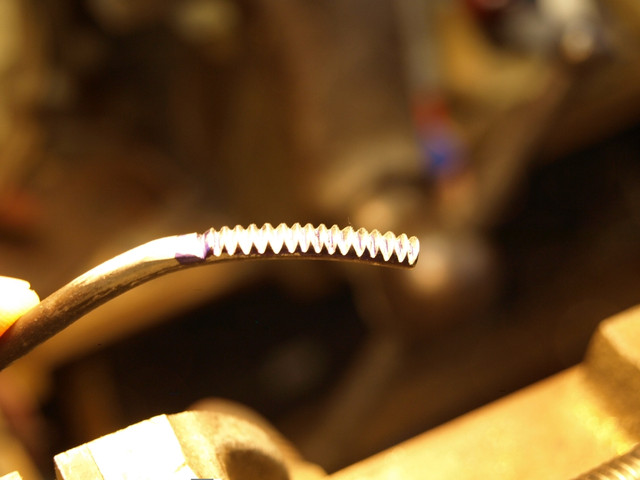
I hardened the head by heating red hot and quenched in kerosene, a trick I learned from George Suiter - the kerosene leave very little slag to clean off. I polished the head and drew it back to a light straw.
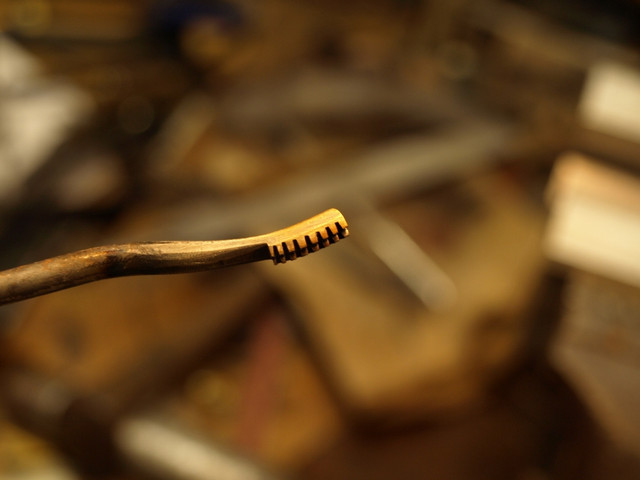
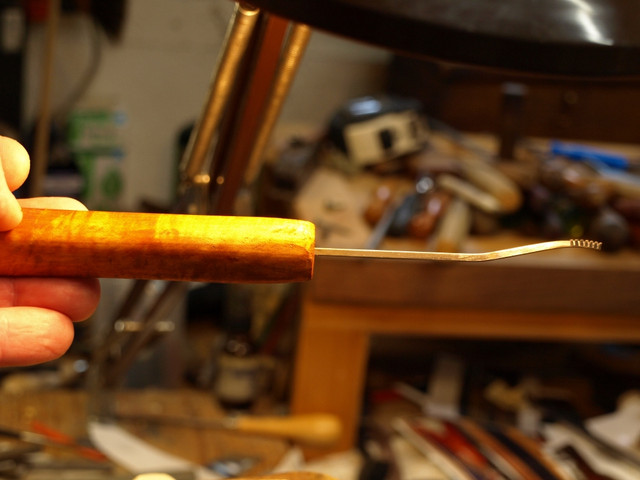
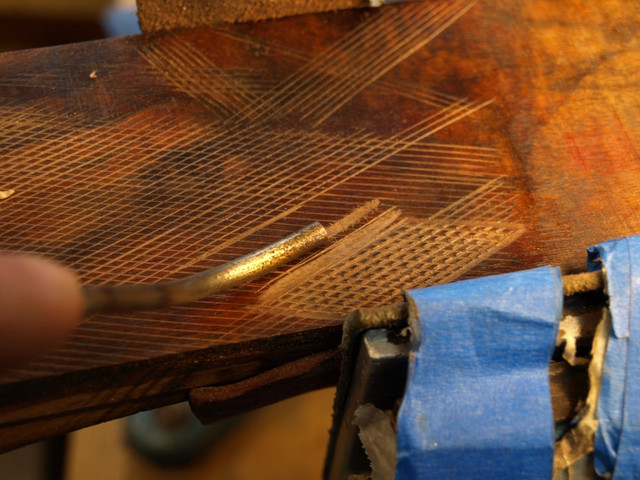
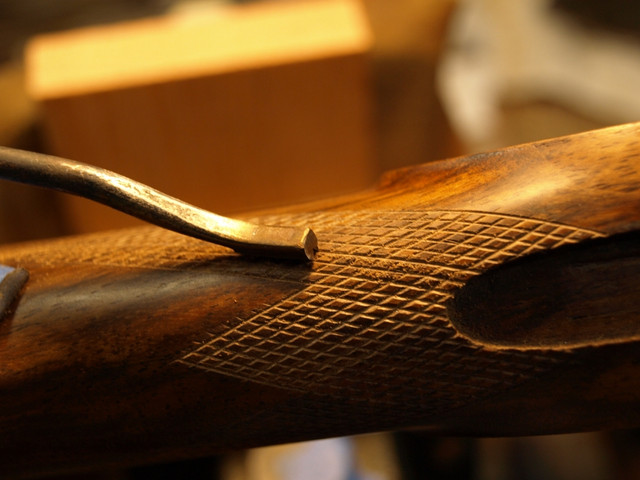
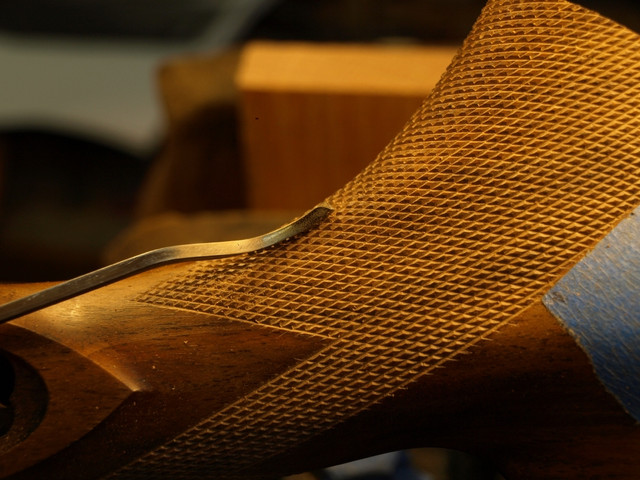
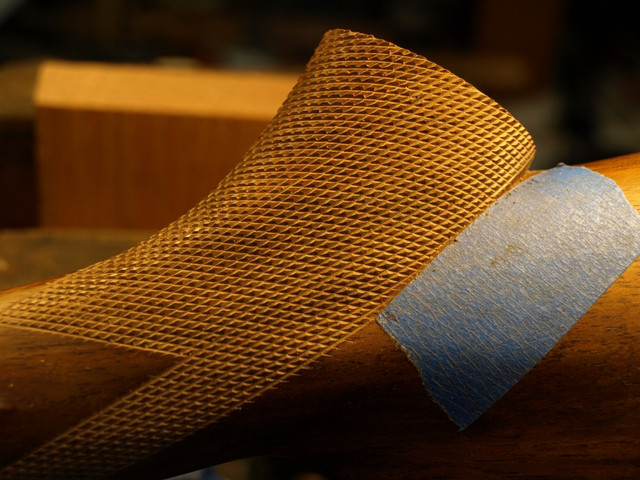
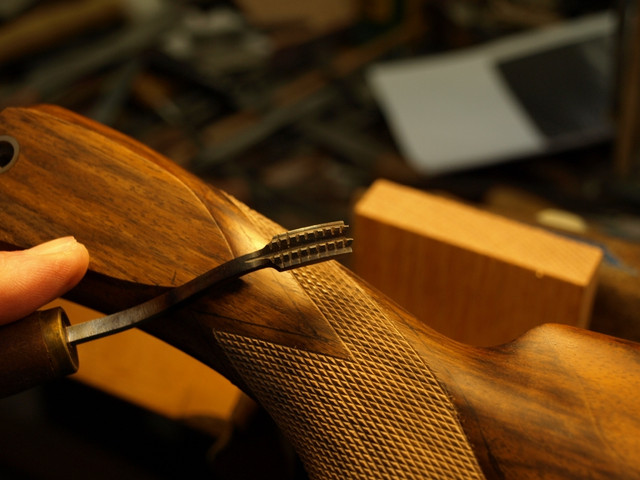
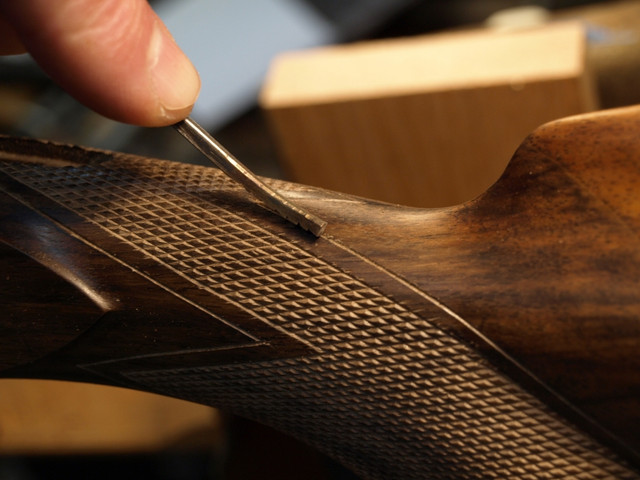
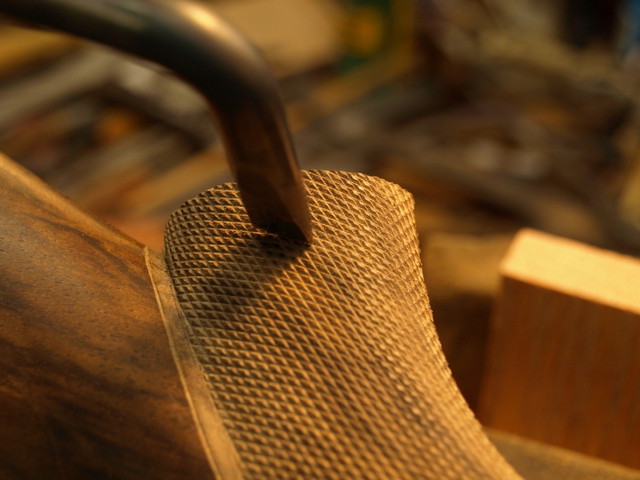
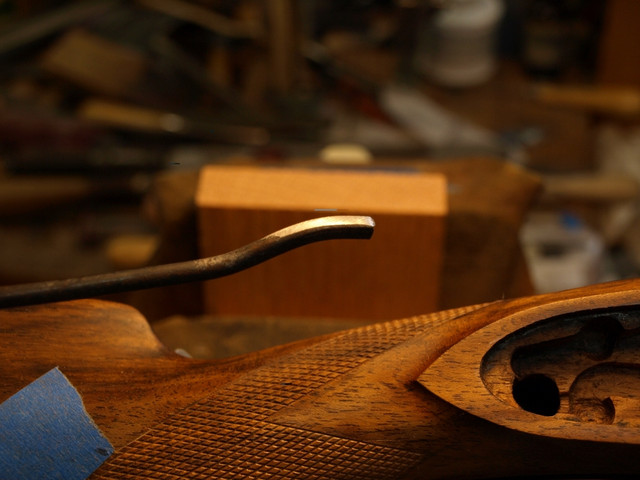
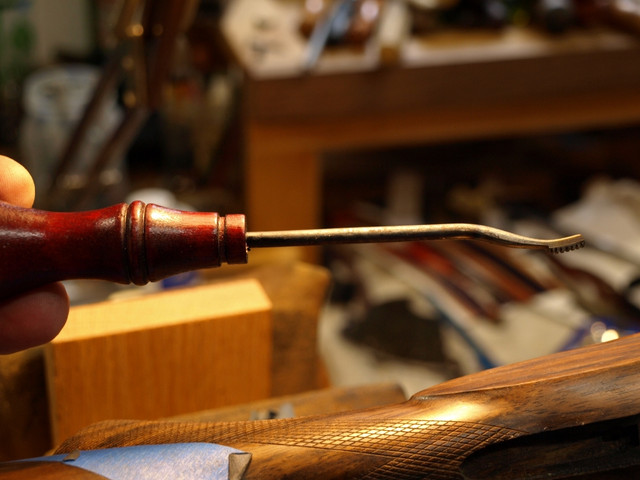
Put a handle on it and it was ready to use.
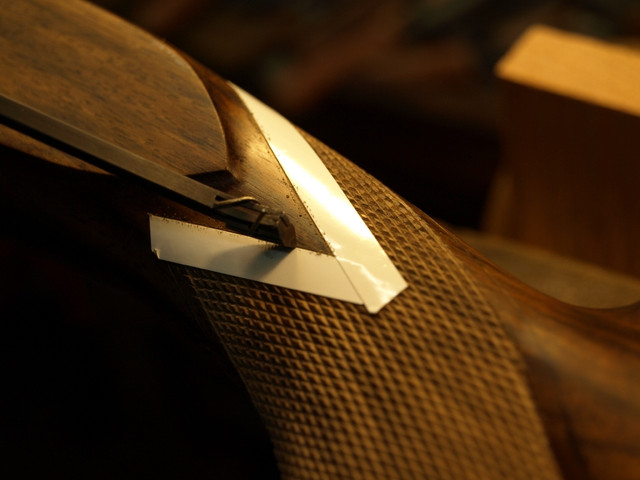
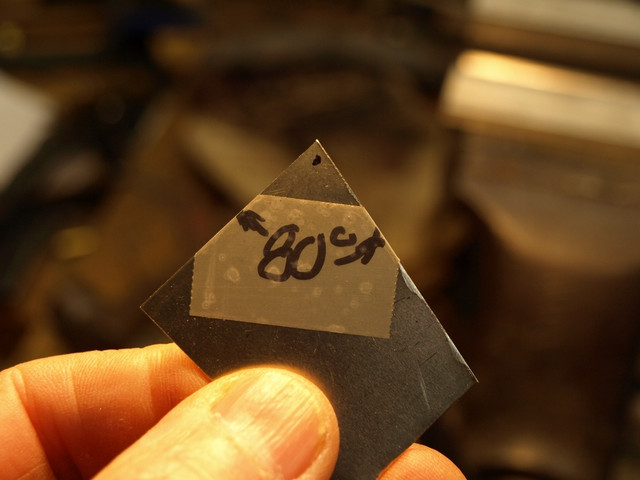
Forgot to mention - I first made an 80 degree template from a scrap of German silver to use as a guide.
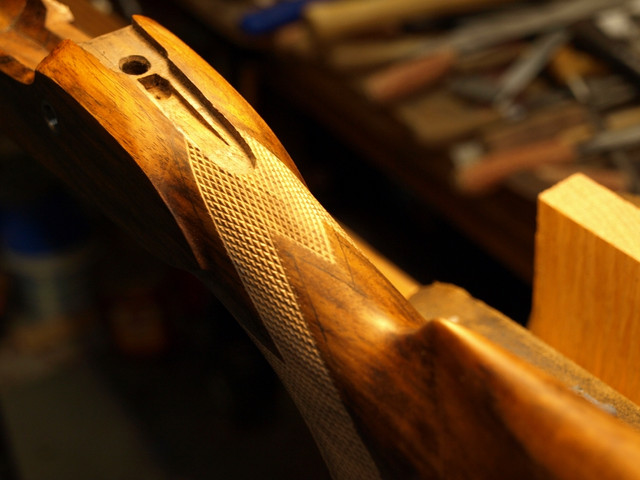
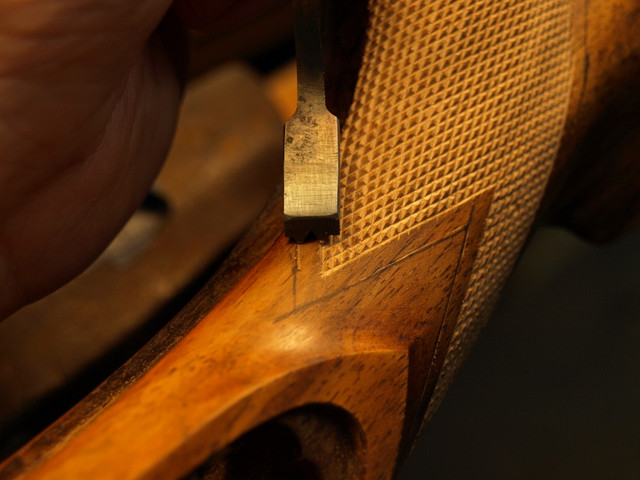
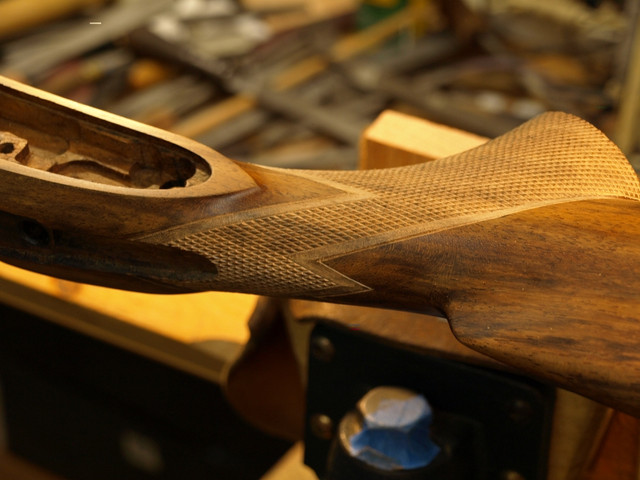
The next tool was a single cut 80 deg tool, made from some W1 tool steel I got from a friend for another project. I filed the head area to 80 deg and bent it using a vice and finger pressure. Then I cut teeth and heat treated the tool.


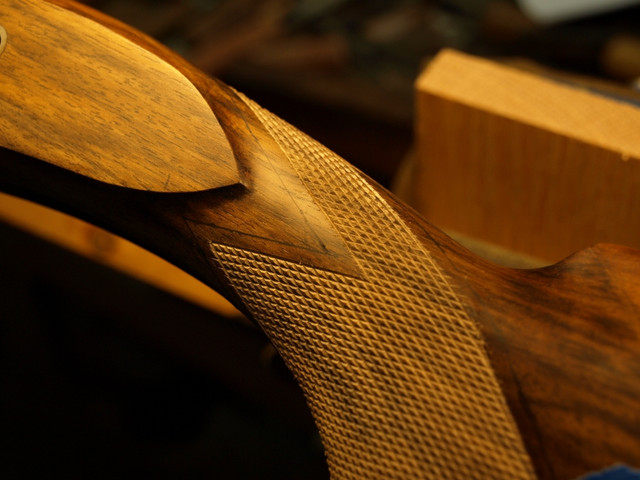
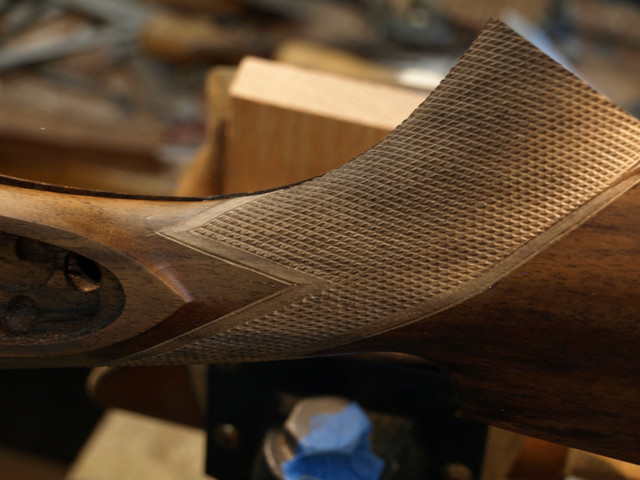
Last, I made a high-quality handle for the tool.
Then I got the bright idea to put a hard maple handle on the tool for the added mass, and managed to break the cutter by careless pressure in a vice when I was pounding the new handle on it!
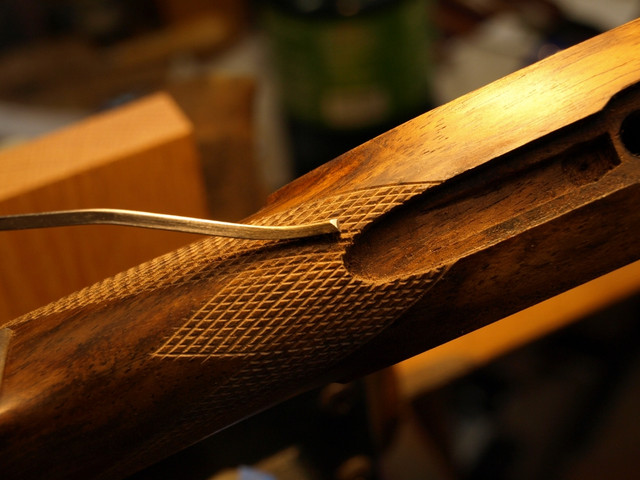
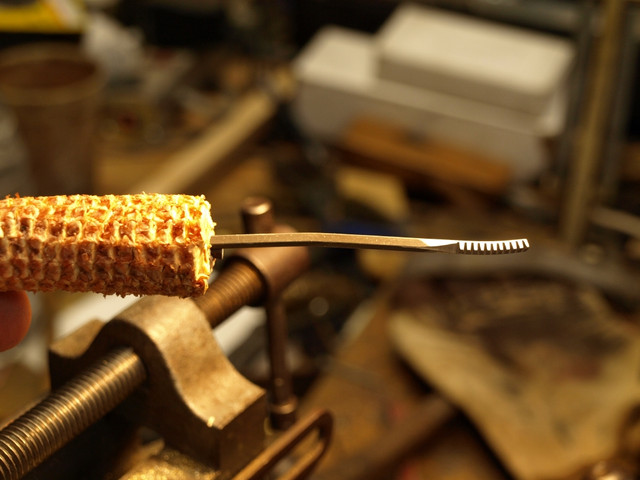
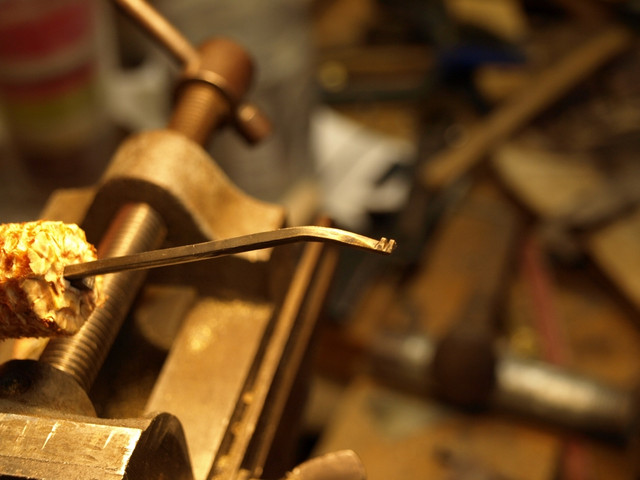
When life gives you lemons, make lemonade! So I made a new 80 deg tool, then annealed the broken one, re-bent the shape and made a small tool for getting into hard places, and back cutting next to borders. I put the corn cob back on that one....
More to come later...
Curtis
The first tool is an 80 degree double cut. I started out with a spring steel wire form a source you will never guess... times up! About 10 years ago I burned an early 20th century spring mattress on a brush-pile, and harvested several feet up different size pieces of spring wire, high carbon stuff. After the fire the wire was all nicely annealed. I forged one end to a square-ish head and bent it in a vise:
Next I shaped the head by filing, then cut a slot down the center, then cut teeth with a knife edge file:
I hardened the head by heating red hot and quenched in kerosene, a trick I learned from George Suiter - the kerosene leave very little slag to clean off. I polished the head and drew it back to a light straw.
Put a handle on it and it was ready to use.
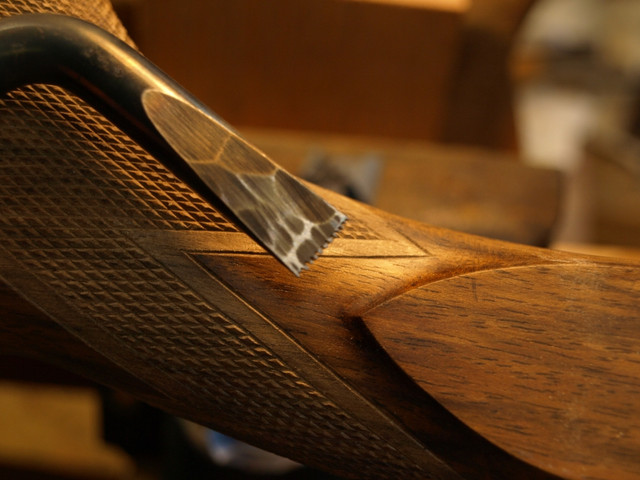
Forgot to mention - I first made an 80 degree template from a scrap of German silver to use as a guide.
The next tool was a single cut 80 deg tool, made from some W1 tool steel I got from a friend for another project. I filed the head area to 80 deg and bent it using a vice and finger pressure. Then I cut teeth and heat treated the tool.
Last, I made a high-quality handle for the tool.
Then I got the bright idea to put a hard maple handle on the tool for the added mass, and managed to break the cutter by careless pressure in a vice when I was pounding the new handle on it!
When life gives you lemons, make lemonade! So I made a new 80 deg tool, then annealed the broken one, re-bent the shape and made a small tool for getting into hard places, and back cutting next to borders. I put the corn cob back on that one....
More to come later...
Curtis