- Joined
- Apr 2, 2007
- Messages
- 1,421
- Reaction score
- 295
I received a number of likes when I posted the following as a comment to a recent thread. So I figured I would repeat it as a stand-alone thread so as to be easier to find with the forum's search function.
There's no need to pay a gunsmith to shorten a barrel. It's a simple job you can do at home with hand tools.
Here's how I went about it.
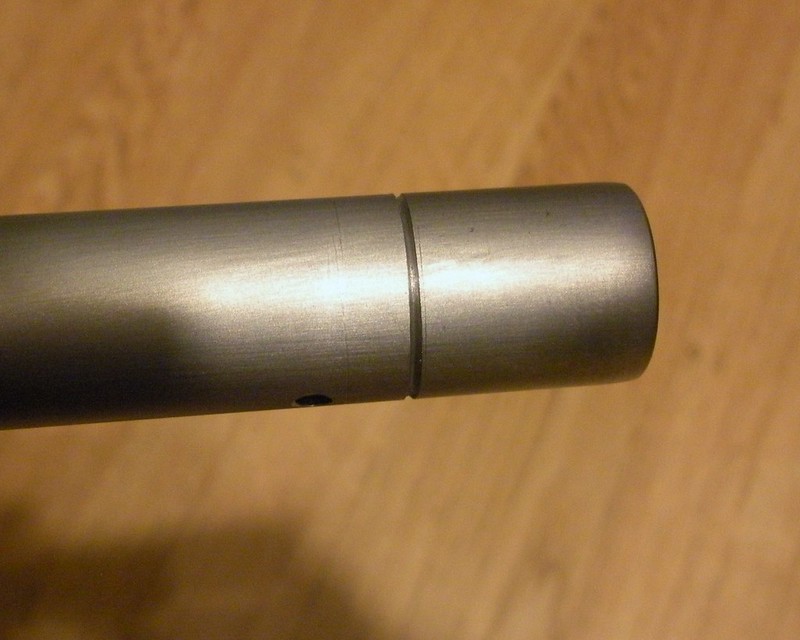
The first step was to mark the barrel for the cut. I used a copper tubing cutter to do that. These things are about $8 from Ace Hardware.
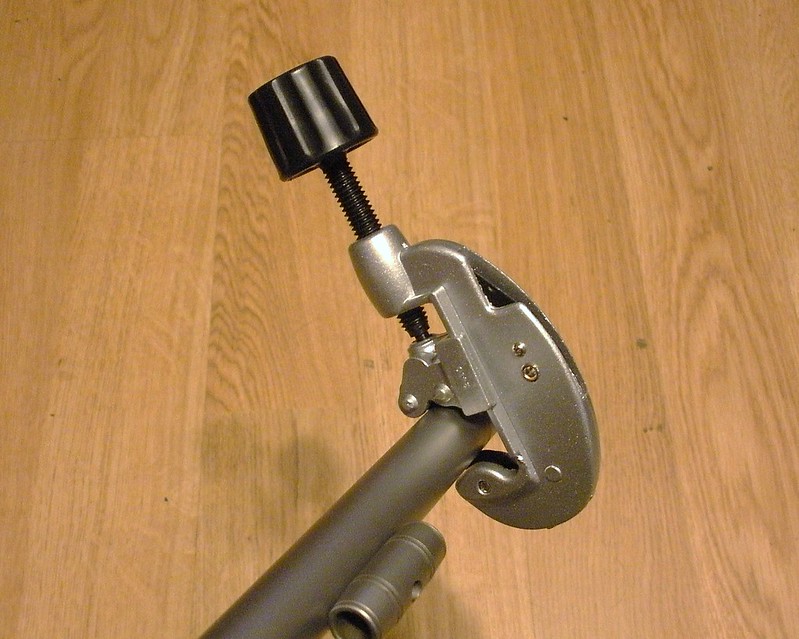
It made a nice little shallow groove around the barrel perfectly square to the bore.
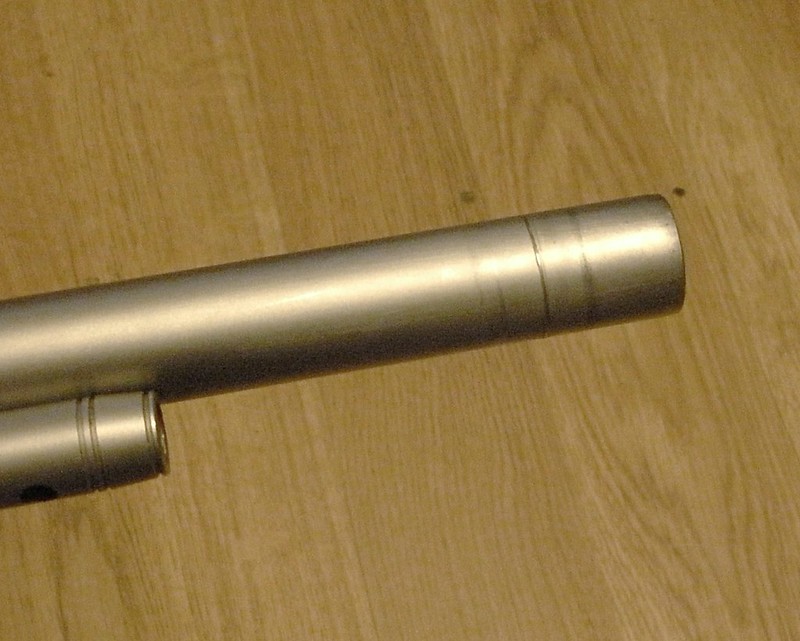
Then I used a fine cut six-inch three corner file to carefully deepen the grove., laying the barrel across my lap and rotating it slowly as I filed.
I wanted a groove deep enough to serve as a starting guide for a hack saw blade.
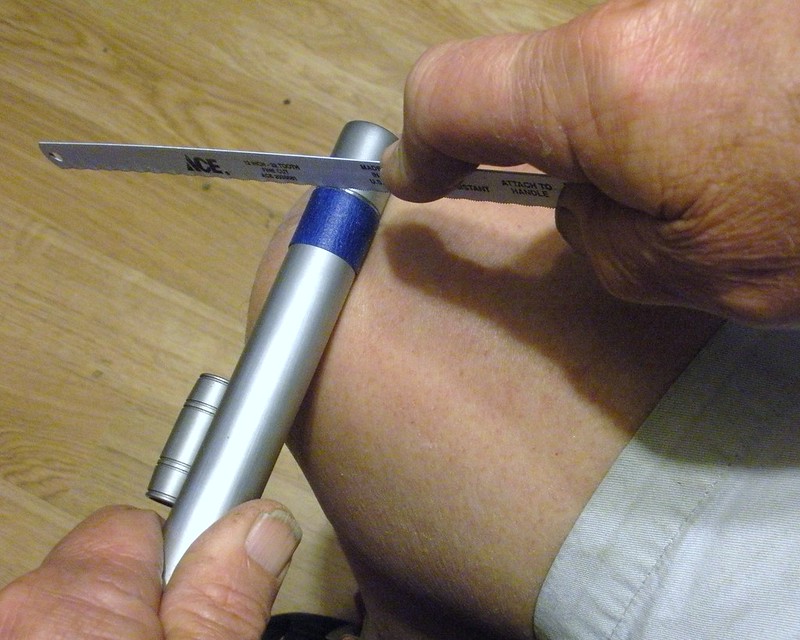
Then I wrapped the barrel with tape to protect it from any slips when I went at it with the hack saw blade.

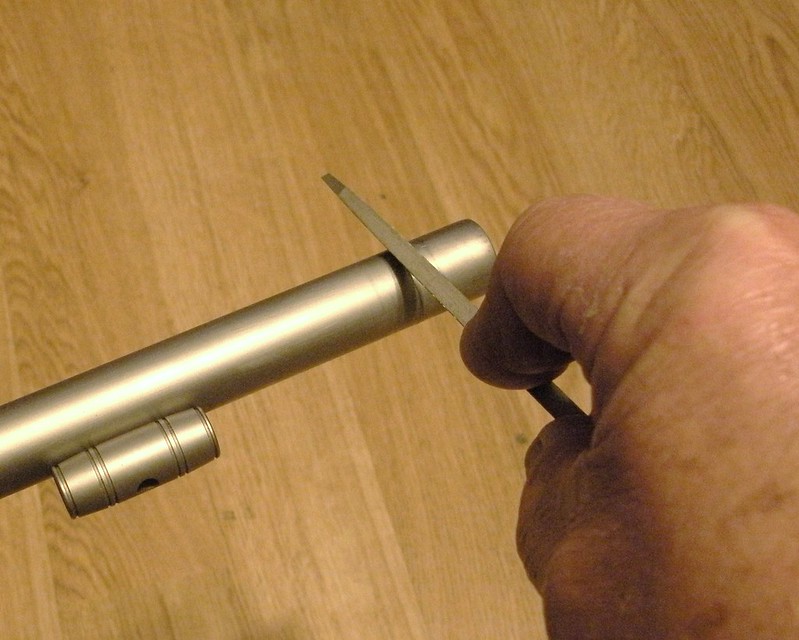
With the barrel across my lap once again, I began the cut using a new 32 tooth per inch fine cut hack saw blade held in my hand. I could probably have mounted the blade in a handle, but figured I would have more control holding the blade. I started off with very light cuts, rotating the barrel as I went.
Here’s what it looked like after about ten minutes of careful work.
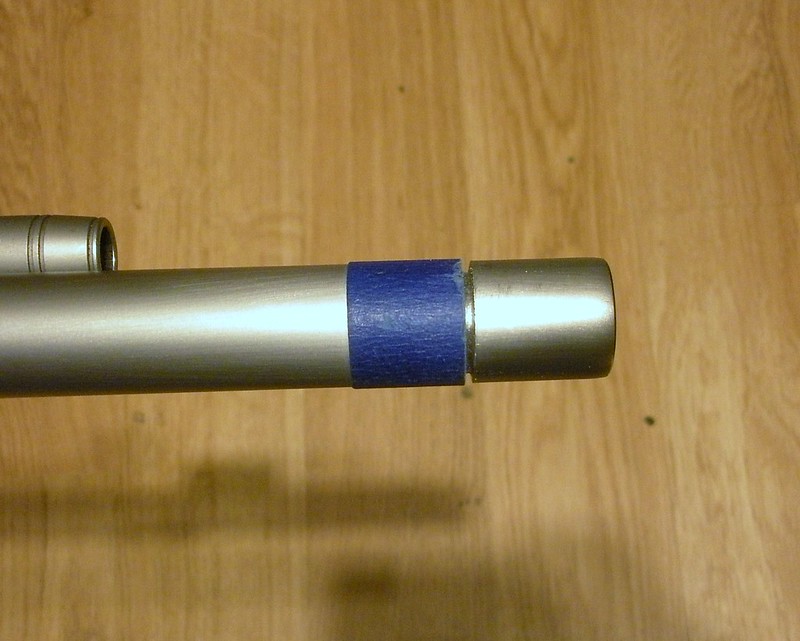
It was going slowly, but nice and even. Again, mounting the blade in a handle at this point would make for a faster and easier job. But I was in no hurry and stuck with the handheld blade. It took longer to get all the way through, but I ended up with a nice even cut.
Then I began dressing the face of the muzzle with light strokes of the fine three corner file, making sure to keep the file flat and rotating the barrel as I progressed.
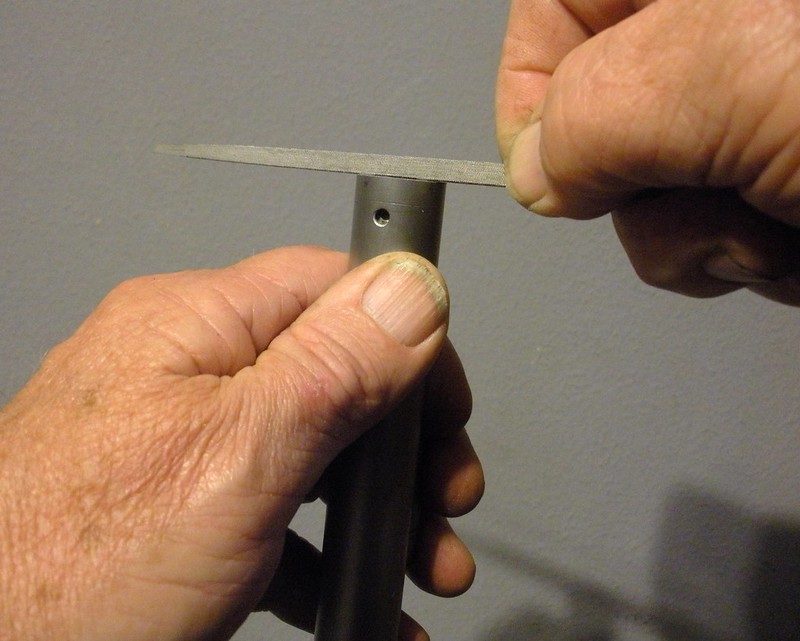
It didn’t take too long to remove all of the lines and scratches left by the saw blade.
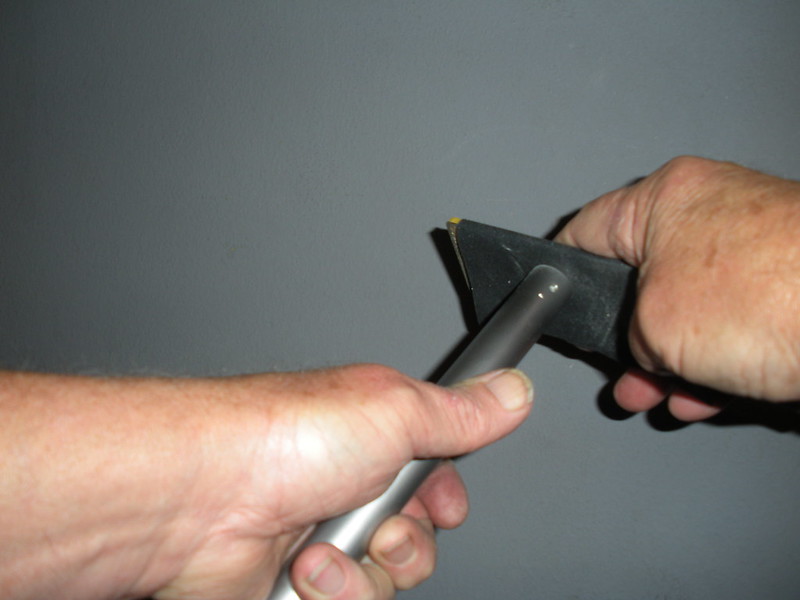
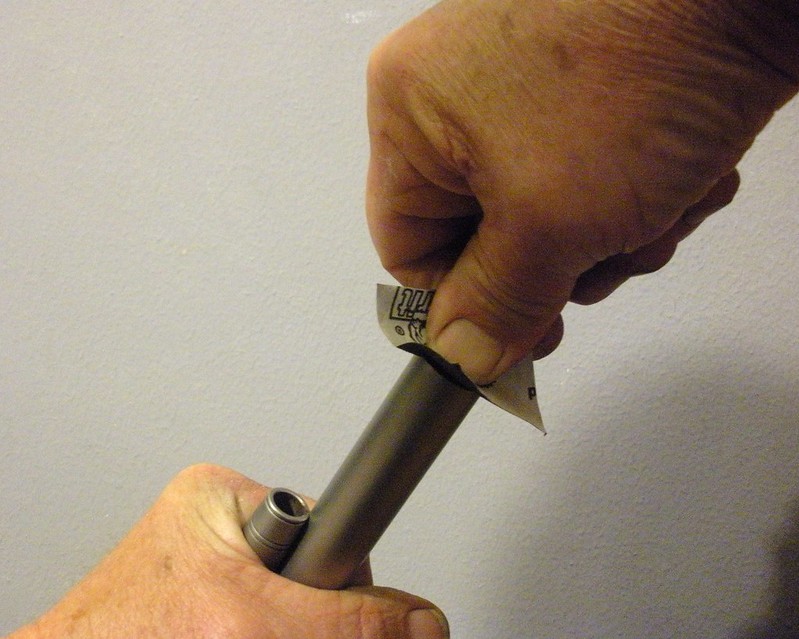
I then used 240 grit emery paper backed by a flat piece of aluminum to continue dressing the muzzle flat and smooth, keeping it flat against the muzzle and using a circular motion. I followed the 240 grit paper with a final polish of 400 grit paper.
Once it was flat and smooth, I used the 240 grit, then the 400 grit the to slightly chamfer the outside edge, removing the sharp corner.
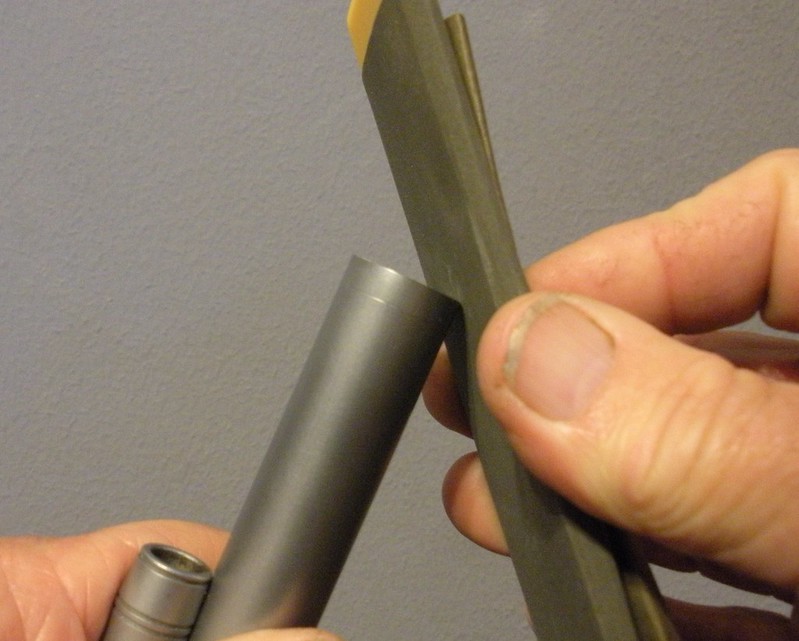
Then used one-inch squares of 240 grit and 400 grit paper and my thumb to slightly chamfer the inside of the muzzle
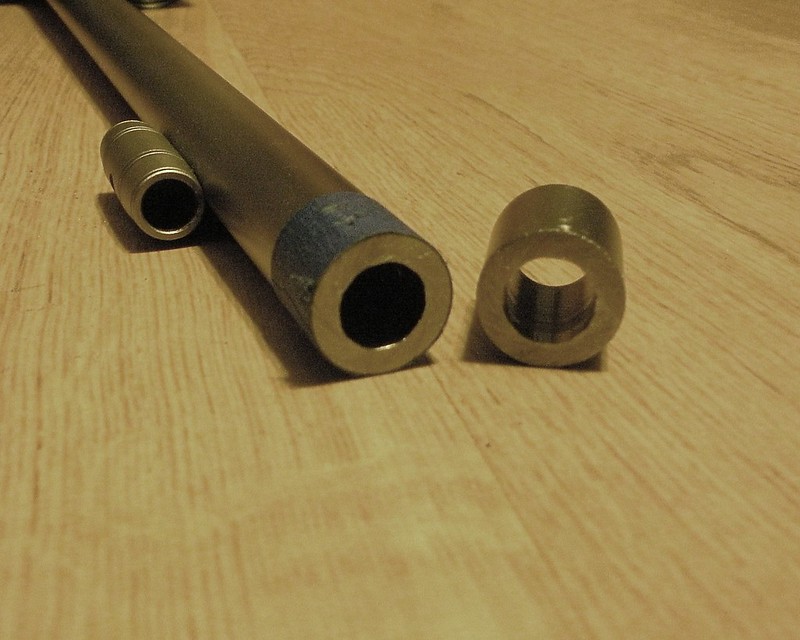
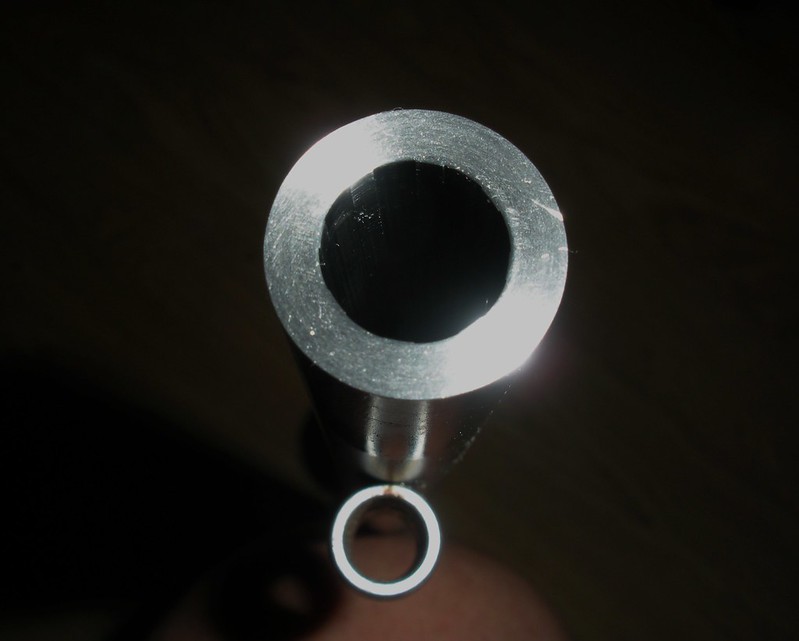
The final product was quite satisfactory. I don’t know how a smith could have done any better.
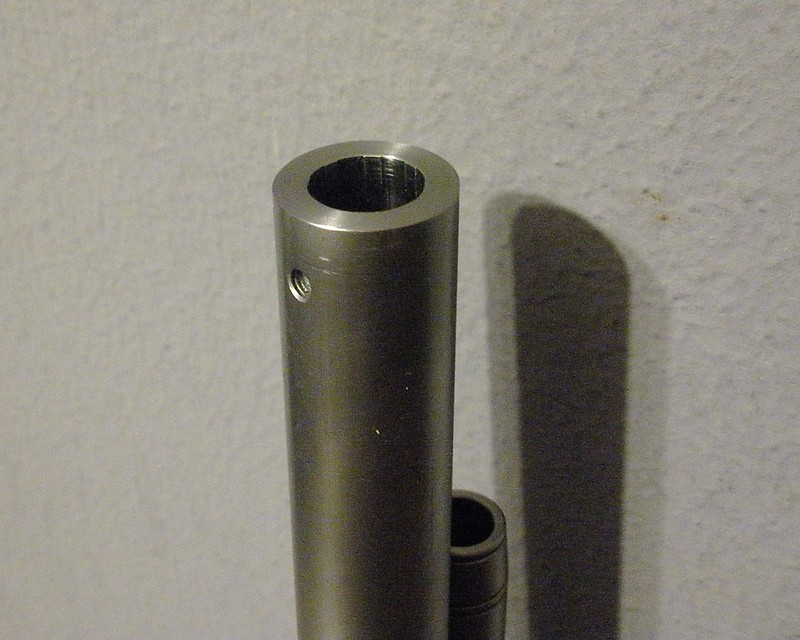
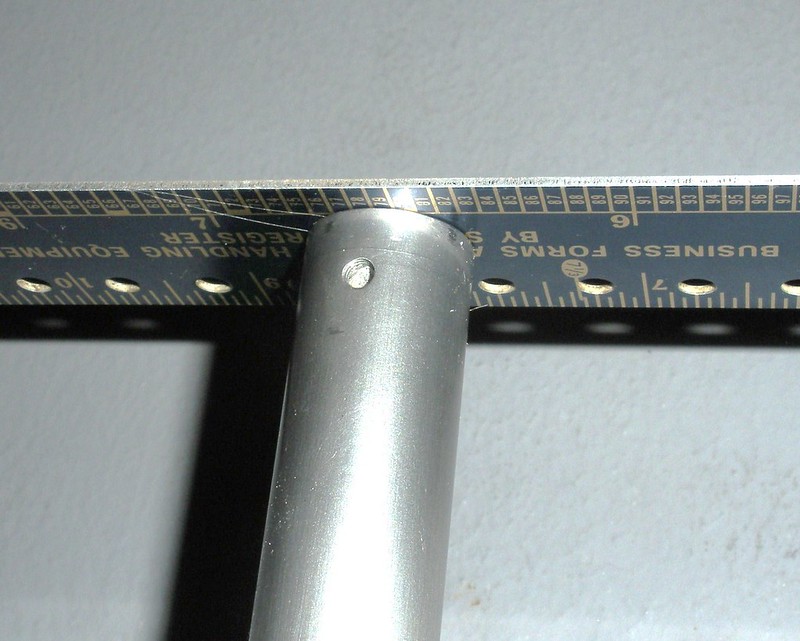
As you can see, I managed to keep everything flat and square.

By the way, I did all of the work sitting on a chair in my man cave.

There's no need to pay a gunsmith to shorten a barrel. It's a simple job you can do at home with hand tools.
Here's how I went about it.
The first step was to mark the barrel for the cut. I used a copper tubing cutter to do that. These things are about $8 from Ace Hardware.
It made a nice little shallow groove around the barrel perfectly square to the bore.
Then I used a fine cut six-inch three corner file to carefully deepen the grove., laying the barrel across my lap and rotating it slowly as I filed.
I wanted a groove deep enough to serve as a starting guide for a hack saw blade.
Then I wrapped the barrel with tape to protect it from any slips when I went at it with the hack saw blade.
With the barrel across my lap once again, I began the cut using a new 32 tooth per inch fine cut hack saw blade held in my hand. I could probably have mounted the blade in a handle, but figured I would have more control holding the blade. I started off with very light cuts, rotating the barrel as I went.
Here’s what it looked like after about ten minutes of careful work.
It was going slowly, but nice and even. Again, mounting the blade in a handle at this point would make for a faster and easier job. But I was in no hurry and stuck with the handheld blade. It took longer to get all the way through, but I ended up with a nice even cut.
Then I began dressing the face of the muzzle with light strokes of the fine three corner file, making sure to keep the file flat and rotating the barrel as I progressed.
It didn’t take too long to remove all of the lines and scratches left by the saw blade.
I then used 240 grit emery paper backed by a flat piece of aluminum to continue dressing the muzzle flat and smooth, keeping it flat against the muzzle and using a circular motion. I followed the 240 grit paper with a final polish of 400 grit paper.
Once it was flat and smooth, I used the 240 grit, then the 400 grit the to slightly chamfer the outside edge, removing the sharp corner.
Then used one-inch squares of 240 grit and 400 grit paper and my thumb to slightly chamfer the inside of the muzzle
The final product was quite satisfactory. I don’t know how a smith could have done any better.
As you can see, I managed to keep everything flat and square.
By the way, I did all of the work sitting on a chair in my man cave.