Richland Arms "Michigan" rifle rebuild.

Modern Muzzleloading Forum

Help Support Modern Muzzleloading Forum:

This site may earn a commission from merchant affiliate links, including eBay, Amazon, and others.

RhinoDave

Well-Known Member
*
Joined
Jan 25, 2017
Messages
170
Reaction score
29
Richland Arms "Michigan" rifle rebuild.

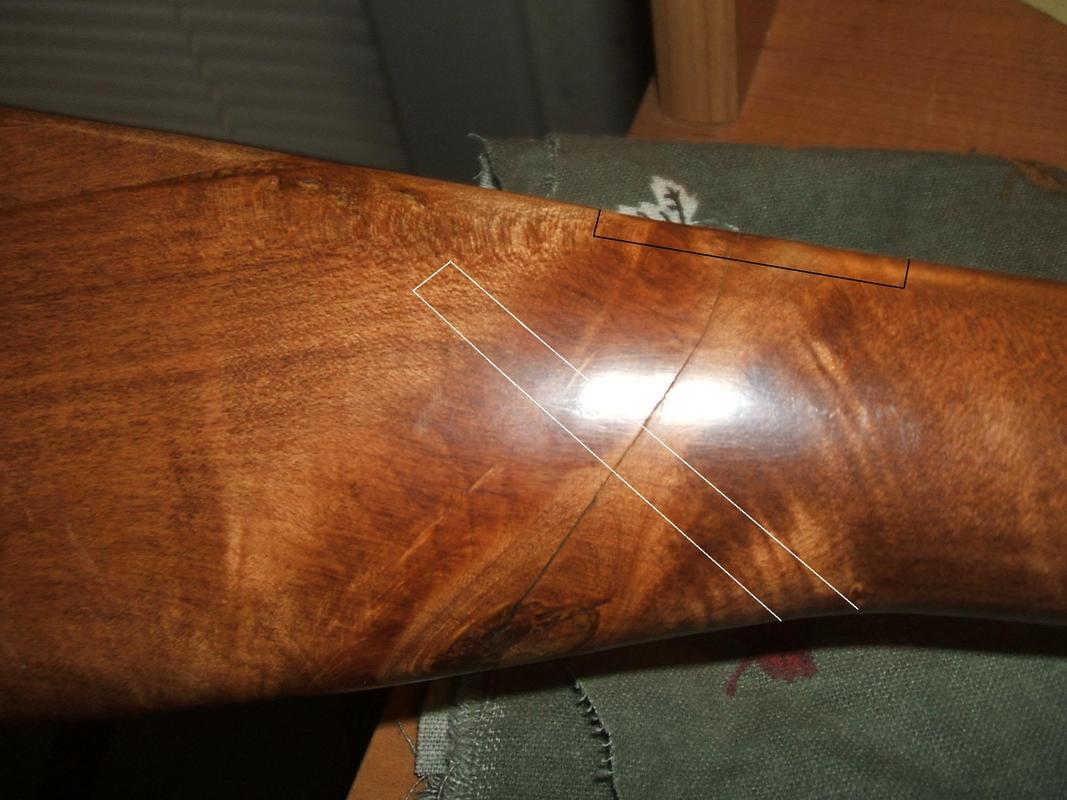
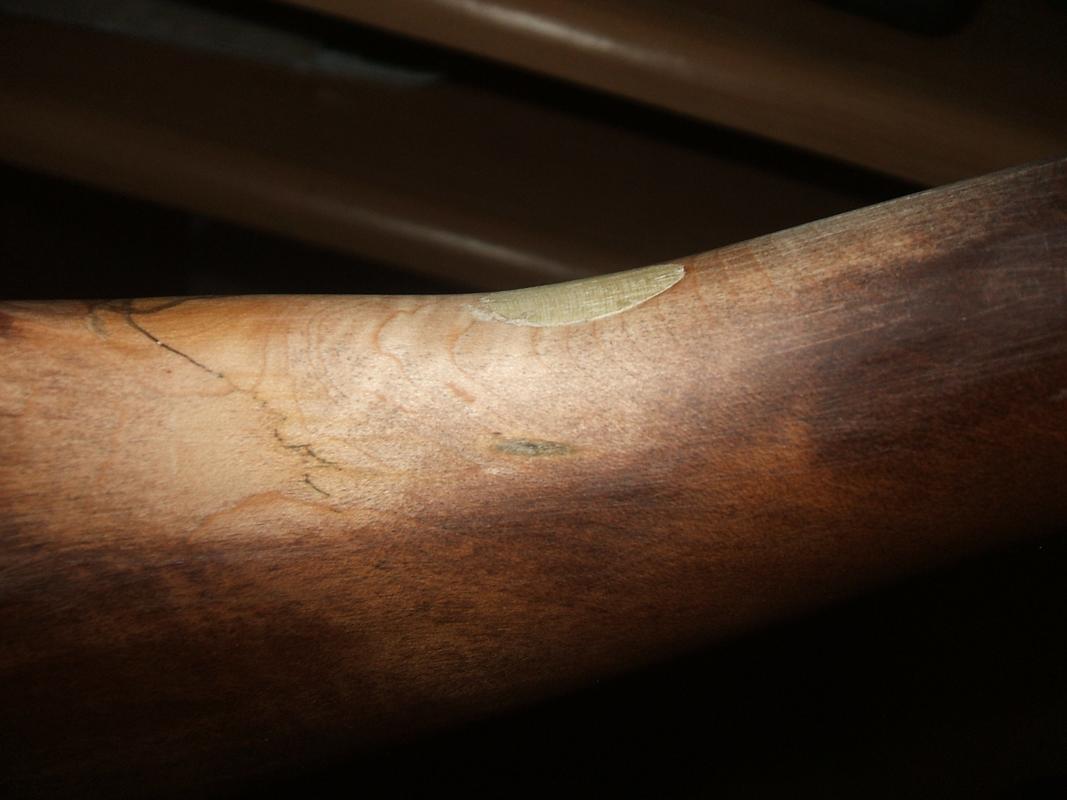
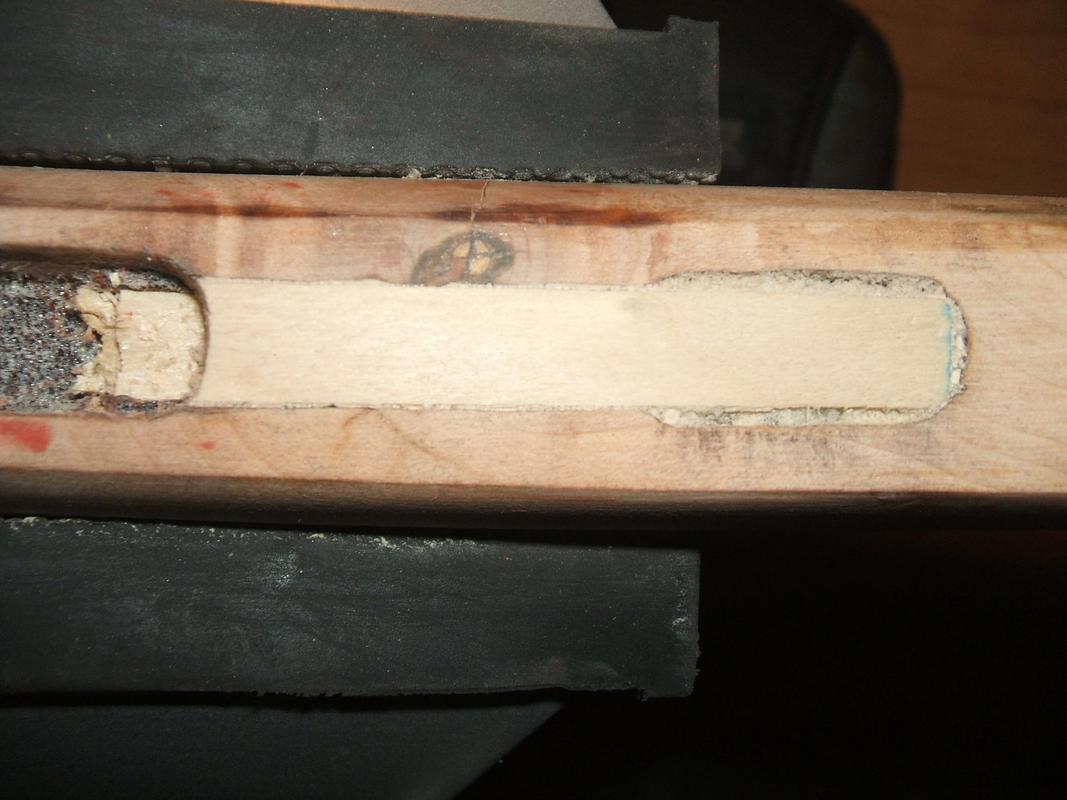
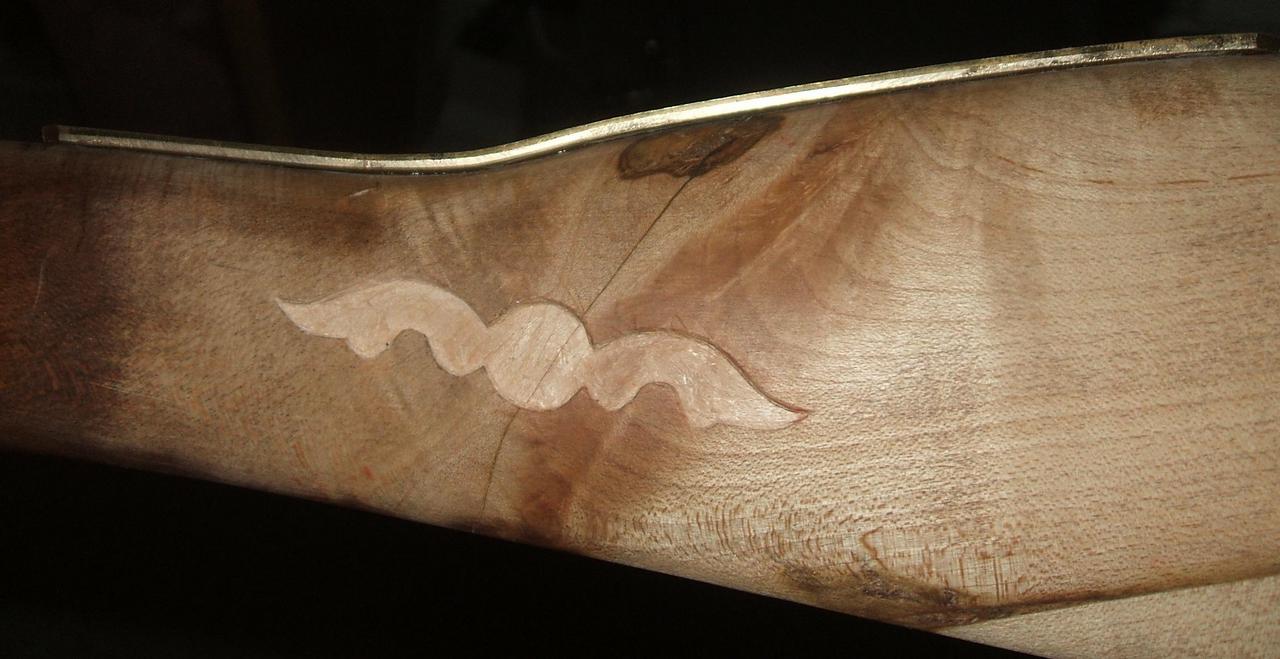
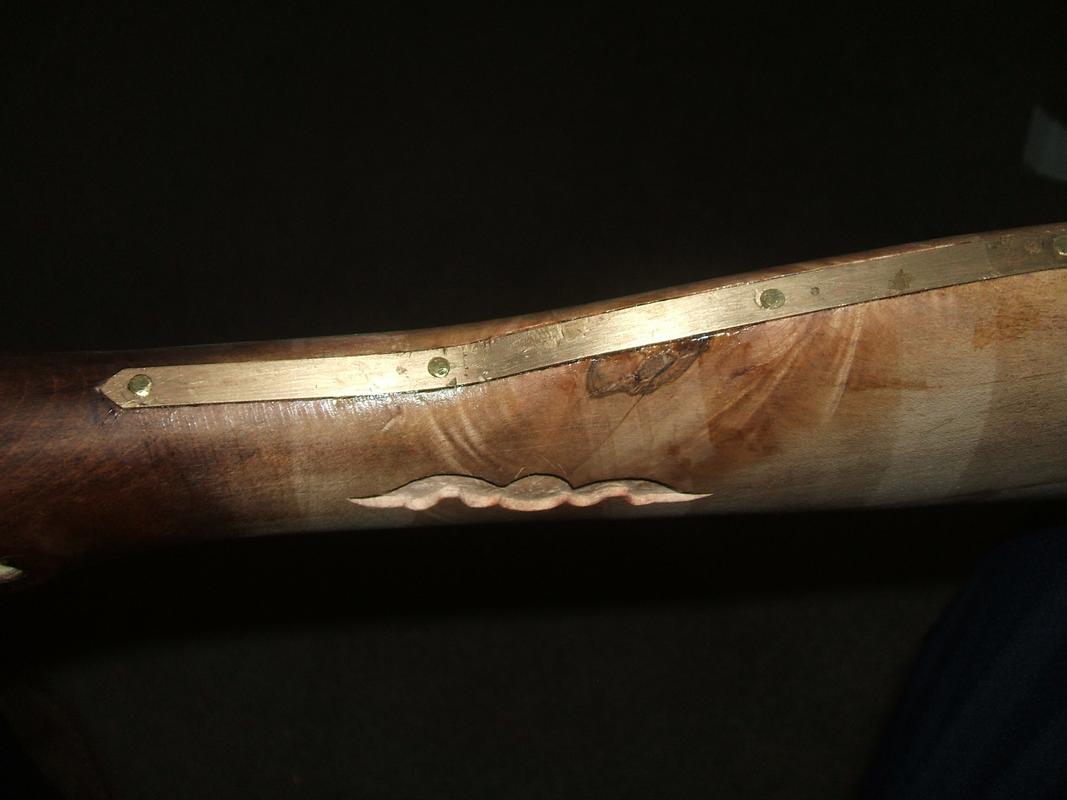
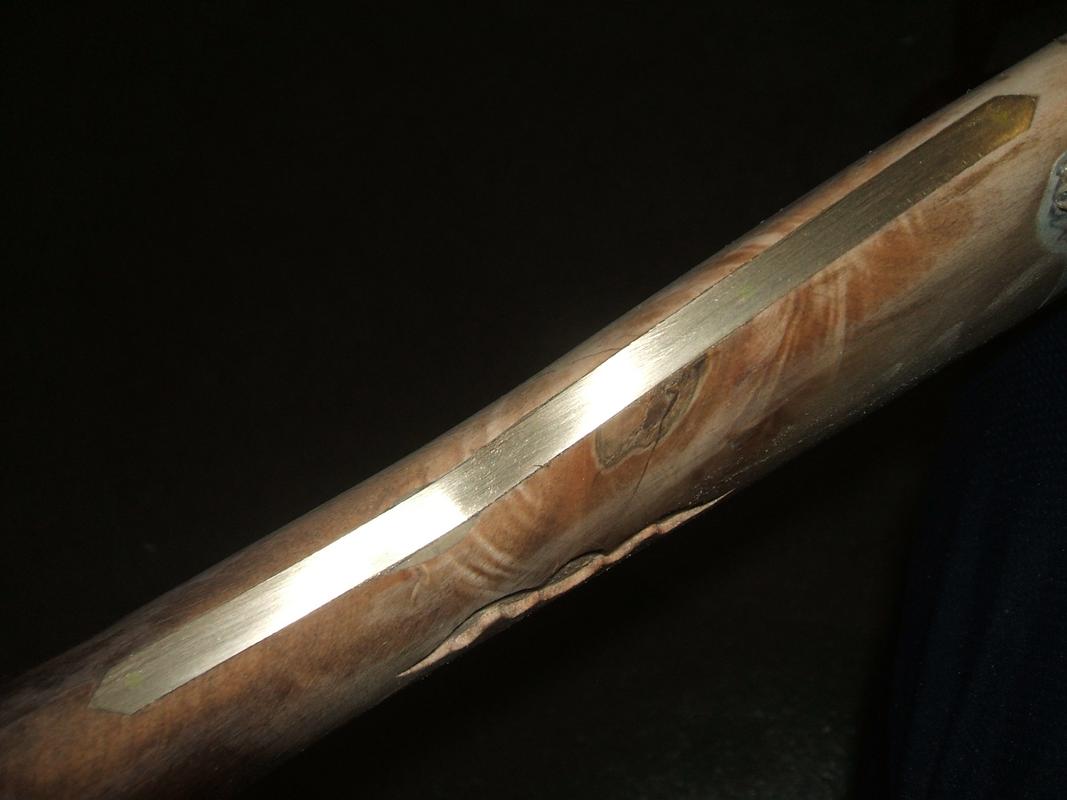
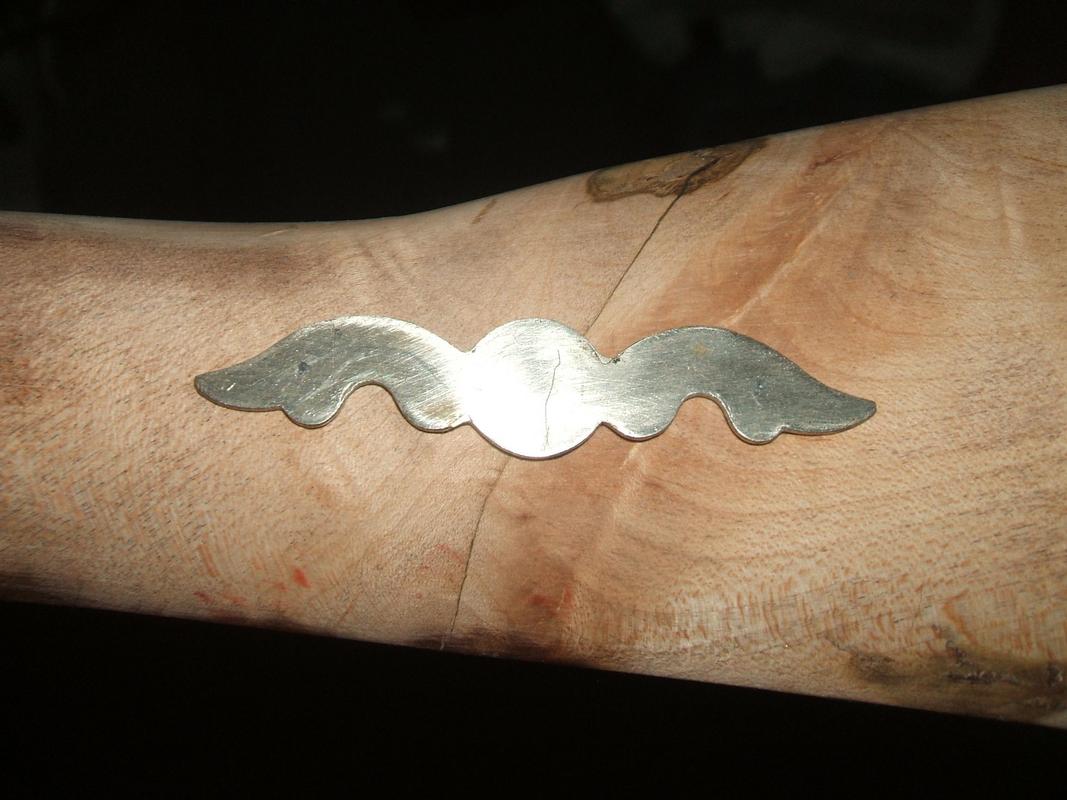
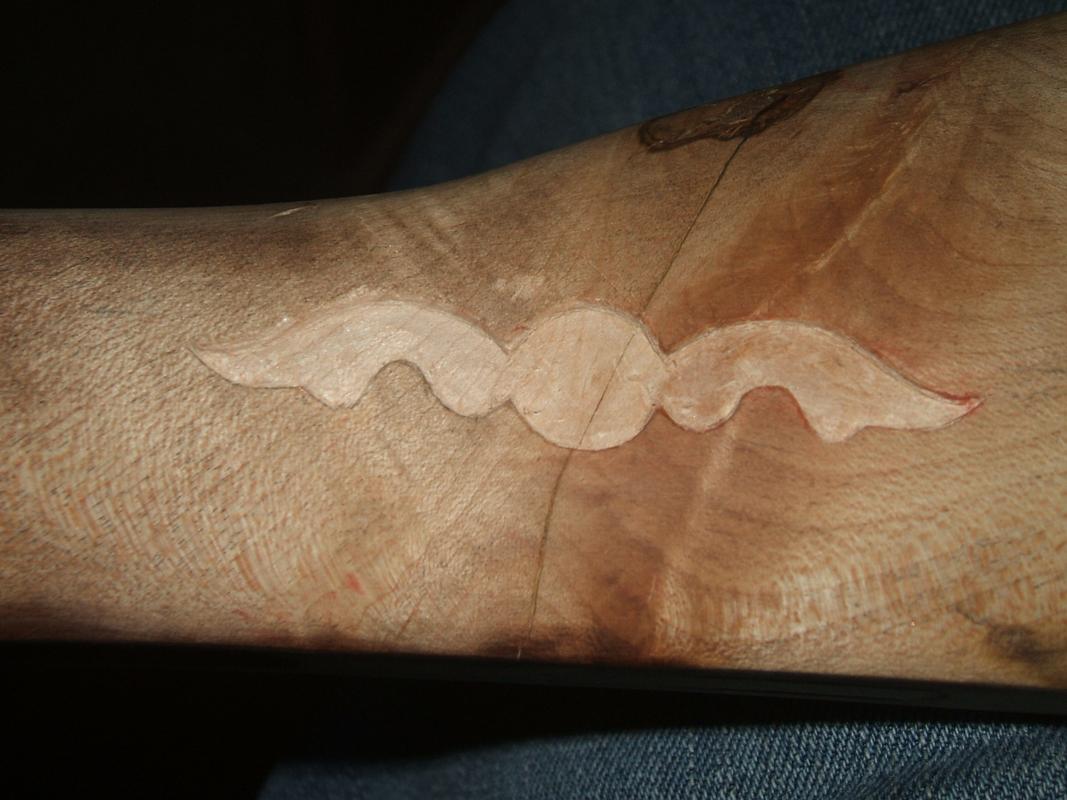
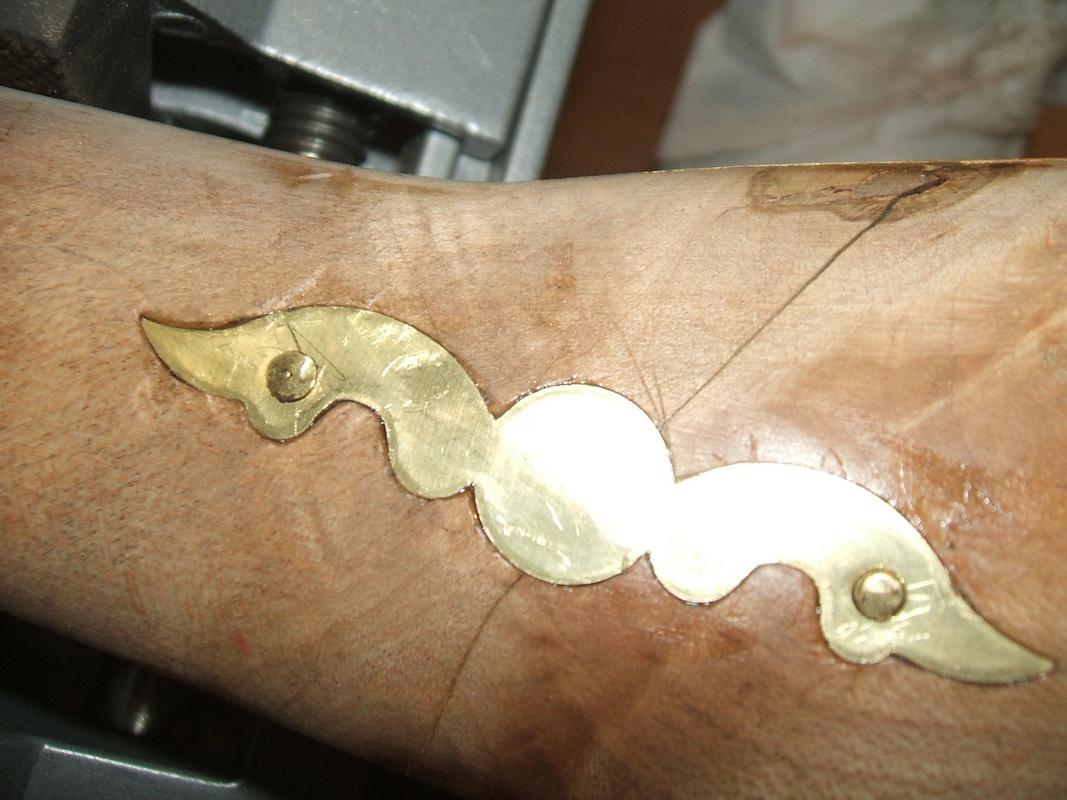
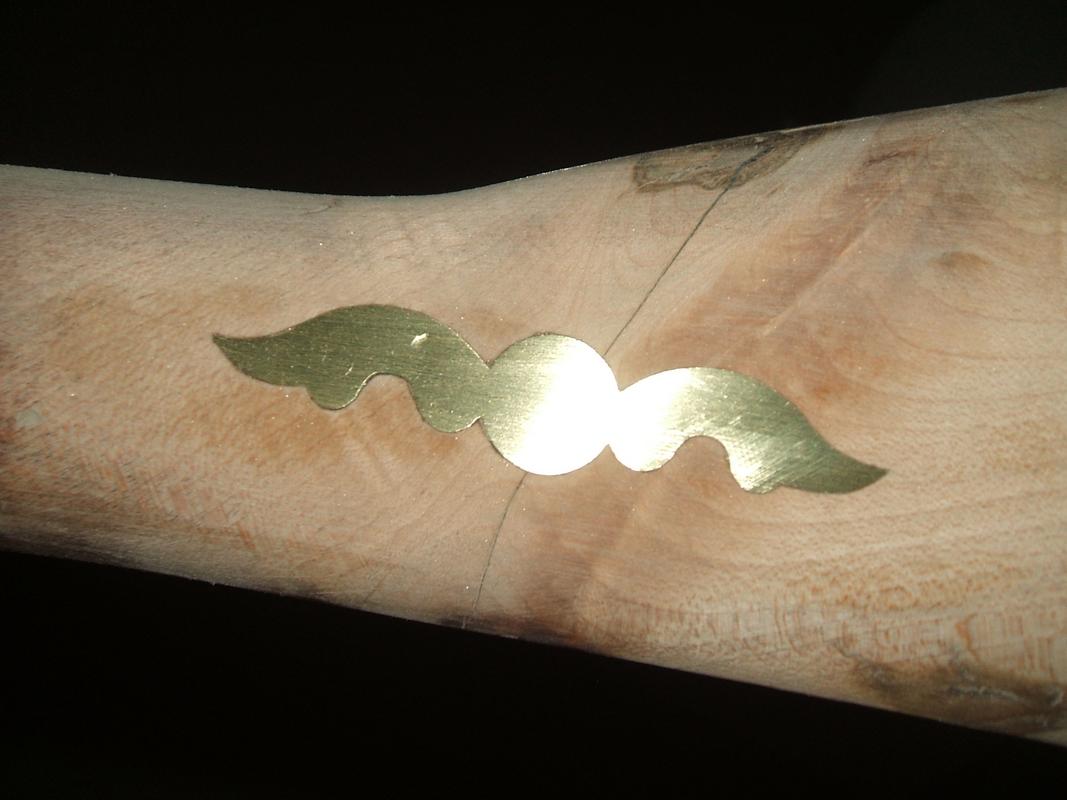
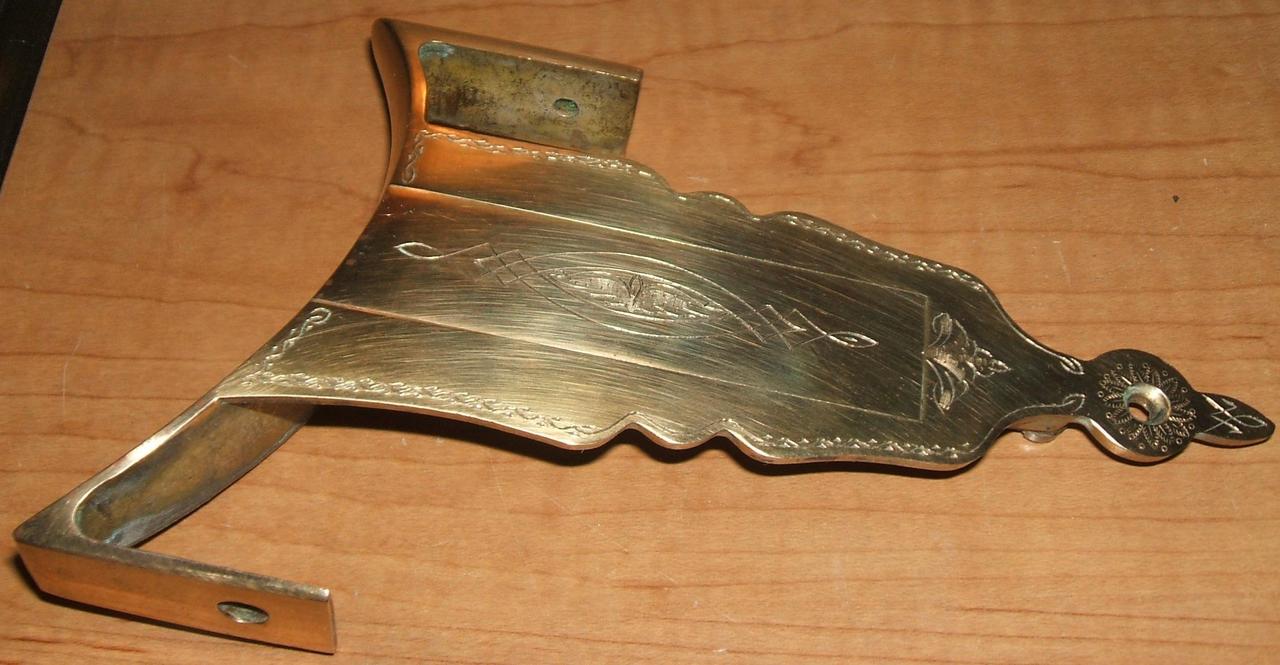
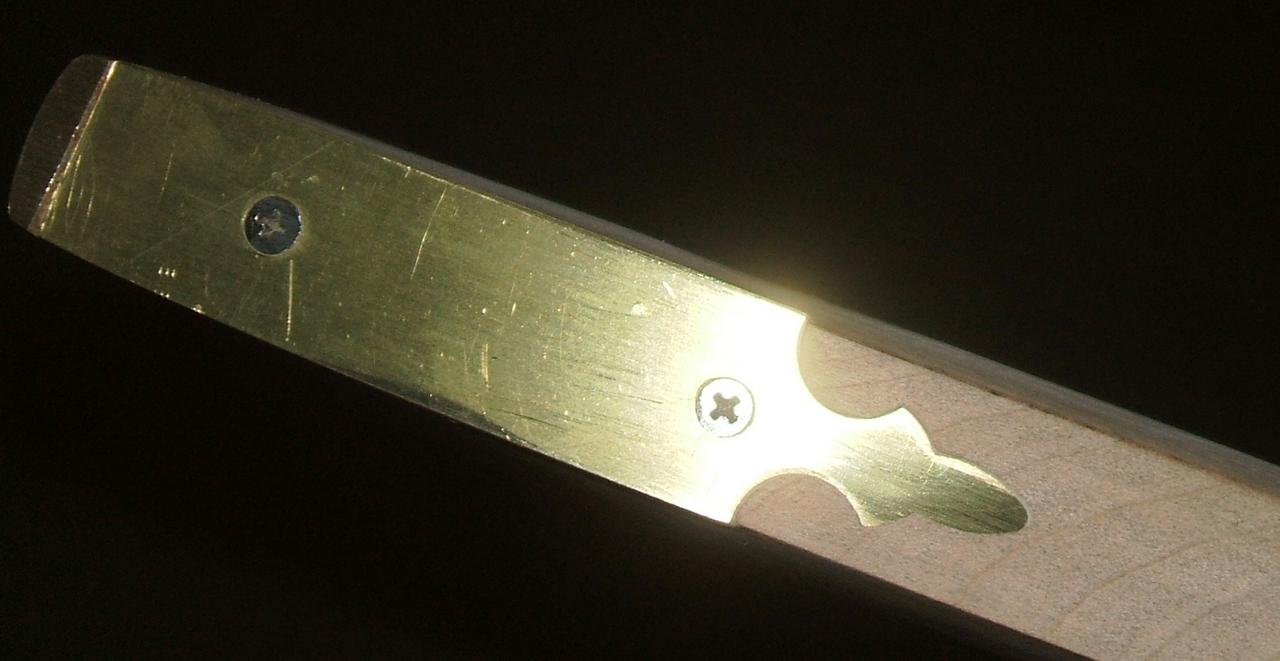
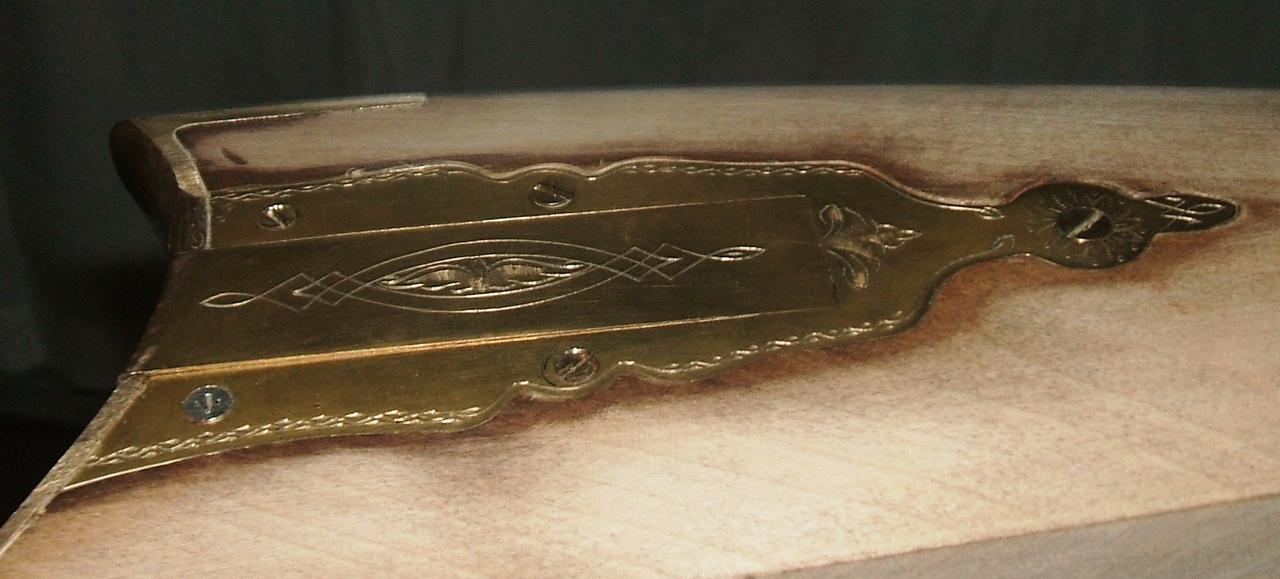
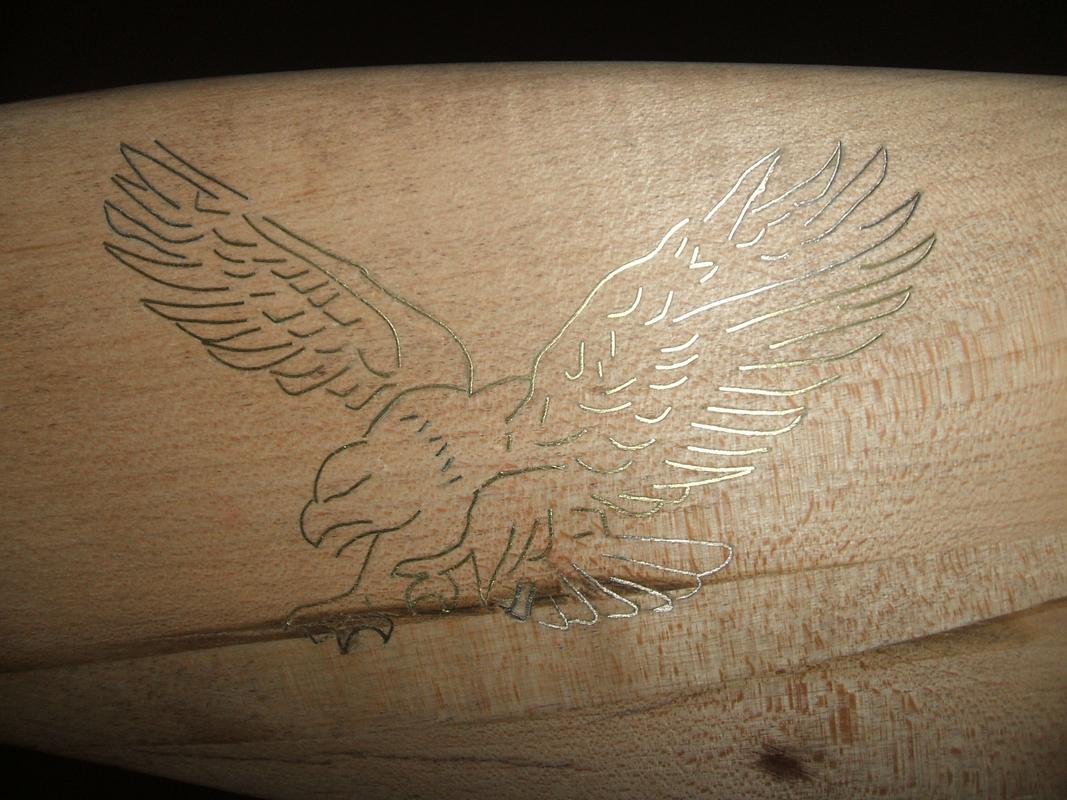
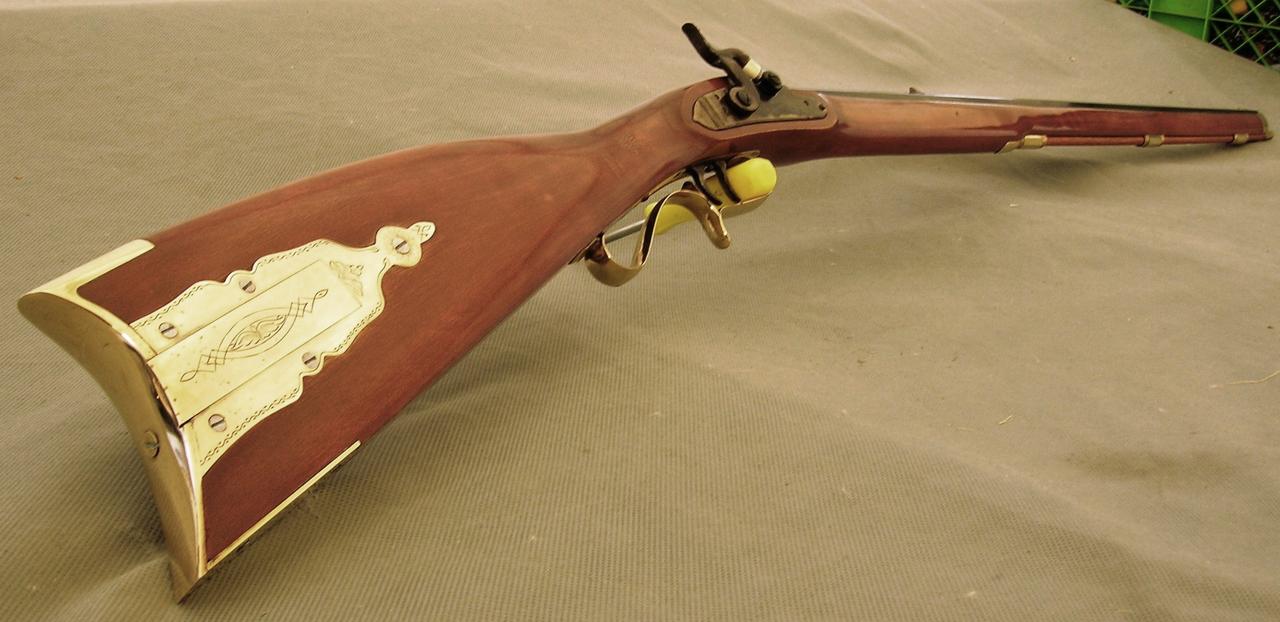
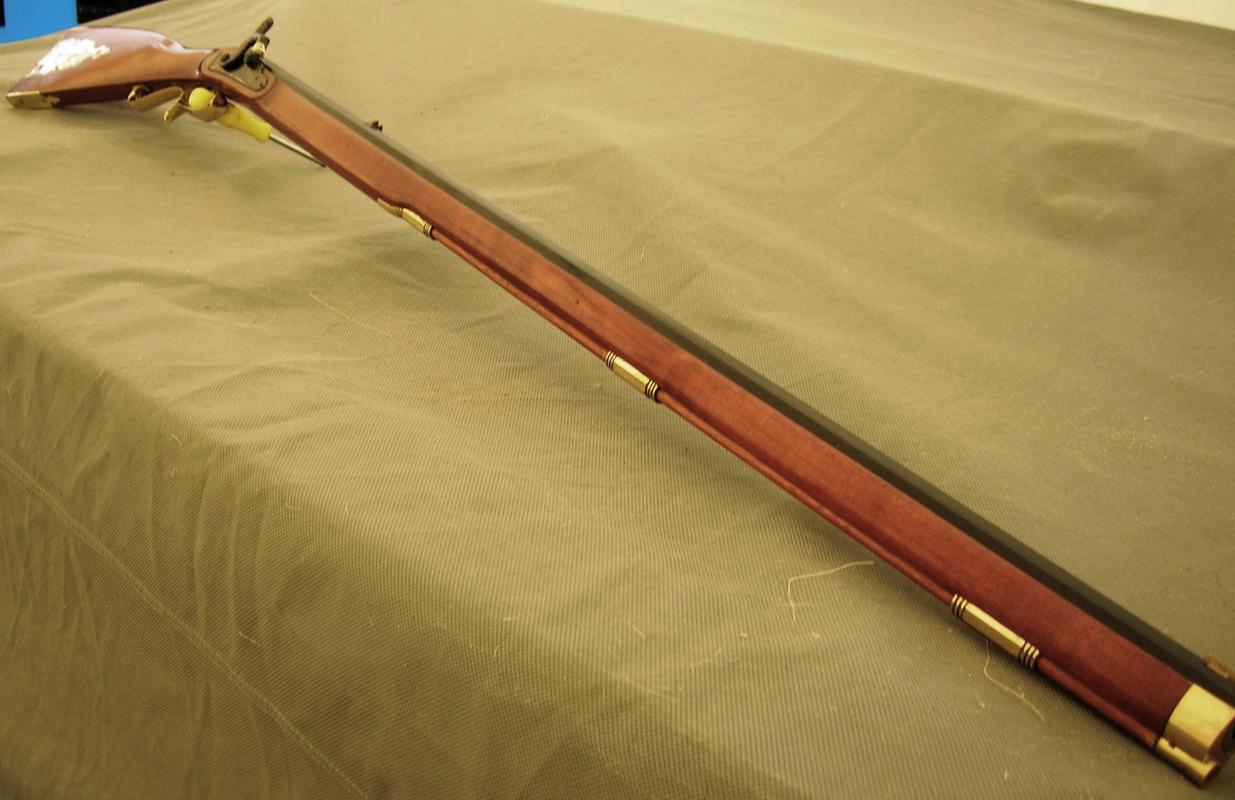
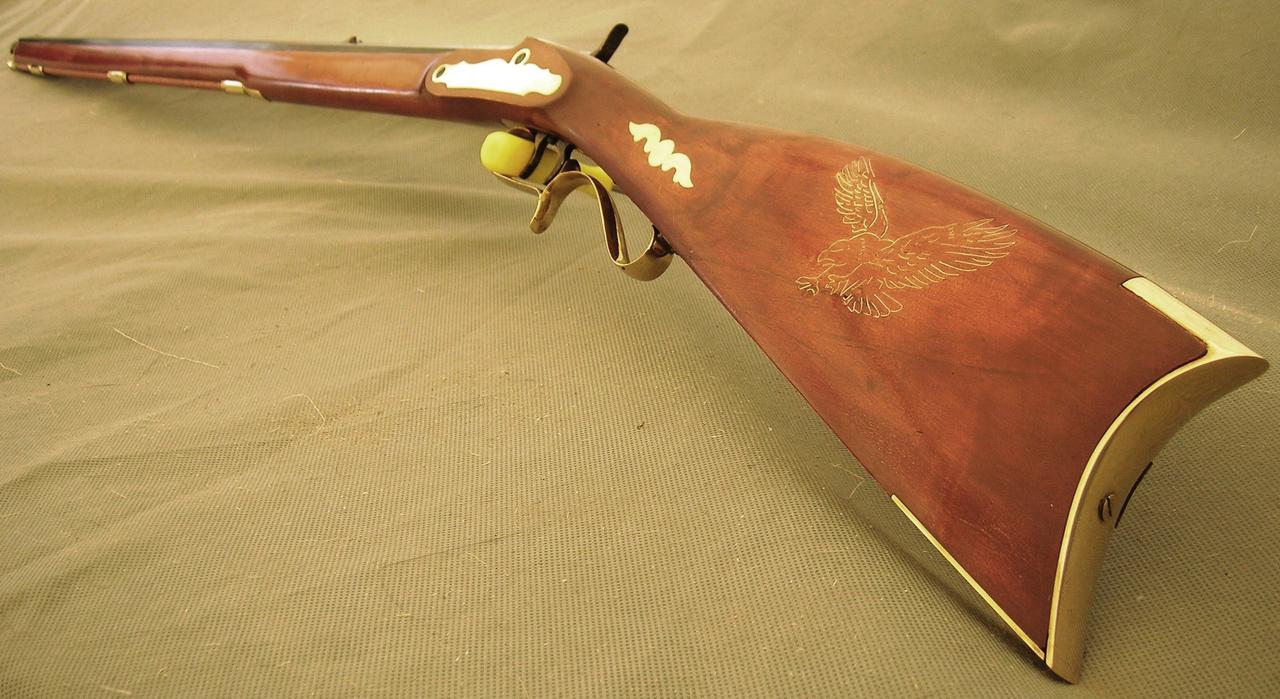
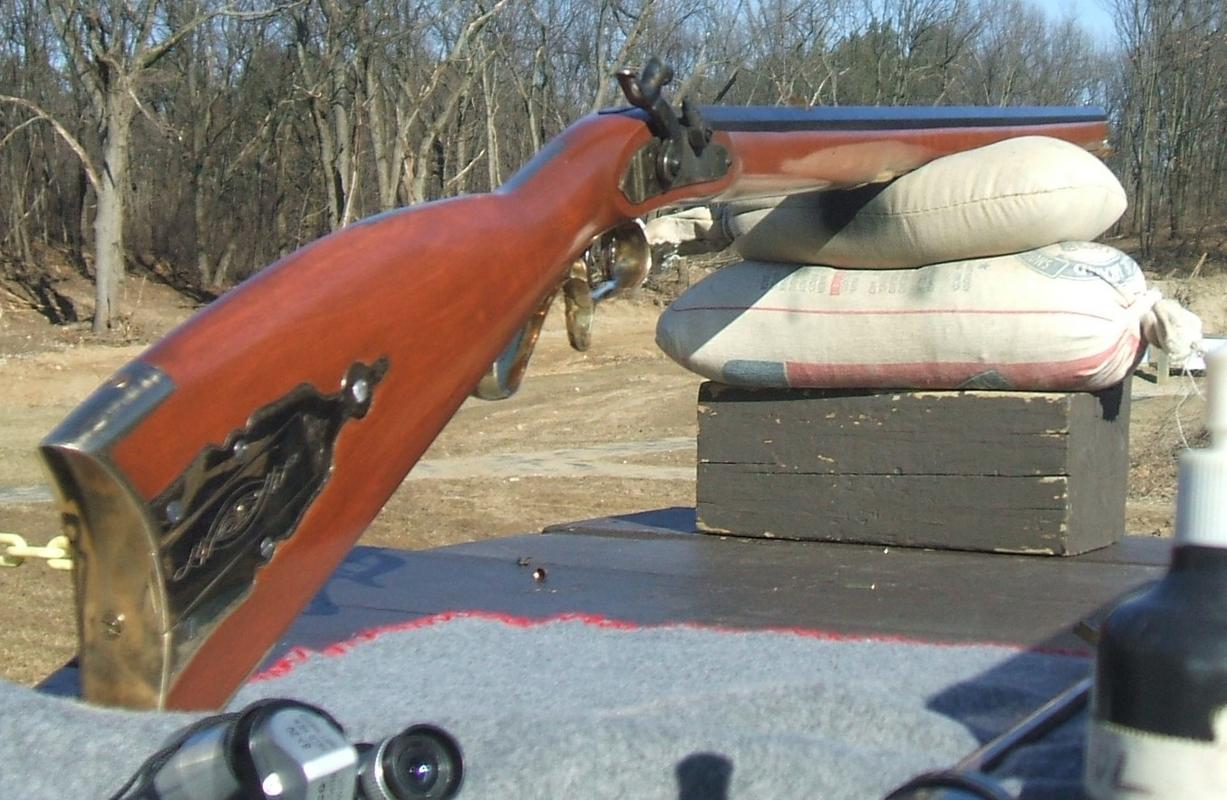
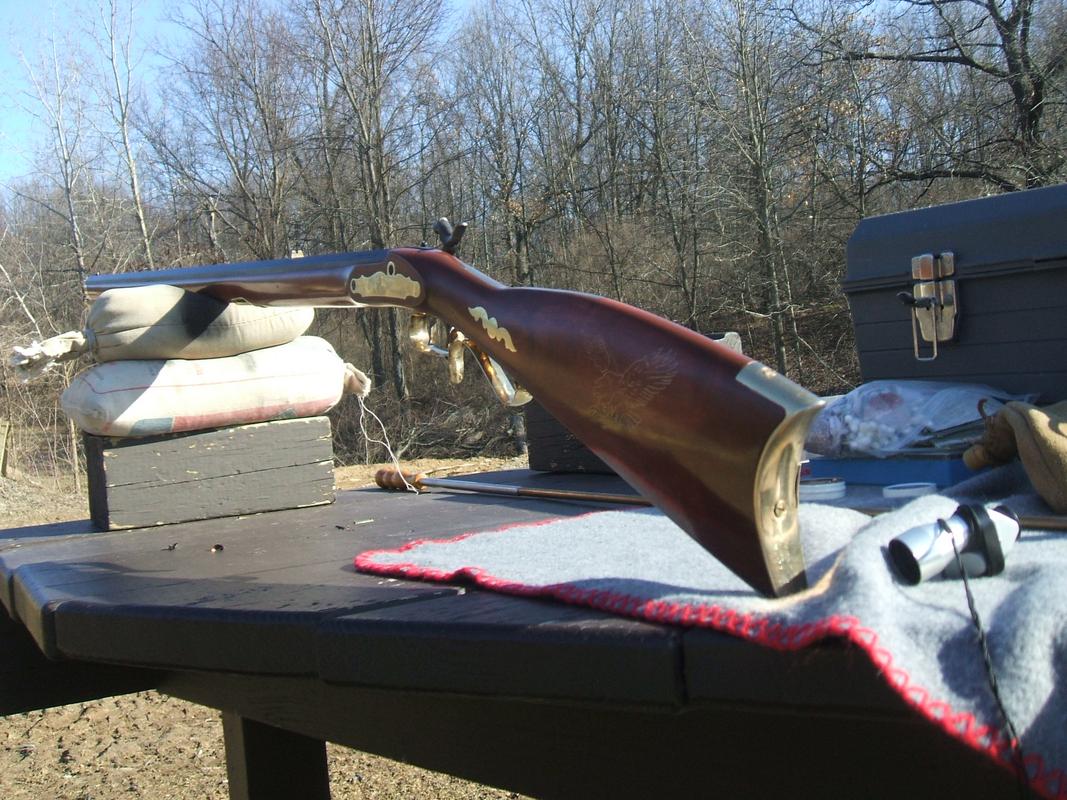
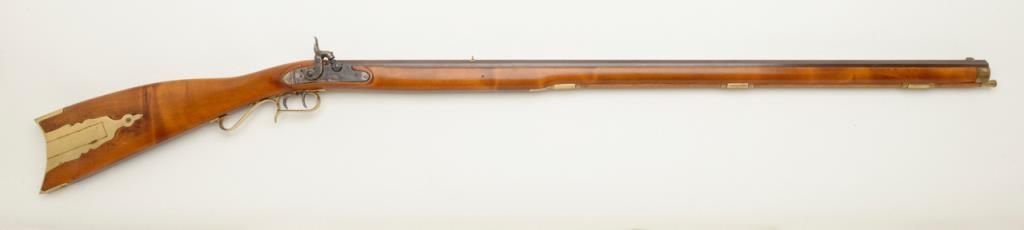
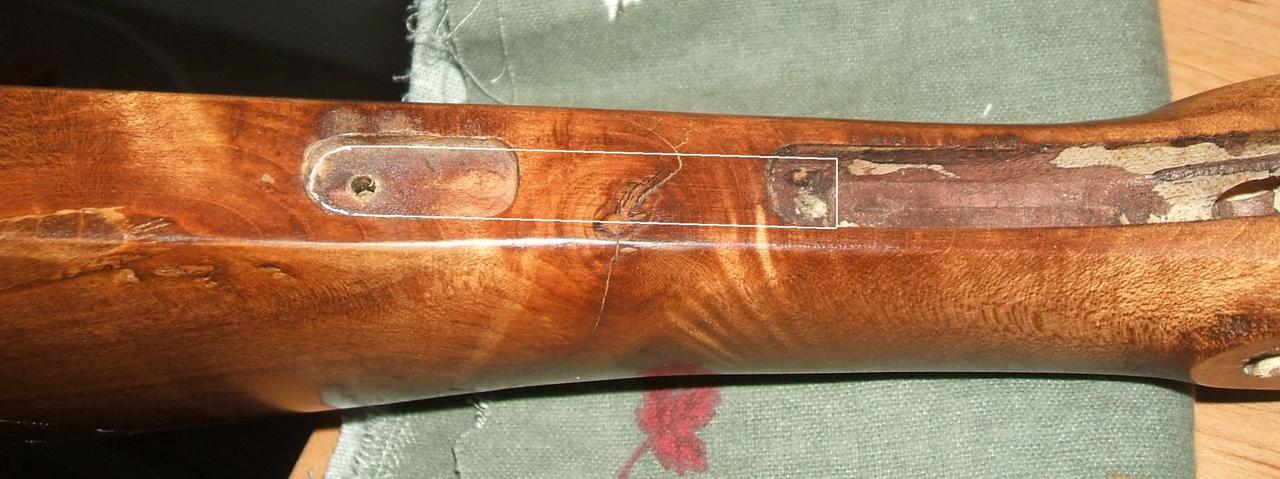
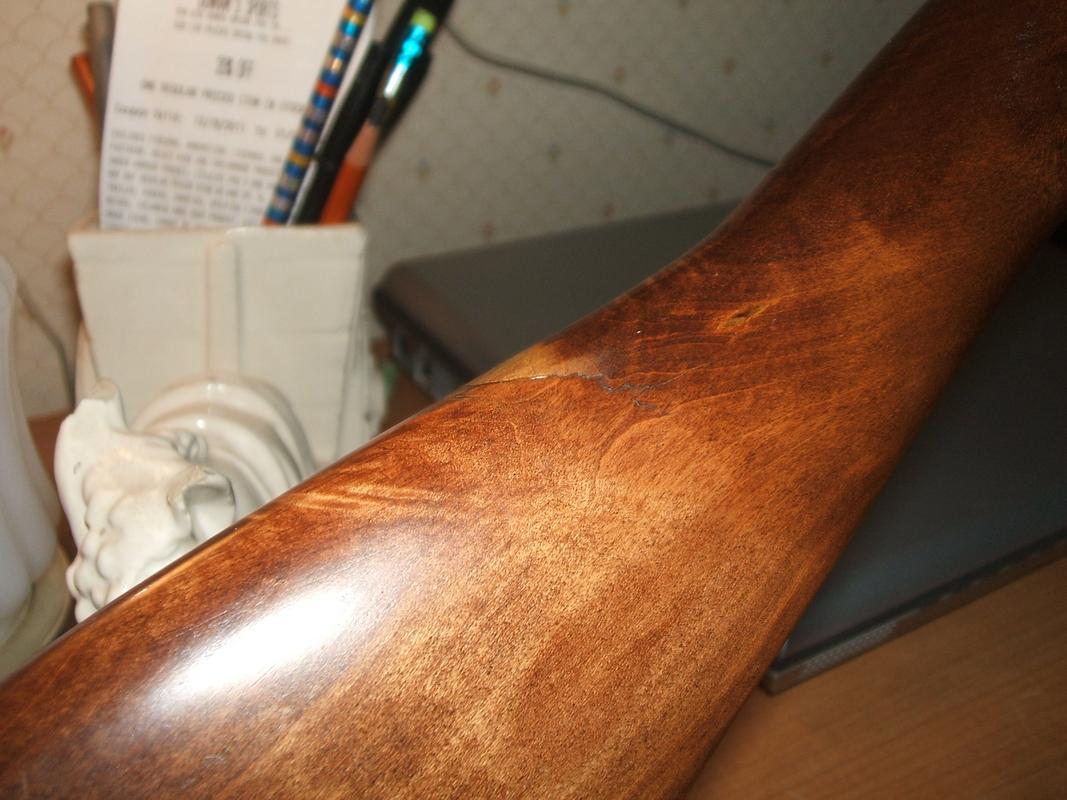
Time for another show and tell repair/rebuild thread. I purchased this rifle to use for practice right after buying my Thompson Center Hawken. I got it real cheap due to a very defective stock. My plan was to work on this as a warmup before doing the TC to see if I could actually still do this sort of thing without hacking it up. The last time I had built a kit gun was in 1983. This rifle probably should have been restocked but wasn't. It had a knot that ran through the stock right at the wrist/comb area. First set of pictures show what the rifle looked like when purchased.
19089926_1.jpg
2556661540104169197_Az_Ztvm_fs.jpg
DSCF1396.jpg
 
Re: Richland Arms "Michigan" rifle rebuild.

Conventional methods to repair a stock like this were generally either a brass or rawhide wrap. Although effective they aren't very asthetically pleasing to the eye. I decided on a few diffent things to stabilize the stock and hopefully. still make it pleasing to look at. I decided on basically four things for the repair. 1. drill and insert a 1/2" dowell down from the wrist through the center of the knox. 2. inlet a 1/2" square dowel under the trigger plate and trigger guard across the bottom of the knot. 3. Use a brass inaly across the crack on the left side of the stock and 4. Inlay a brass strap cross the top of the stock and nailed in place. 
 
Showing dowel locations.
2946919800104169197m_Gc_Mrr_fs.jpg
 
Re: Richland Arms "Michigan" rifle rebuild.

that truly is a michigan style stock. thompson center copied the michigan style trigger guard for their rifles, it is a very practical trigger guard. thanks for the post.
 
Re: Richland Arms "Michigan" rifle rebuild.

Continuing on: After drilling down through the wrist I inserted a 1/2" dowel. I figured that I could cover most of the showing end under the brass strap I was going to insert.

Top of the wrist area with dowell trimmed of level with the wrist.

Picture_002.jpg


Next I inserrted a square dowel under the trigger plate and triggerguard.

2880989190104169197_Gn_St_XN_fs.jpg


Next was inserting a brass strap along the top of the wrist and comb. This covered up most of the dowell and a good piece of the knot. 

Brass strap laid on top of the stock to mark position.
2872390540104169197_KDo_VIx_fs.jpg


Strap inletted and nailed down
DSCF1443.jpg


Filed and sanded level with the top of the stock.
guns_012.jpg
 
Re: Richland Arms "Michigan" rifle rebuild.

Last of the crack repairs was the wing inlay across the crack. The shape of the inlay will hopefully keep the crack from spreading or closing. 

First showing the position for the inlay.
2587458140104169197_QAZwhn_fs.jpg


Next is the inlet for the brass wings. (See the similarity to the wire wings on my other rifles?)
DSCF1431.jpg


Brass wings inserted and nailed in.

2950403740104169197w_Ptf_RH_fs.jpg


Filed and sanded. Ready for finishing.

DSCF1450.jpg

This completed all the things I felt were needed to repair the stock and make it strong enough to use. Still more to follow on refinishing.
 
Re: Richland Arms "Michigan" rifle rebuild.

Quite the reinforcement project you have going there RhinoDave...lookin' good.
Is there a particular reason why you chose a 1/2" round dowel rather than a round steel pin(s) :?:
 
Re: Richland Arms "Michigan" rifle rebuild.

Wood on wood bonds better. It doesn't hurt that I already had some 1/2" dowel and high quality wood glue on hand.
 
Re: Richland Arms "Michigan" rifle rebuild.

Had to make a couple of small modifications before final refinishing. First was to cut apart the one piece patchbox/ buttplate/ toeplate. This was a poor fit to the wood stock and there was no way to improve it without making them separate pieces. I also wanted to replace the short stubby toeplate with something a little more decorative. I also had to drill more mounting holes and screws for the patchbox.

2641520260104169197k_YBx_XF_fs.jpg
2690145120104169197_Hg_HVWs_fs.jpg
guns_018.jpg
guns_023.jpg
 
Re: Richland Arms "Michigan" rifle rebuild.

Last item on this rifle is the wire inlay. I had already decided on the eagle pattern for my Hawken and I wanted to do it first on this rifle to see how it would turn out. It went fairly well until I hit the area by the one claw. It was down into a small grain break and I had a hard time getting the wire to stay in position. I finally had to dab in a little epoxy in the darkarea and allow it to set before I could finally file the wire down flush.
DSCF1458.jpg
DSCF1466.jpg
 
Re: Richland Arms "Michigan" rifle rebuild.

Final finish was pretty straight forward. I did nothing to the barrel as it was in great shape. The stock finish was three coats of mahogony stain and 8-10 coats of tru-oil. 
Richland_C.jpg
Richland_D.jpg
Richland_G.jpg
DSCF1494_-_Copy.jpg
DSCF1495_-_Copy.jpg
 
Re: Richland Arms "Michigan" rifle rebuild.

RhinoDave said:
Wood on wood bonds better. It doesn't hurt that I already had some 1/2" dowel and high quality wood glue on hand.
Simplicity...wood on wood.  
Thanks for your response.
 
Re: Richland Arms "Michigan" rifle rebuild.

How noticeable is the crack by the wings now?

In the past I have tried to fix cracks and I never could get them invisible. Others might not notice but I sure could.
 
Re: Richland Arms "Michigan" rifle rebuild.

The crack is still visable. Really no way I know of to hide it completely other than wrapping the stock.  It's easy to miss with only casual observation, but if actually looking closely, it is easy to see.  In my younger days, I did drywall installation and repair. When I walk into a newer house, I can see every seam in the place.
 
Re: Richland Arms "Michigan" rifle rebuild.

Just got one of these in today and the stock on the upper side nearest the butt plate has a crack. Im thinking of using a counter sink drill bit, then install a screw and use a filler plug.
 

Latest posts

Back
Top