


Dec 26th 2017
.50cal
28 Barrel - 1:48 Twist
First thing I started with was the de burring process. I use both sand paper ( 100 - 150 - 220 grit ) and a sharp wood carving tool. I have both flat and half round carving tools which makes fine detailed wood removal easier. Wood scrapers also are a huge help.

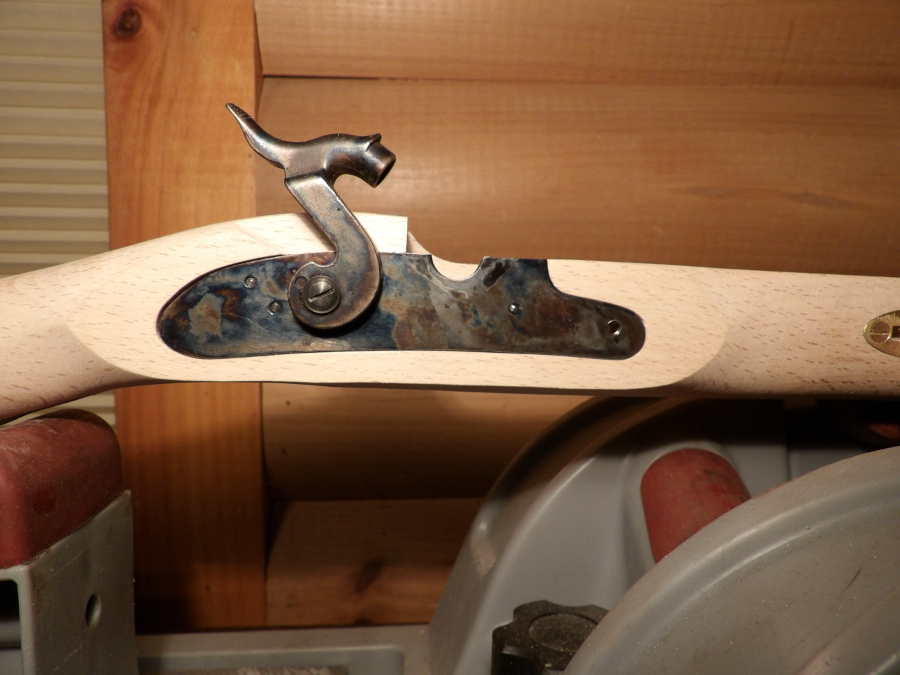
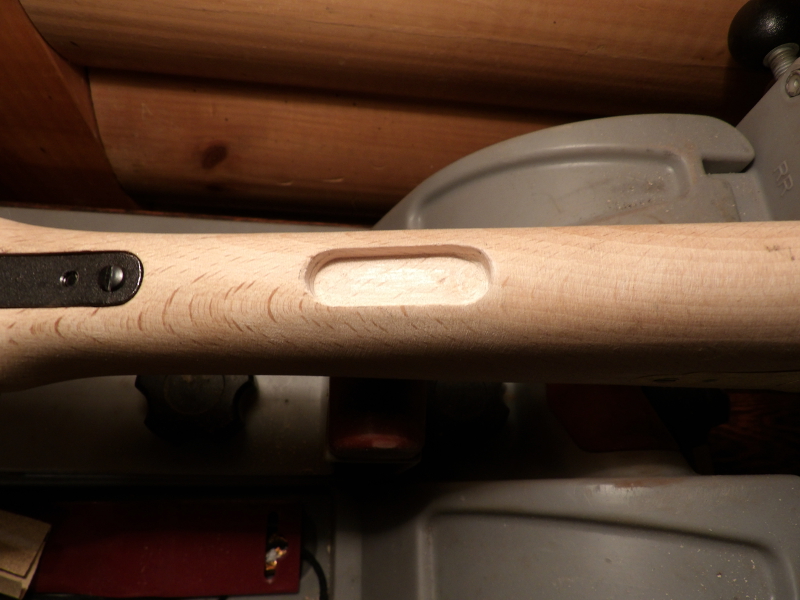
After using multiple scrapers & sand paper, the stock channel, lock and tang are smooth and ready to be bedded later on in the build.
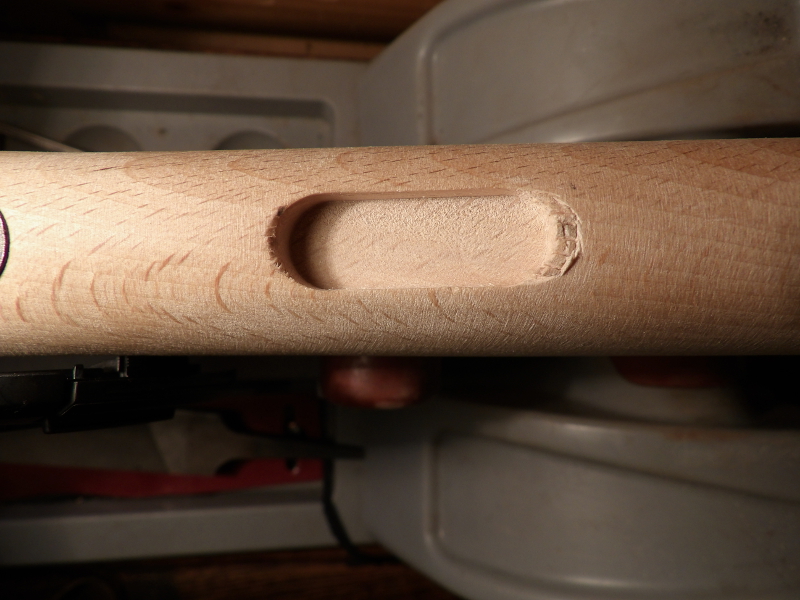
With the stock channel ready, I moved onto the lock and was very surprised to see that this rifle, only needed sand paper and a little rubbing in order for the lock to drop right into place. I did open up the inletting a little towards the front. Once I wet sand, stain, apply finish, the wood will swell and cause a tight fit, which then causes you to have to go back with a scraper and remove a little finish. I prefer to avoid removing finish whenever possible.
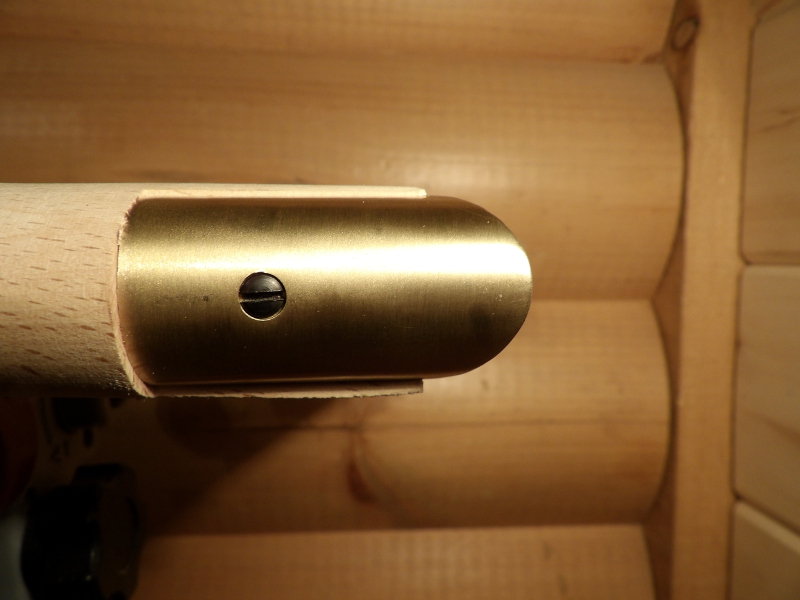
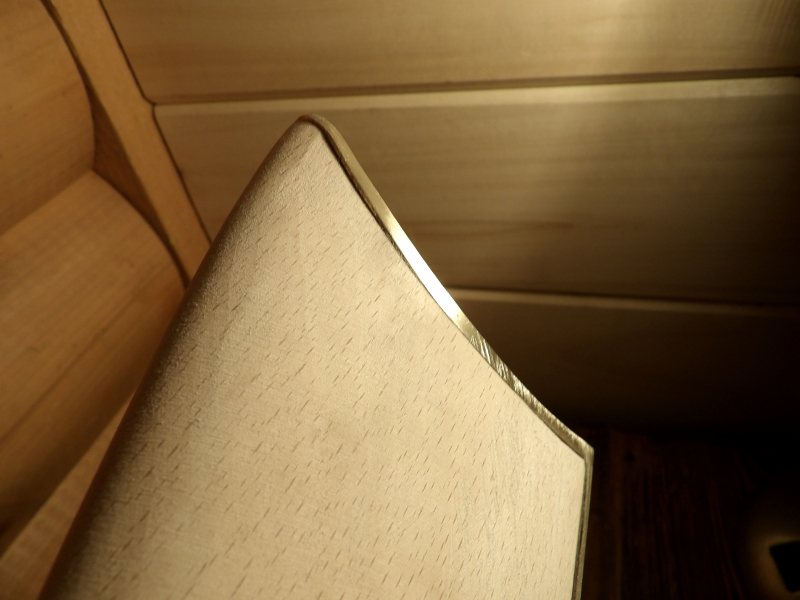
Moving on to the nose cap, I did both, file down the wood and de-burr the inside of the nose cap. We can see here in the wood that if we tried to simply put the nose cap over the wood, we would be in trouble as the burrs or castings, is course and interfering with the wood to metal fit. Two things can actually be done. <a href='/tags/1' rel='nofollow' title='See all tagged subjects with: #1'>#1</a> is to remove the burrs with a small dremmel tool which is very easy. <a href='/tags/2' rel='nofollow' title='See all tagged subjects with: #2'>#2</a> you can actually measure how much slag there is in the nose cap. Say it it is 1/8" long, simply remove 1/8" or slightly more from the wood of the stock. I used the dremmel way and removed the brass slag that was left over from casting.
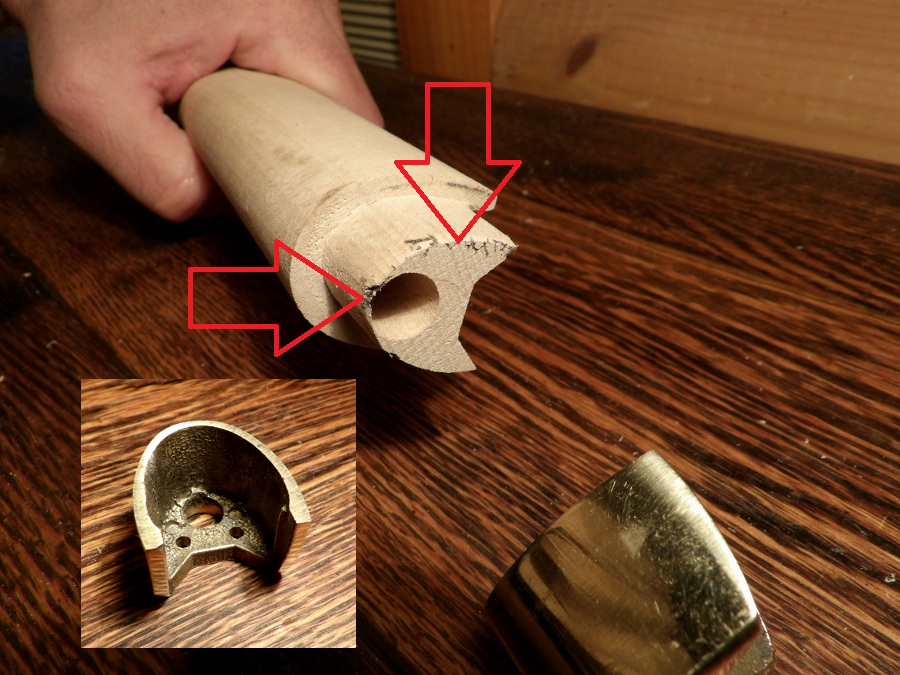
Also, the nose cap had to be widened just a bit in order for the barrel to slip down in between the nose cap.
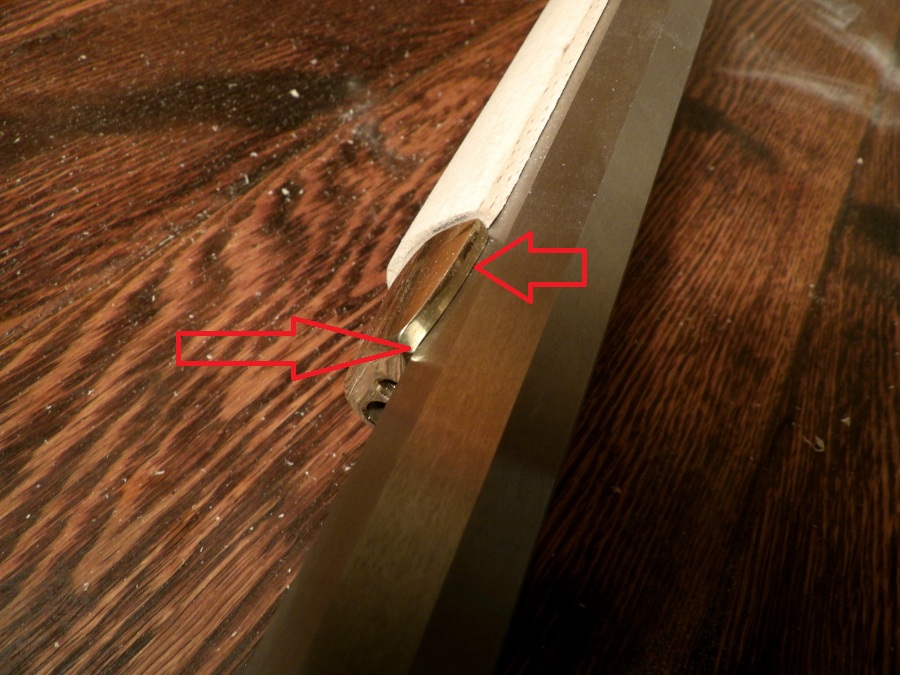
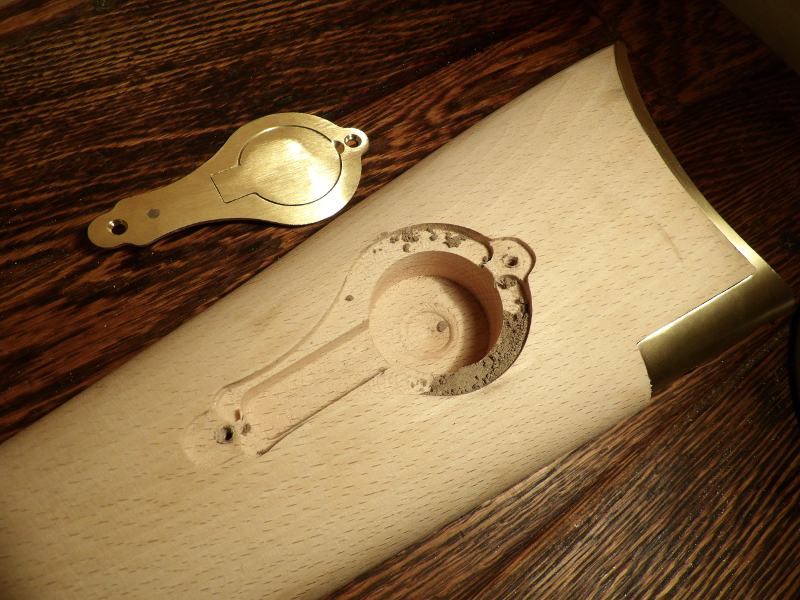
Moving on to the trigger guard, I used a curved wood chisel and mark around the trigger guard and carefully cut the wood away to allow enough room for the trigger guard to slip into place. Any minor fitting, you can always file the brass as its a lot easier and less risk at cracking the wood or removing to much. ALWAYS inspect the trigger guard and remove any casting marks. Use a long center punch and mark the wood through the trigger guard screw holes so you can have a pilot hole when drilling the holes out for the trigger screws.

Power tools may be faster but they also make small mistakes, it huge mistakes.
When you get your kit and find the patch box sticking out pretty good, have no fear! Traditions uses a filler under the patch box to keep it from buckling in the middle section. Remove this puddy, reinstall patch box and with a wooden dowel, gently tap around the edges of the patch box until its seated slightly under the wood. Brass that does stick out, can be filed down flush with the wood.

Moving on to the barrel channel, Once I had it sanded and the barrel inletted perfectly, I used Johnsons Floor Wax and lightly coated the barrel and let it dry. Once dry, I mixed up some JB Weld ( original dry in 6 - 8 hours ) and used a stiff bristle paint brush and coated the barrel channel. Do not bed all the way back! There some be some room in order for the barrel to pivot in order to remove the barrel for cleaning after you are done shooting. Once the Bedding was spread out as evenly as possible, I installed the barrel and the wedge key and patiently waited. If there are any voids, You can fill that area with more epoxy and lay the barrel ( wax it again! ) in place and wait for it to dry once more. Small voids are not an issue.
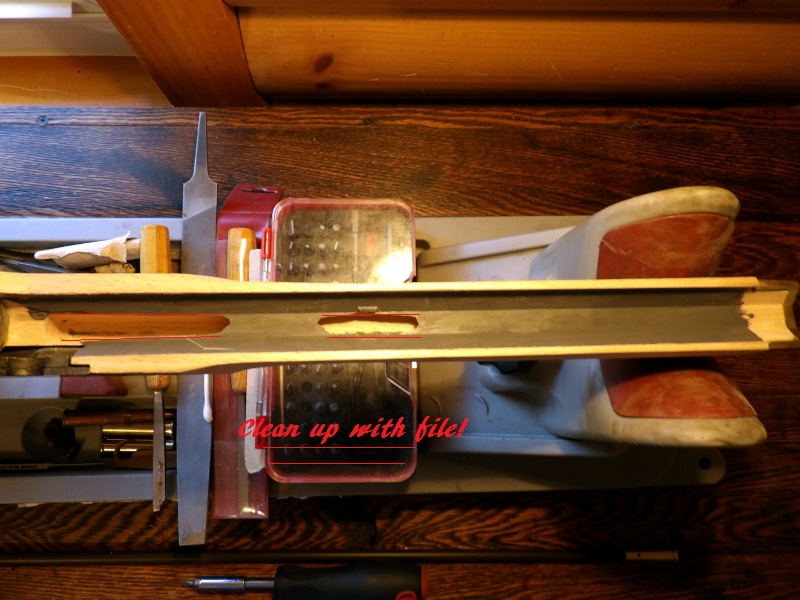
Kit guns come with a lot of extra wood that needs to be removed! I used a rough rasp, fine tooth file and of course, sand paper to take this extra wood out. Do not round off or contour this extra wood! It must be removed if you want it to look properly.
In some cases, you will also have to remove brass, rather than wood. Perfectly normal.
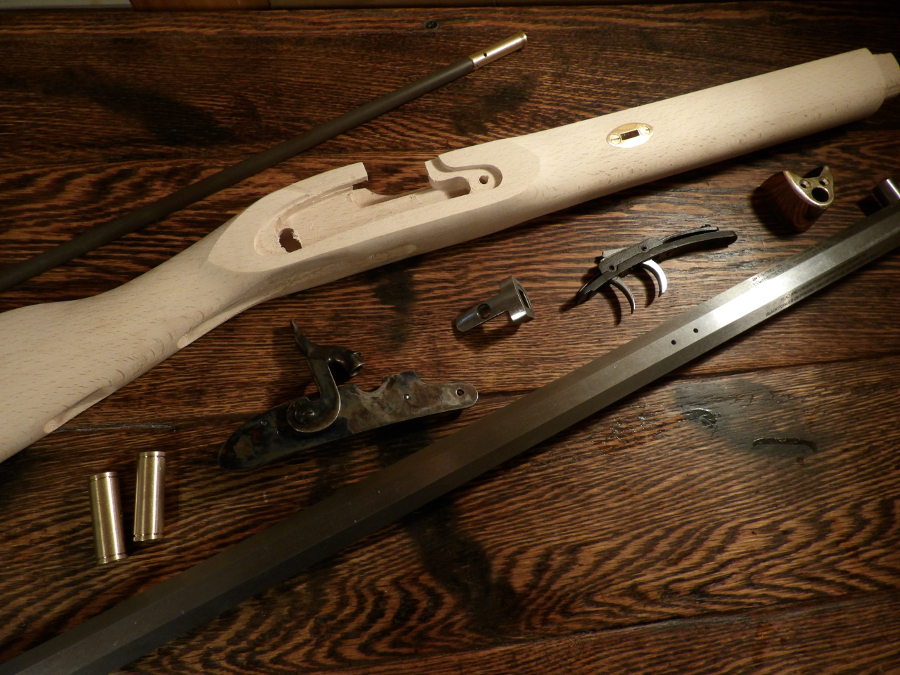
<div align="left">This is not a step by step build! In this build, I will highlight typical problem areas I have run into and how to fix them & where you can make improvements.
</div>Traditions St.Louis Hawken .50cal
28 Barrel - 1:48 Twist
First thing I started with was the de burring process. I use both sand paper ( 100 - 150 - 220 grit ) and a sharp wood carving tool. I have both flat and half round carving tools which makes fine detailed wood removal easier. Wood scrapers also are a huge help.
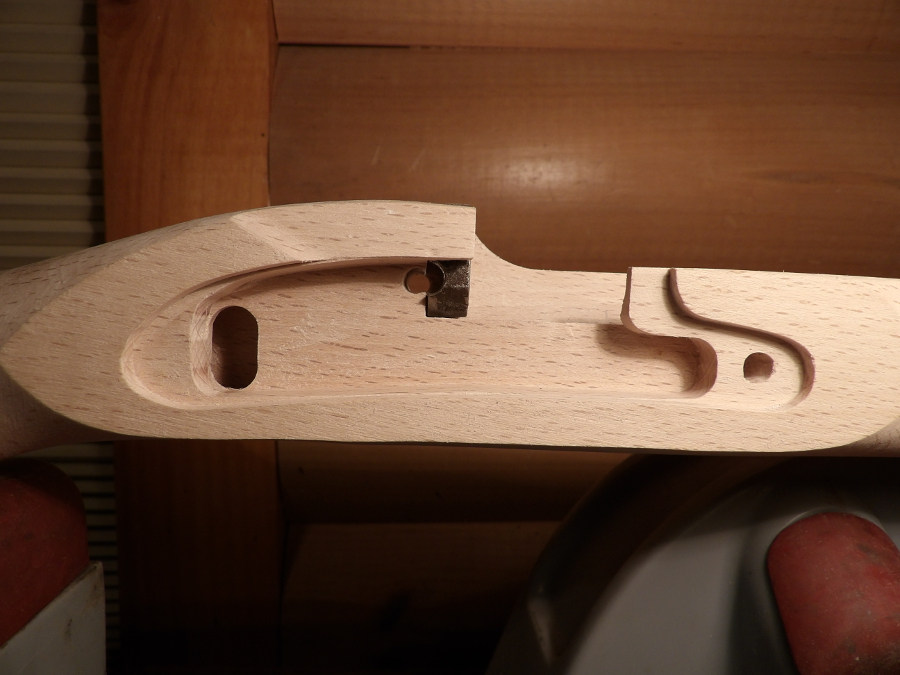
After using multiple scrapers & sand paper, the stock channel, lock and tang are smooth and ready to be bedded later on in the build.
With the stock channel ready, I moved onto the lock and was very surprised to see that this rifle, only needed sand paper and a little rubbing in order for the lock to drop right into place. I did open up the inletting a little towards the front. Once I wet sand, stain, apply finish, the wood will swell and cause a tight fit, which then causes you to have to go back with a scraper and remove a little finish. I prefer to avoid removing finish whenever possible.
Moving on to the nose cap, I did both, file down the wood and de-burr the inside of the nose cap. We can see here in the wood that if we tried to simply put the nose cap over the wood, we would be in trouble as the burrs or castings, is course and interfering with the wood to metal fit. Two things can actually be done. <a href='/tags/1' rel='nofollow' title='See all tagged subjects with: #1'>#1</a> is to remove the burrs with a small dremmel tool which is very easy. <a href='/tags/2' rel='nofollow' title='See all tagged subjects with: #2'>#2</a> you can actually measure how much slag there is in the nose cap. Say it it is 1/8" long, simply remove 1/8" or slightly more from the wood of the stock. I used the dremmel way and removed the brass slag that was left over from casting.
Also, the nose cap had to be widened just a bit in order for the barrel to slip down in between the nose cap.
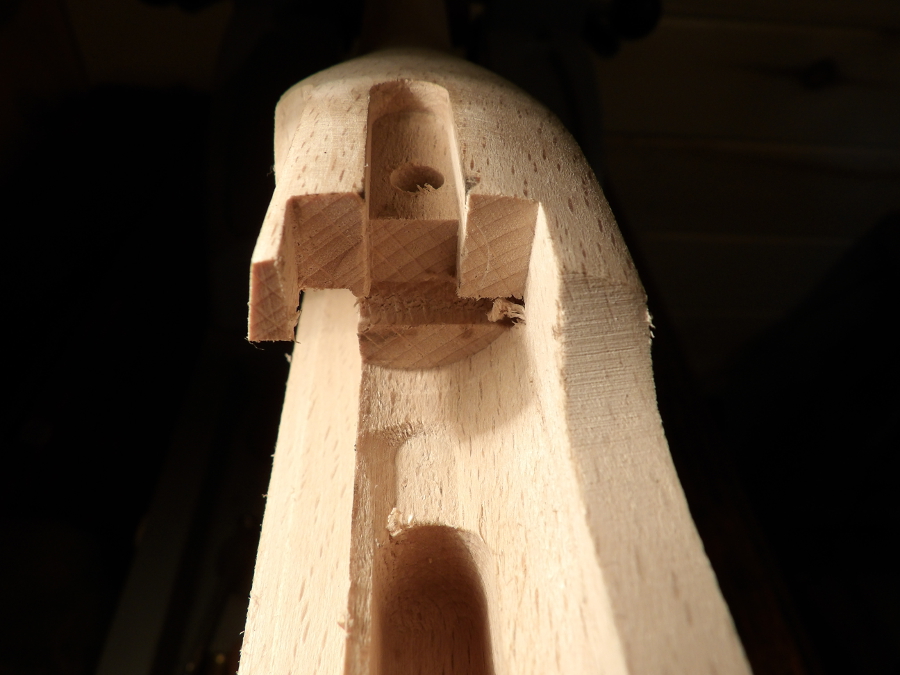
Moving on to the trigger guard, I used a curved wood chisel and mark around the trigger guard and carefully cut the wood away to allow enough room for the trigger guard to slip into place. Any minor fitting, you can always file the brass as its a lot easier and less risk at cracking the wood or removing to much. ALWAYS inspect the trigger guard and remove any casting marks. Use a long center punch and mark the wood through the trigger guard screw holes so you can have a pilot hole when drilling the holes out for the trigger screws.
Power tools may be faster but they also make small mistakes, it huge mistakes.
When you get your kit and find the patch box sticking out pretty good, have no fear! Traditions uses a filler under the patch box to keep it from buckling in the middle section. Remove this puddy, reinstall patch box and with a wooden dowel, gently tap around the edges of the patch box until its seated slightly under the wood. Brass that does stick out, can be filed down flush with the wood.
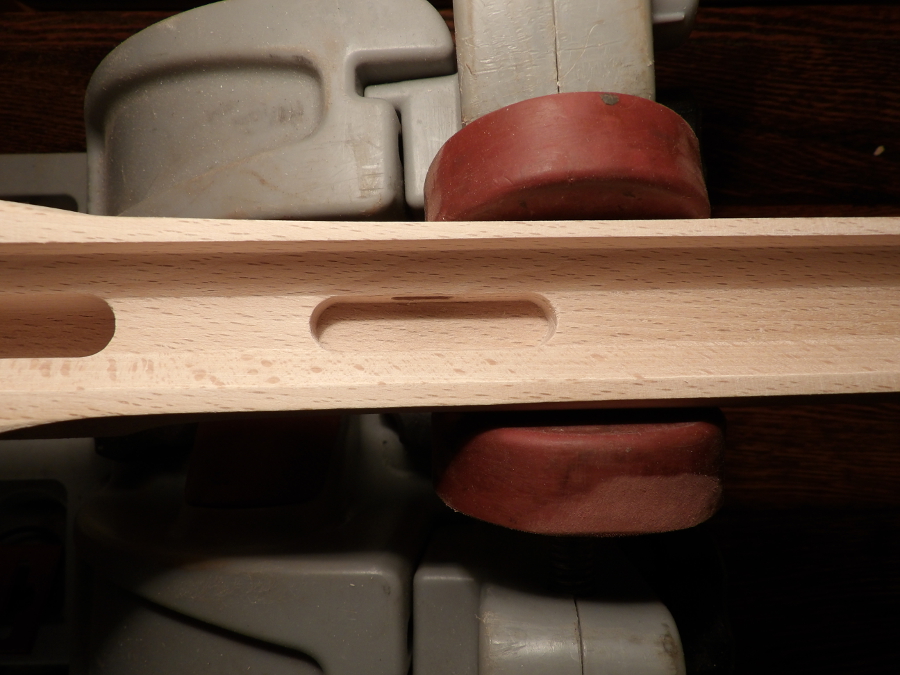
Moving on to the barrel channel, Once I had it sanded and the barrel inletted perfectly, I used Johnsons Floor Wax and lightly coated the barrel and let it dry. Once dry, I mixed up some JB Weld ( original dry in 6 - 8 hours ) and used a stiff bristle paint brush and coated the barrel channel. Do not bed all the way back! There some be some room in order for the barrel to pivot in order to remove the barrel for cleaning after you are done shooting. Once the Bedding was spread out as evenly as possible, I installed the barrel and the wedge key and patiently waited. If there are any voids, You can fill that area with more epoxy and lay the barrel ( wax it again! ) in place and wait for it to dry once more. Small voids are not an issue.
Kit guns come with a lot of extra wood that needs to be removed! I used a rough rasp, fine tooth file and of course, sand paper to take this extra wood out. Do not round off or contour this extra wood! It must be removed if you want it to look properly.
In some cases, you will also have to remove brass, rather than wood. Perfectly normal.


