Idaholewis
Well-Known Member
- Joined
- Jun 30, 2017
- Messages
- 7,287
- Reaction score
- 10,288
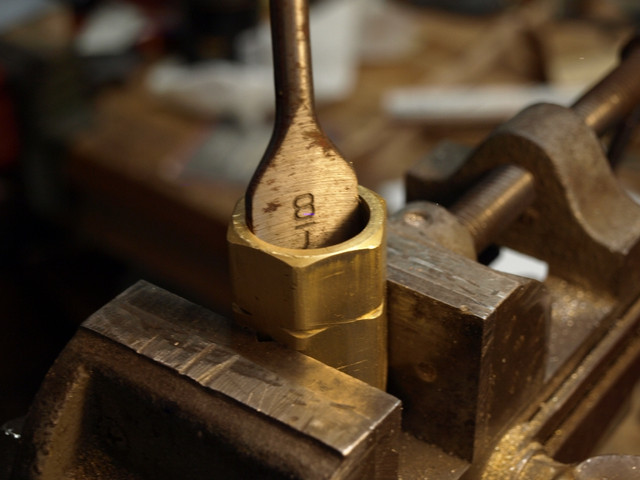
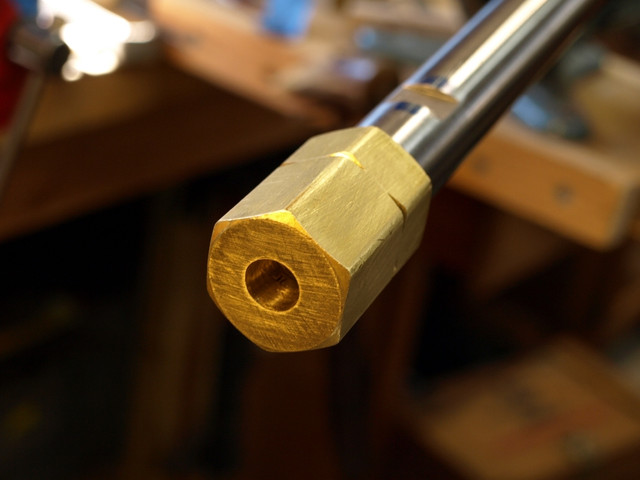
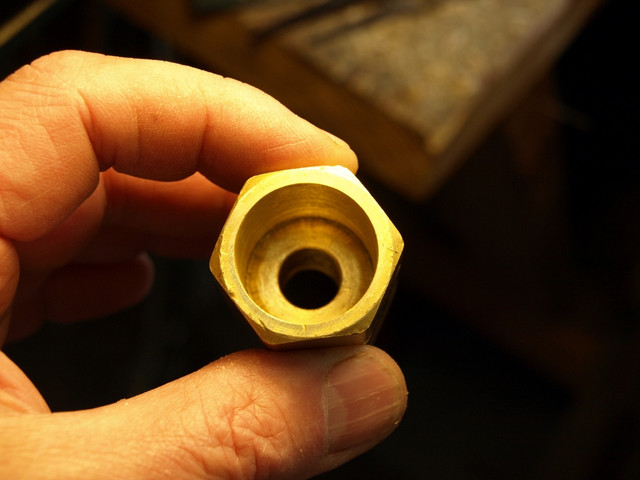
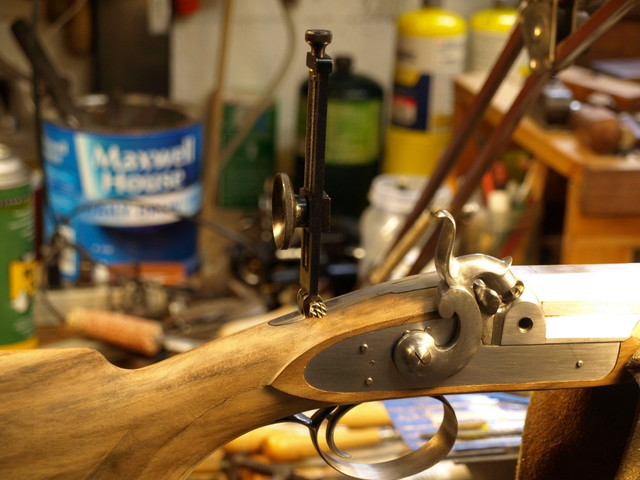
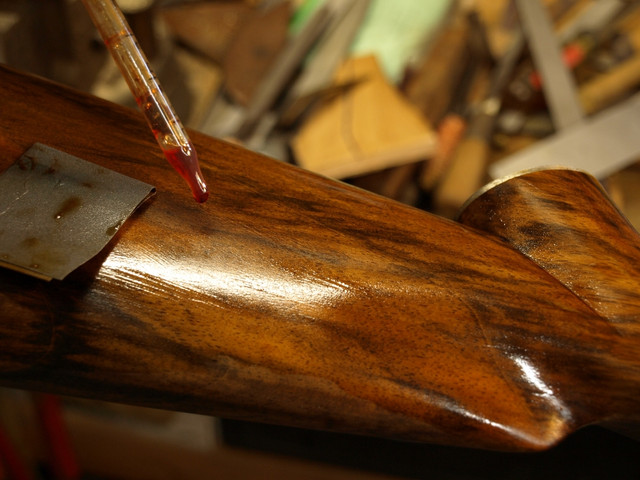
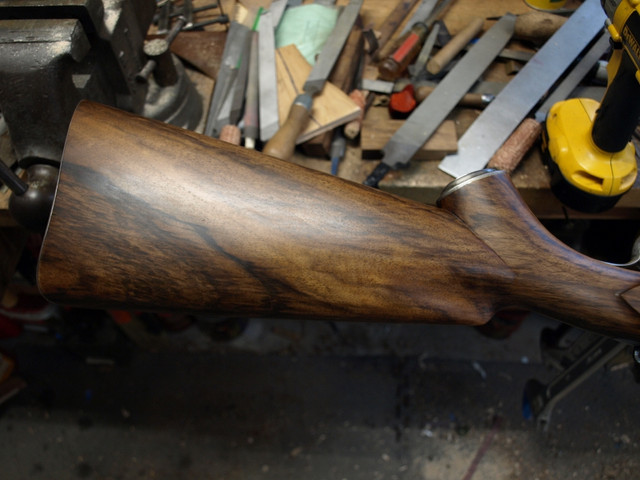
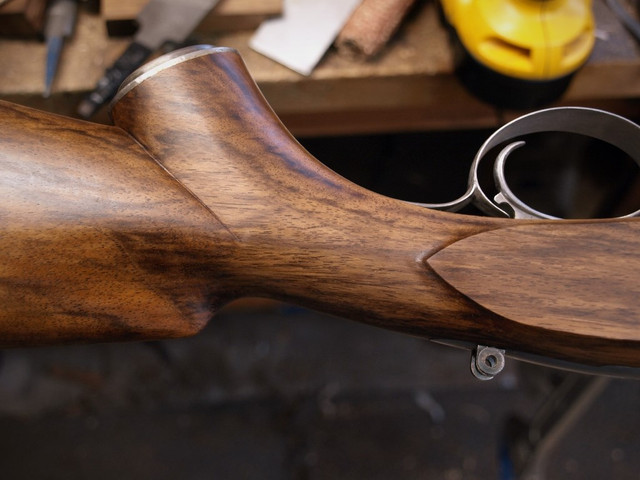
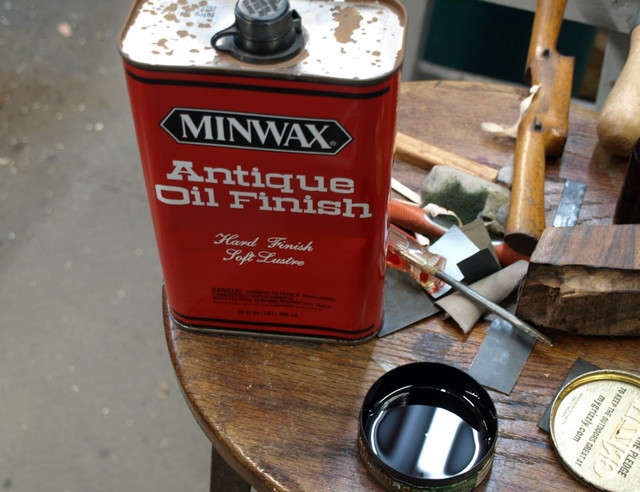
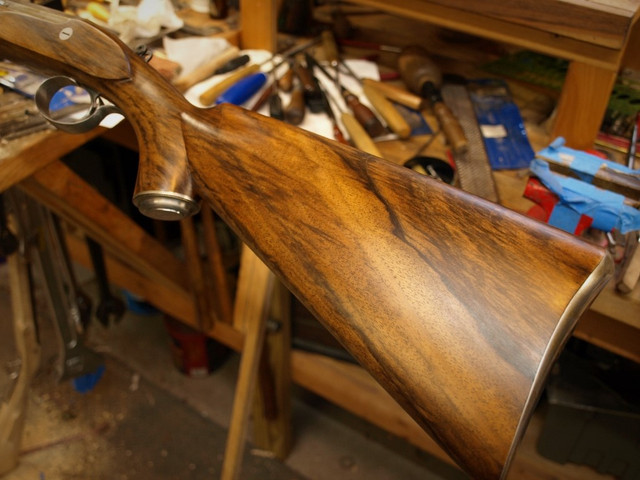
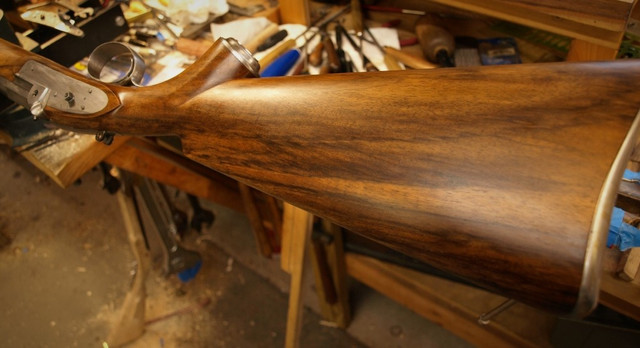
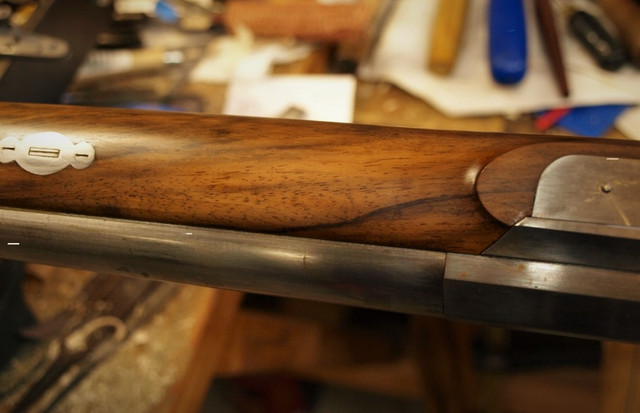
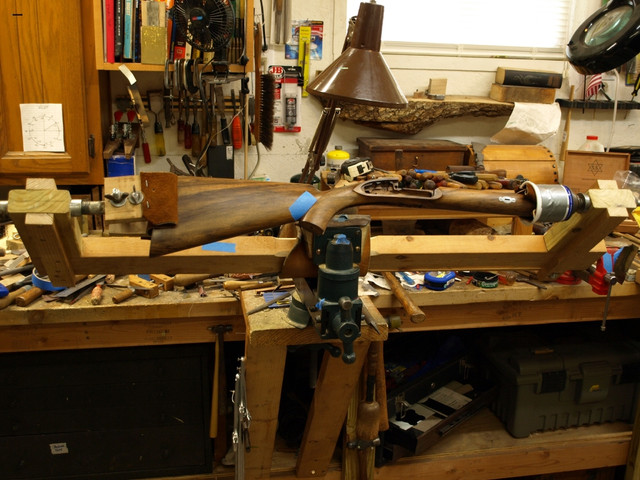
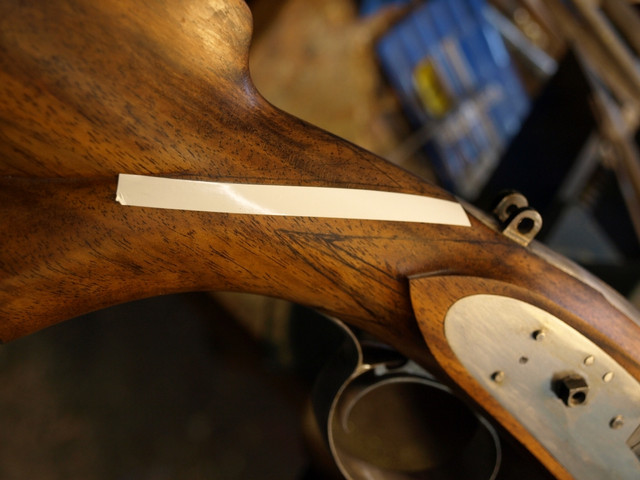
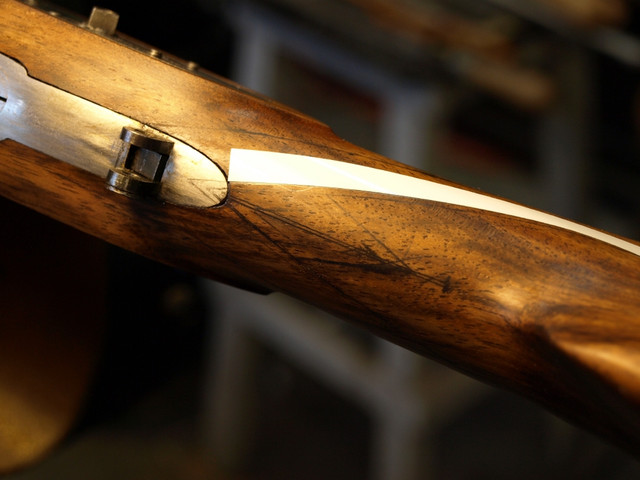
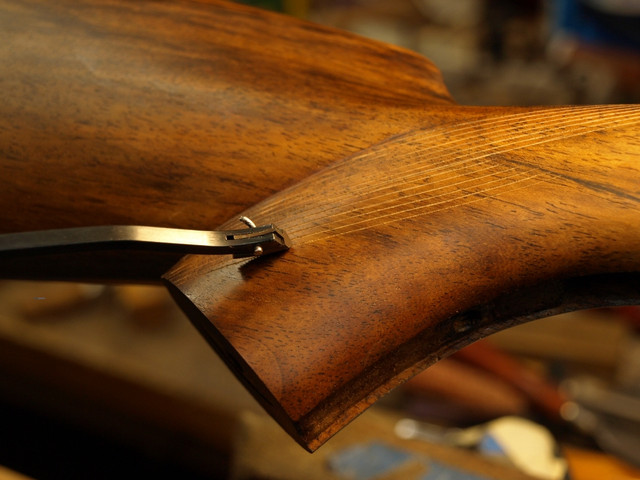
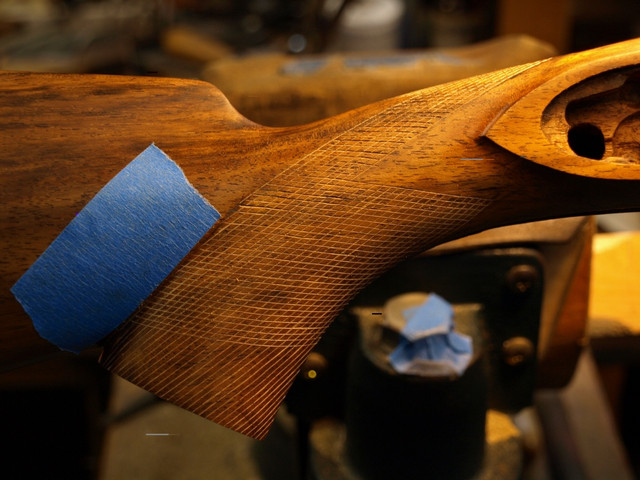
LOTS of Patience, and attention to Detail here!! I admire this kind of Work  It’s DEFINITELY NOT for everyone! I have often thought of Buying a Cheap Kit Rifle just so i could tinker around and put it together, But i know me, I would have it SLAPPED Together that Same Day, and be Shooting it the Next
It’s DEFINITELY NOT for everyone! I have often thought of Buying a Cheap Kit Rifle just so i could tinker around and put it together, But i know me, I would have it SLAPPED Together that Same Day, and be Shooting it the Next