


Bushing is for wear purposes. It's not replaceable in the Arrowhead Gen2 LRMP system, but it never wears out so not an issue.
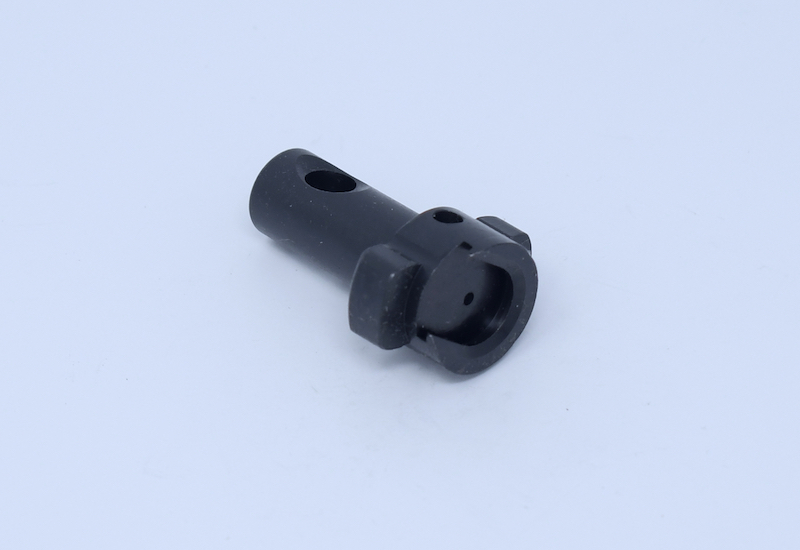
Bolt head will be slotted like this one. It's going to be a slick system.
Since I don't know if the Paramount has consistent head space, I will handle it same way as I do the UML. Plugs will be made a little long, and can be trimmed to length. If you don't have a lathe, it's not a big deal. I send head space gauges to figured out what length plug needs to be cut. Then you just return plug to me for a quick adjustment. See UML install instructions below. It's easy an works well.
In an effort to expedite process, two plugs are sent labeled A & B. The A plug has been modified to the length typically required, and has a good chance of fitting your barrel without any medication. However, if your barrel is an outlier (and there are plenty of those), the an unmodified plug (B plug) is included as well.
· Remove factory 700 UML plug. Factory plug takes a 5/16” socket.
· Install the A plug into the muzzleloader.
1) Check to see if bolt closes on GO gauge (even a hard close is ok). If yes, go to step to 2. If no, go to step 3
2) Check to see if bolt does NOT close with NO gauge. If no or a hard close, you are done. Please return B plug and gauges using supplied return label. If yes, go to step 4.
3) A plug head spacing: starting with 220 gauge, start inserting gauges until the bolt close. Record the information below and return plugs and modules for adjustment.
4) B plug head spacing. Remove A plug from barrel (it is too short). Install B plug. Starting with 220 gauge, start inserting gauges until the bolt close. Record the information below and return plugs and modules for adjustment.


